Crocheting granny squares is a great way to make a blanket because it is easy to learn and you can crochet granny squares which are small, easy to work on, and can be joined together to make a blanket or so many other fantastic creations!
Table of Contents
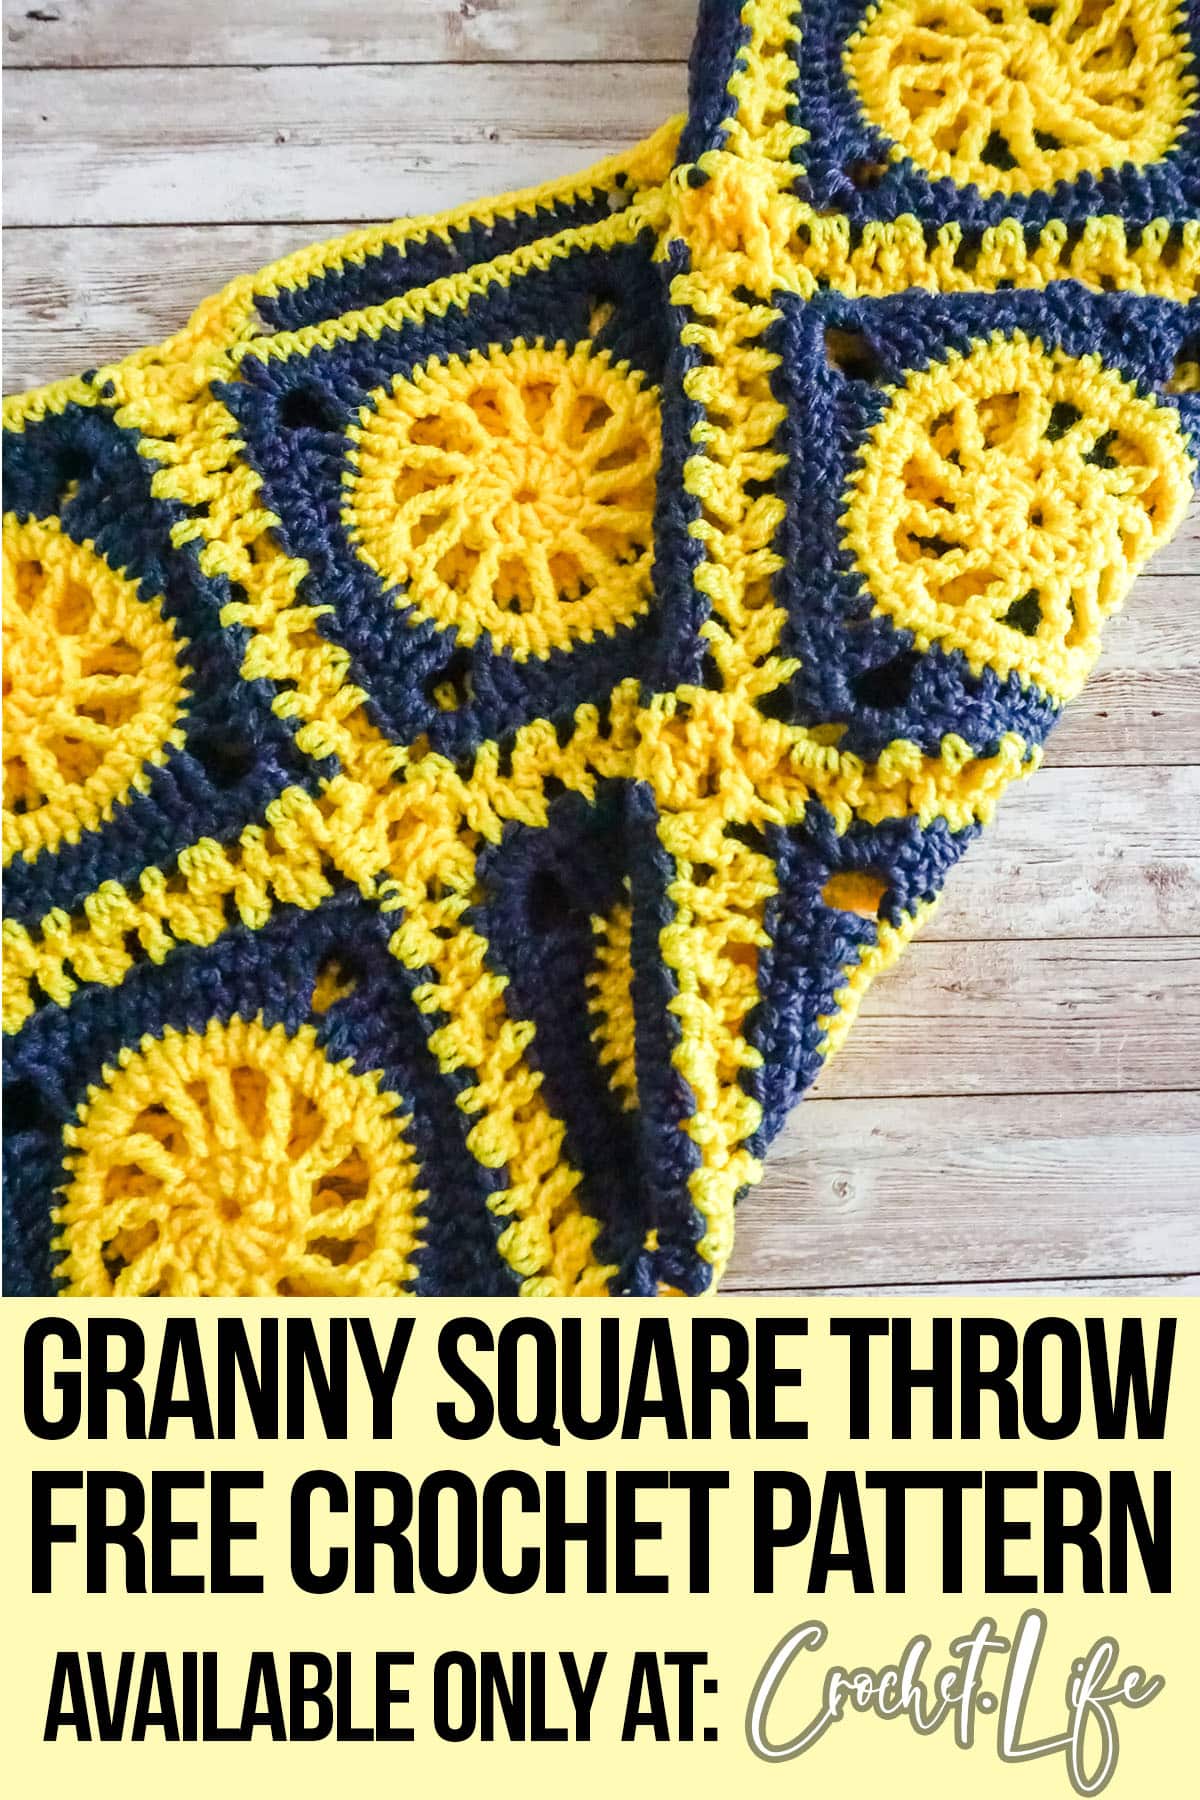
Granny Square Couch Throw – How to Assemble Granny Squares into a Blanket
There are many granny square crochet patterns available online. Some of the patterns are very simple, while others are more complex. The best way to learn how to crochet granny squares is to start with a simple pattern and then work on adding more complexity as you become more skilled.
There are also many different ways to join granny squares together, so you can crochet any size blanket that you want.
When you have made enough granny squares, you can join them together. This method is much easier than trying to crochet an entire blanket all at once.
Where Do You Find Granny Square Crochet Patterns?
There are really a ton of granny square crochet patterns and you can simply search the internet for patterns and find a ton. But I have made some that I think would help you get started:
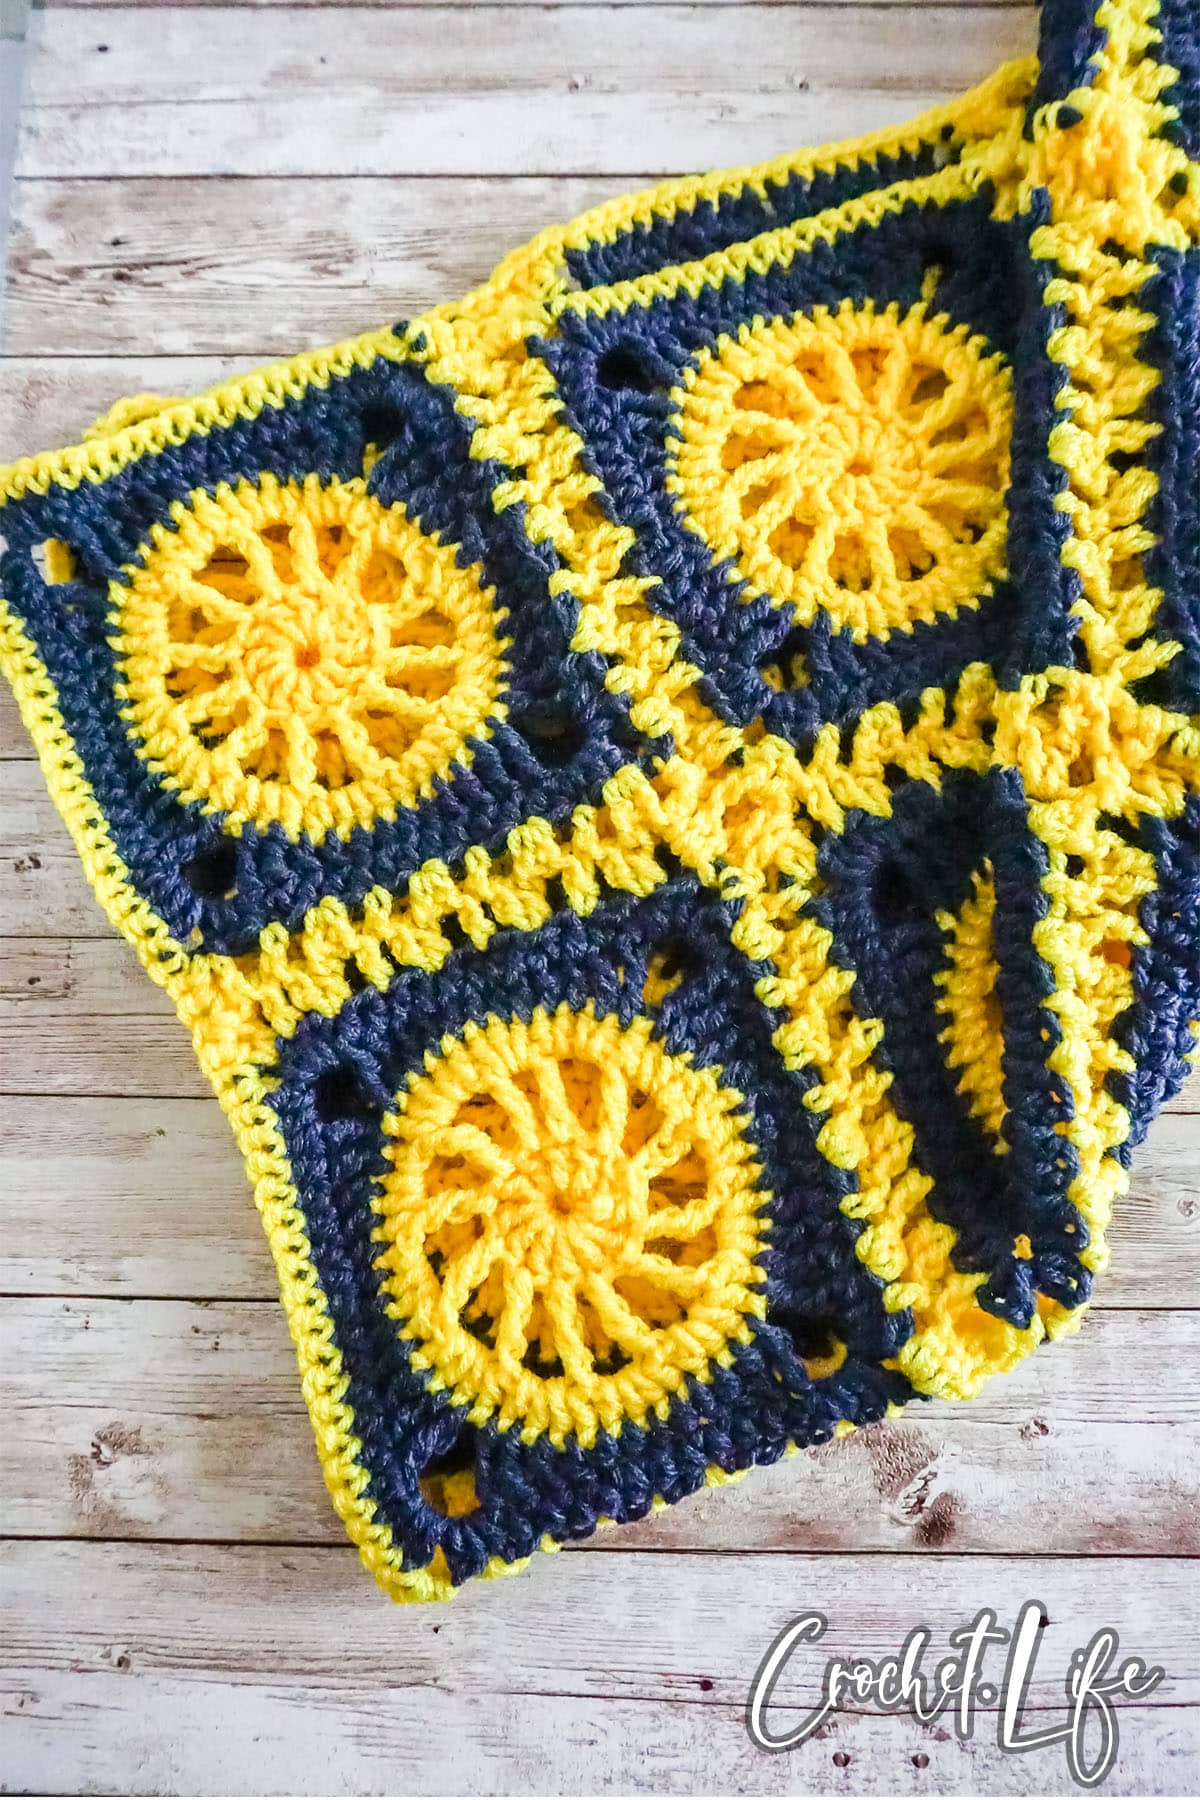
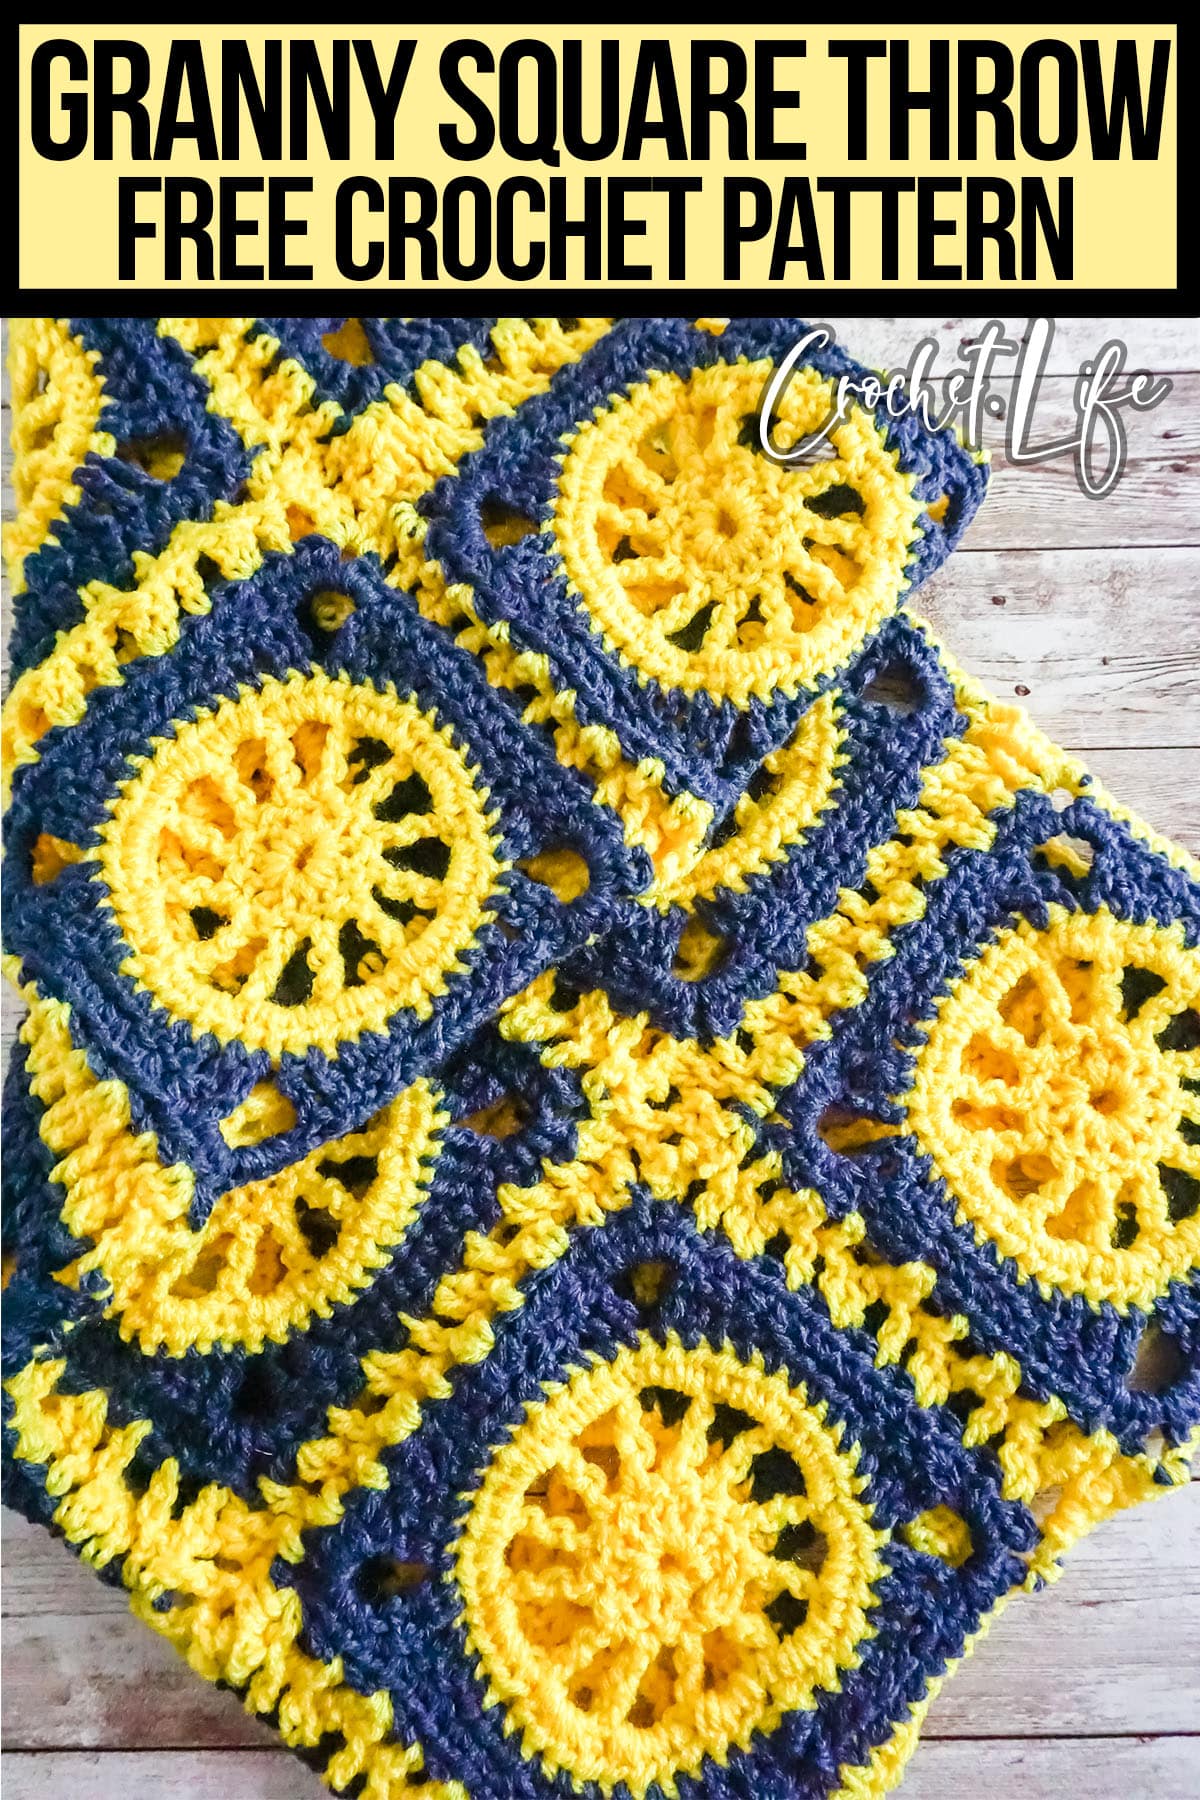
- Light and Easy Granny Square (pictured)
- Flutterby Granny Square or Dishcloth Crochet Pattern
- 21 Beautiful Crochet Granny Square Patterns
- 11 Classically Beautiful Crochet Patterns
As I said before, there are many crochet granny square patterns available online, but sometimes it can be fun to create your own pattern.
How Do You Join Granny Squares Into a Blanket?
There are several ways to join granny squares together to make a crochet blanket.
One way is to crochet around the edges of each square, which is the easiest method.
Another way is to use a crochet hook to crochet through the back loops of each square and then pull the yarn tight to join them together. This method creates a more sturdy seam than crocheting around the edges.
And another way is that you can sew the squares together using a needle and thread. This method is not as strong as crocheting or crocheting through the back loops, but it is very easy and does not require any special skills.
Keep reading below to learn step-by-step how I joined these easy granny squares into a couch throw.
What Yarn Should You Use for Granny Squares?
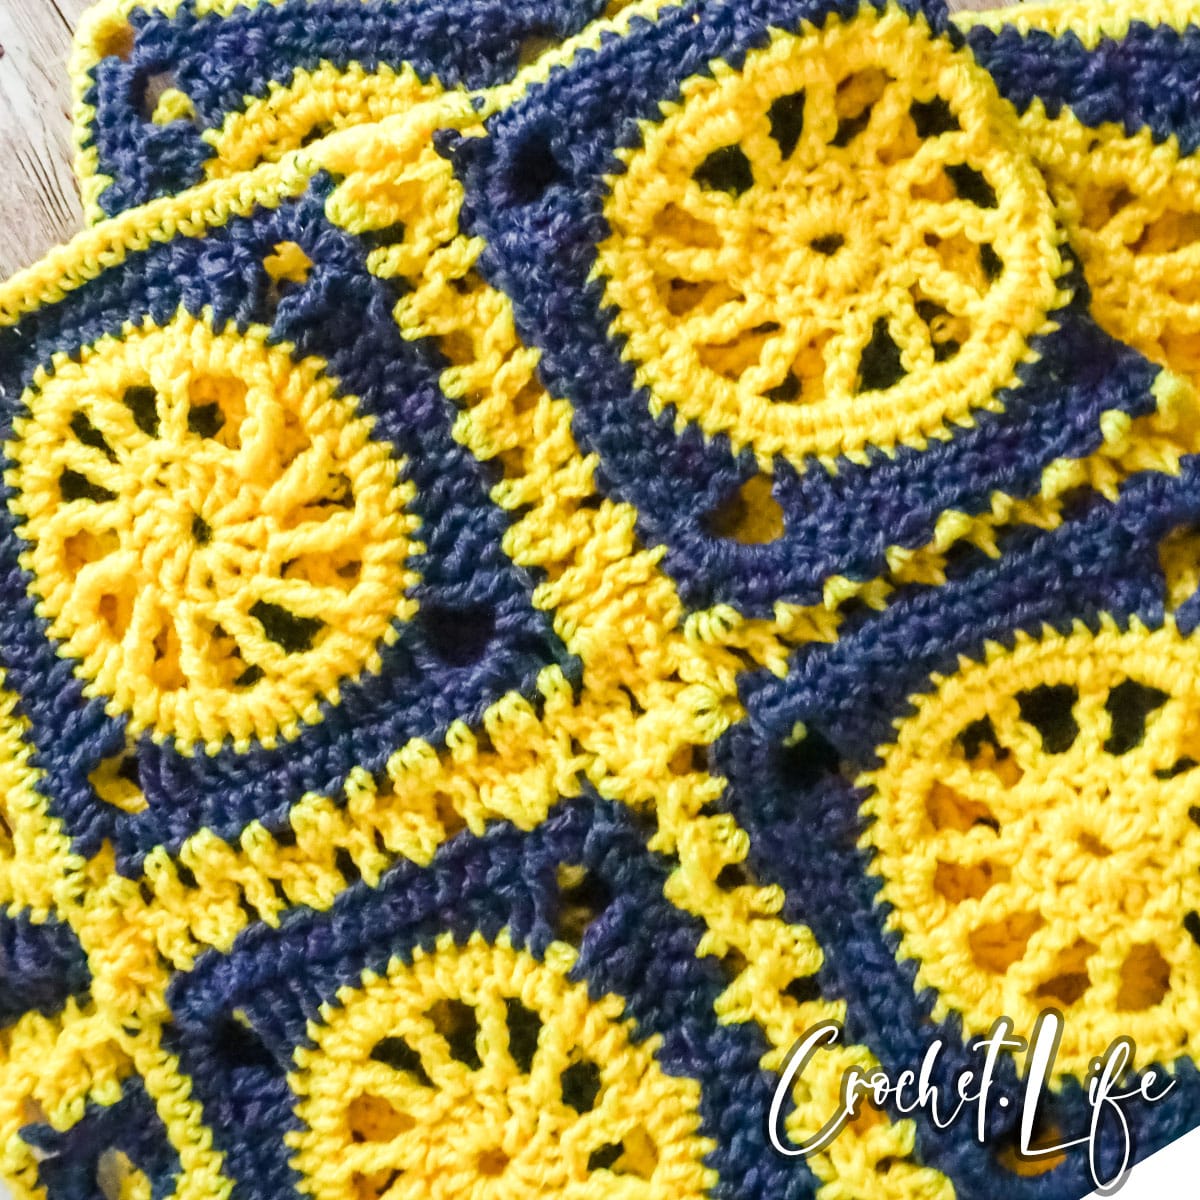
Granny squares are crochet in a square shape and they are usually made with highly-contrasted-color yarns (2 or more) so that the color changes stand out.
Additionally, I wanted to use a yarn I had available to me that was inexpensive and readily available at local craft stores so it would be easy for you to try out without dropping a lot of cash. After searching through the yarn I had in my stash, I selected Red Heart Super Saver yarn in contrasting colorways.
But this project can be worked with any worsted weight yarn or similar.
What Size Is This Crocheted Throw Blanket?
As written, the granny square pattern is one-size. The resulting granny square is 5.5-inches square. This seems relatively small on the screen, but it is a standard size for granny squares and is a lot larger in person than it seems.
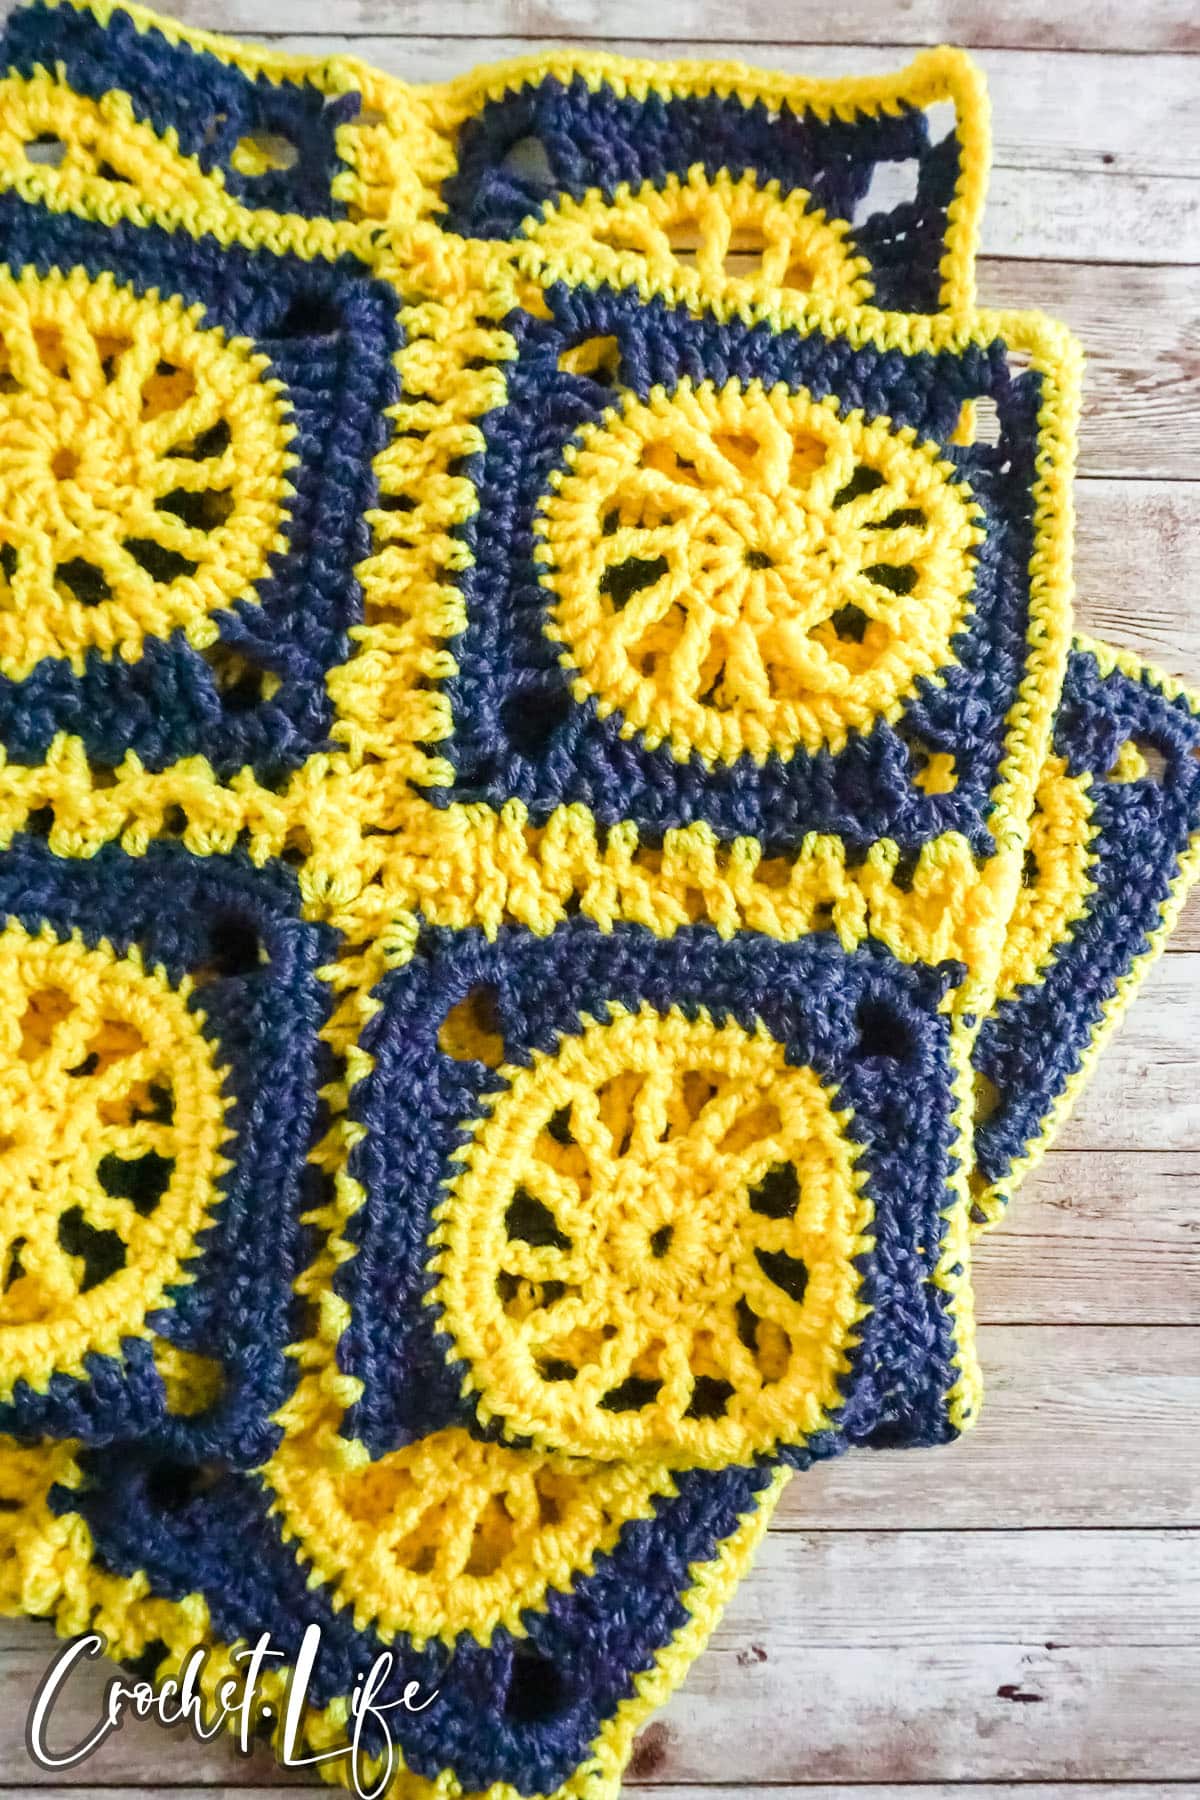
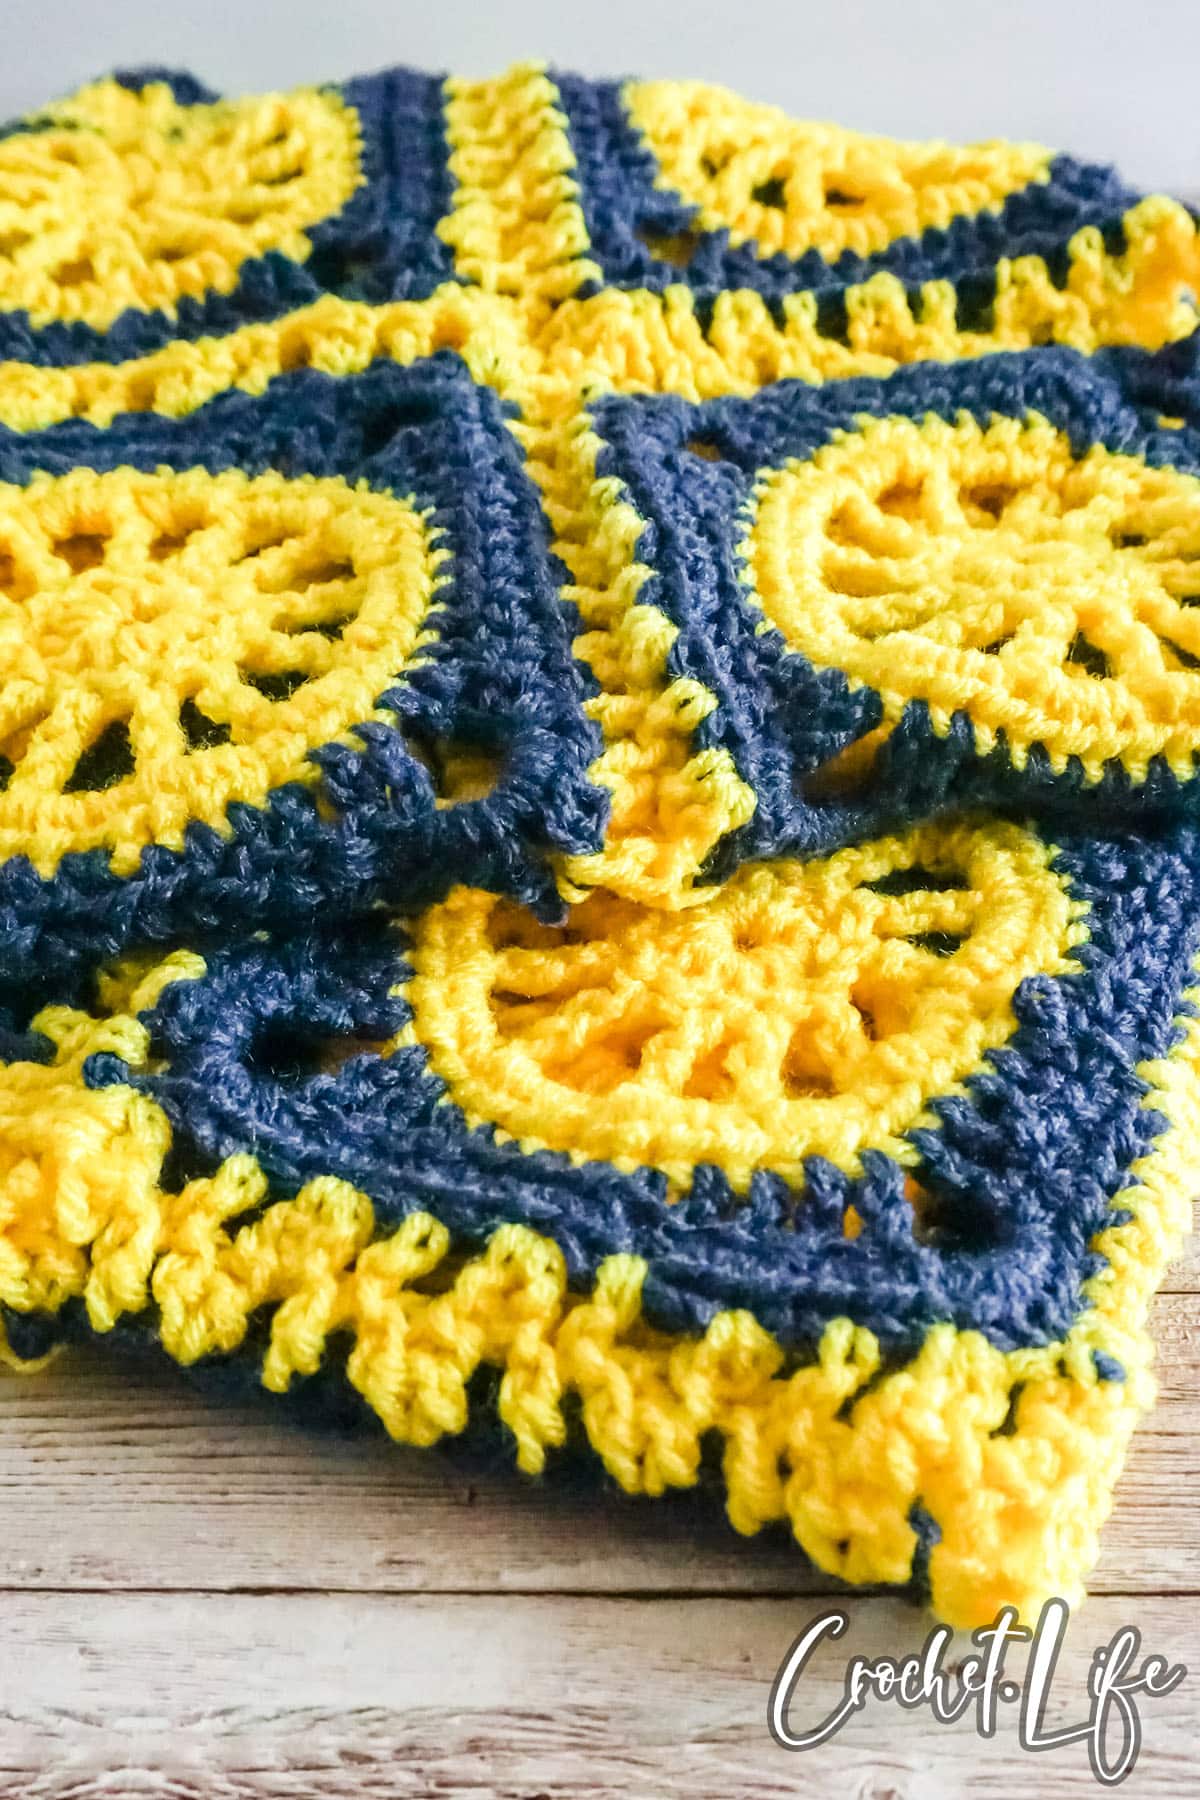
As far as the crocheted throw blanket, the blanket can be however large you would like it to be. I wanted a small blanket that would rest on the back of my couch. So I chose to join 4 rows by 4 columns (16 total squares). This results in a blanket of 24.5-inches by 24.5-inches. However, as stated, you can make your blanket larger or smaller, as desired.
How Much Yarn Will I Need to Make a Throw Blanket?
For each granny square, I used about 1/8 of each color of 7oz skeins of Red Heart Super Saver 100% acrylic, worsted weight yarn in a Soft Navy and Lemon colorways for the pictured set of granny squares. Because I used 16 granny squares, I used about 2 of each color of the skeins of yarn for the full couch throw.
I do generally crochet in a medium-tension, so this is what I would consider an average amount of yarn usage for this project.
How Do You Crochet a Couch Throw Blanket?
This basic granny square crochet pattern is worked in the round, starting with a foundation chain. If you prefer to make a magic circle, you can find instructions to make that, you can see my trinket bowl crochet pattern.
Once you make the foundation chain (or magic circle, if desired), you work the stitches into the circle, working outward toward the edge. Color changes can be made anywhere desired, but I decided to change colors between the “center” and the “border” sections.
More Crochet Patterns
If you are interested in more great patterns, check out some of our other collections and patterns below. This list will give you tons of ideas for your next crochet project after you finish making this fun crochet headband pattern.
- Easy Pocket Shawl Crochet Pattern
- Winter View Cowl
- Stunning Textured Cowl with 4 Toggle Options
- Easy Adult-Sized Crochet Mittens
Granny Square Couch Throw – How to Assemble Granny Squares into a Blanket
Below you will find the notes and directions for making this fun granny square blanket crochet pattern.
Size Assembled:
- 24.5-inches squared (62.32 cm x 62.32 cm)
Materials
- 320 yards each of 100% acrylic, worsted weight (size 4) yarn (Red Heart Super Saver in Soft Navy and Lemon colorways pictured)
- Crochet hook: Size H/8 (5.00 mm)
Gauge:
- 7 hdc wide by 7 rows = 2 inch square (5.08 cm x 5.08 cm)
Skill Level: Easy
Pattern Notes
- The yarn used for these items contains natural fiber and requires special laundering. Please read yarn labels and follow directions to maintain the life of your crochet work.
- Using the Light and Easy Granny Square Pattern (not included with these instructions), make at least 16 granny squares. If you’d like to make a larger throw, make any number of granny squares times the same number. So, 25 squares will make a five by five throw. 36 squares will make a six by six throw.
Sizing
One Size
Special Stitches
Half Double Crochet (hdc):
Yarn over, insert hook in row below and pull up a loop, yarn over (3 loops on hook) and pull through all loops on hook. One half double crochet stitch (hdc) completed.
Directions
Begin by making 16 granny squares. This will make a throw that is four squares by four squares.
Make granny square chains:
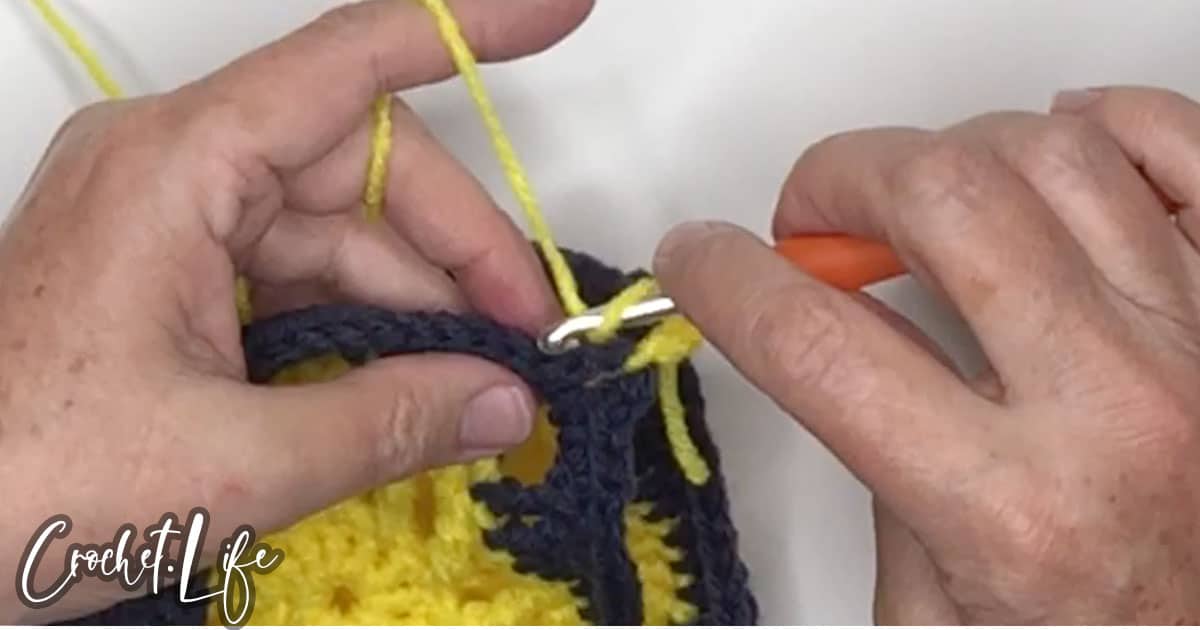
Hold two granny squares together, and attach your yarn by slipping the yarn through the corner chain of the square closest to you (square 1). Then make the slip knot that you would normally place on your crochet hook, and insert your crochet hook. Chain 3. DC in the corner chain of the other square (square 2).
*Skip the next st of square 1, 2 DC in the next st of square 1.
Skip the next st of square 2, 2 DC in the next st of square 2.
Repeat from * across one side of the granny squares.
2 DC in corner of square 1.
2 DC in corner of square 2.
Cut and finish.
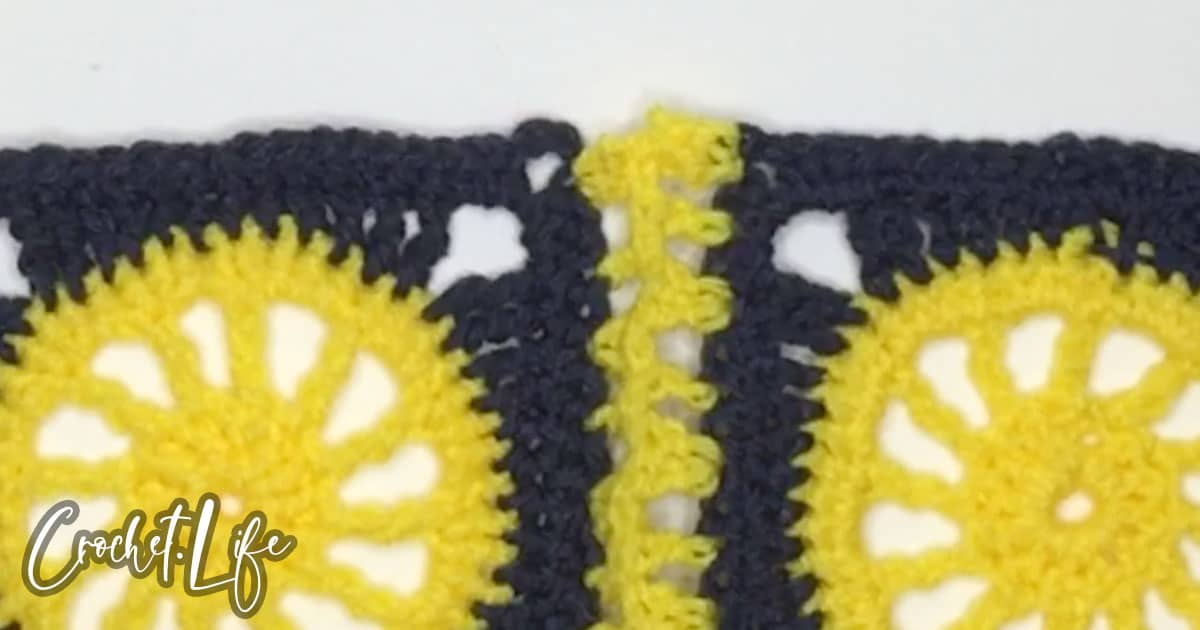
Repeat three times to attach 4 granny squares in one long chain.
Repeat to make three more chains of 4 granny squares each.
Attach granny square chains to make the square throw:
Hold 2 of the granny square chains back to back, and attach them together:
Attach your yarn by slipping the yarn through the corner chain of granny square chain 1. Then make the slip knot that you would normally place on your crochet hook, and insert your crochet hook. Chain 3. DC in the corner chain of the granny square chain 2.
*Skip the next st of square 1, 2 DC in the next st of square 1.
Skip the next st of square 2, 2 DC in the next st of square 2.
Repeat from * across one of the granny squares.
2 DC in corner of square 1.
2 DC in corner of square 2.
DC in the side of the yellow DC of square 1.
DC in the side of the yellow DC of square 2.
2 DC in the side of the second yellow DC of square 1.
2 DC in the side of the second yellow DC of square 2.
**DC in the corner chain of the granny square chain 1.
DC in the corner chain of the granny square chain 2.
*Skip the next st of square 1, 2 DC in the next st of square 1.
Skip the next st of square 2, 2 DC in the next st of square 2.
Repeat from * across one of the granny squares.
2 DC in corner of square 1.
2 DC in corner of square 2.
DC in the side of the yellow DC of square 1.
DC in the side of the yellow DC of square 2.
2 DC in the side of the second yellow DC of square 1.
2 DC in the side of the second yellow DC of square 2.
Repeat from ** to the end of the granny square chain.
Attach the 2 remaining granny square chains.
Finish the granny square throw:
Attach your yarn to the middle of any side of the throw by pulling the yarn through a DC. Then make the slip knot that you would normally place on your crochet hook, and insert your crochet hook.
Ch 1, *sc in ea vertical st across the individual granny square, 2 sc in blue chain at the attached corner, 2 sc in the side of ea horizontal DC (the yellow one’s between the granny squares), 2 sc in blue chain at the attached corner. Repeat from * across one side of the throw. 6 sc in the corner chain of the throw.
** *SC in ea vertical st across the individual granny square, 2 sc in blue chain at the attached corner, 2 sc in the side of ea horizontal DC (the yellow one’s between the granny squares), 2 sc in blue chain at the attached corner. Repeat from * across one side of the throw. 6 sc in the corner chain of the throw.
Repeat from ** for each side of the throw.
Sl st to join. Cut and finish.
Granny Square Couch Throw - How to Assemble Granny Squares into a Blanket
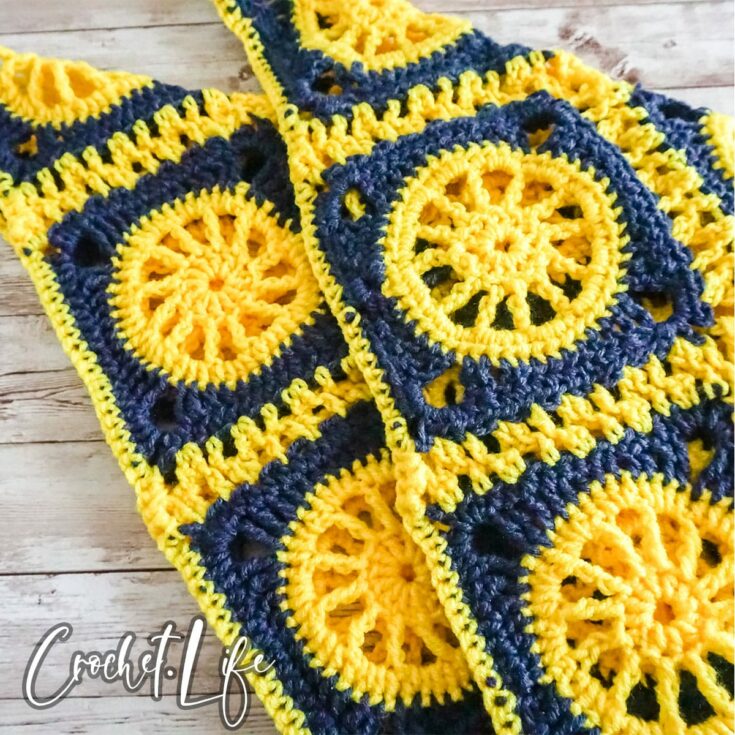
Simple, but a great skill to have, this tutorial for how to join granny squares into a blanket is invaluable. Plus, you get a fun couch throw out of it!
Materials
- 320 yards each of 100% acrylic, worsted weight (size 4) yarn (Red Heart Super Saver in Soft Navy and Lemon colorways pictured)
Tools
- Crochet hook: Size H/8 (5.00 mm)
Instructions
- Begin by making 16 granny squares. This will make a throw that is four squares by four squares.
Make granny square chains:
- Hold two granny squares together, and attach your yarn by slipping the yarn through the corner chain of the square closest to you (square 1). Then make the slip knot that you would normally place on your crochet hook, and insert your crochet hook. Chain 3. DC in the corner chain of the other square (square 2).
- *Skip the next st of square 1, 2 DC in the next st of square 1.
- Skip the next st of square 2, 2 DC in the next st of square 2.
- Repeat from * across one side of the granny squares.
- 2 DC in corner of square 1.
- 2 DC in corner of square 2.
- Cut and finish.
- Repeat three times to attach 4 granny squares in one long chain (see video).
- Repeat to make three more chains of 4 granny squares each.
Attach granny square chains to make the square throw:
- Hold 2 of the granny square chains back to back, and attach them together:
- Attach your yarn by slipping the yarn through the corner chain of granny square chain 1. Then make the slip knot that you would normally place on your crochet hook, and insert your crochet hook. Chain 3. DC in the corner chain of the granny square chain 2.
- *Skip the next st of square 1, 2 DC in the next st of square 1.
- Skip the next st of square 2, 2 DC in the next st of square 2.
- Repeat from * across one of the granny squares.
- 2 DC in corner of square 1.
- 2 DC in corner of square 2.
- DC in the side of the yellow DC of square 1.
- DC in the side of the yellow DC of square 2.
- 2 DC in the side of the second yellow DC of square 1.
- 2 DC in the side of the second yellow DC of square 2.
- **DC in the corner chain of the granny square chain 1.
- DC in the corner chain of the granny square chain 2.
- *Skip the next st of square 1, 2 DC in the next st of square 1.
- Skip the next st of square 2, 2 DC in the next st of square 2.
- Repeat from * across one of the granny squares.
- 2 DC in corner of square 1.
- 2 DC in corner of square 2.
- DC in the side of the yellow DC of square 1.
- DC in the side of the yellow DC of square 2.
- 2 DC in the side of the second yellow DC of square 1.
- 2 DC in the side of the second yellow DC of square 2.
- Repeat from ** to the end of the granny square chain.
- Attach the 2 remaining granny square chains.
Finish the granny square throw:
- Attach your yarn to the middle of any side of the throw by pulling the yarn through a DC. Then make the slip knot that you would normally place on your crochet hook, and insert your crochet hook.
- Ch 1, *sc in ea vertical st across the individual granny square, 2 sc in blue chain at the attached corner, 2 sc in the side of ea horizontal DC (the yellow one’s between the granny squares), 2 sc in blue chain at the attached corner. Repeat from * across one side of the throw. 6 sc in the corner chain of the throw.
- ** *SC in ea vertical st across the individual granny square, 2 sc in blue chain at the attached corner, 2 sc in the side of ea horizontal DC (the yellow one’s between the granny squares), 2 sc in blue chain at the attached corner. Repeat from * across one side of the throw. 6 sc in the corner chain of the throw.
- Repeat from ** for each side of the throw.
- Sl st to join. Cut and finish.
Notes
Size Assembled:
- 24.5-inches squared (62.32 cm x 62.32 cm)
Gauge:
- 7 hdc wide by 7 rows = 2 inch square (5.08 cm x 5.08 cm)
Skill Level: Easy
Pattern Notes
- The yarn used for these items contains natural fiber and requires special laundering. Please read yarn labels and follow directions to maintain the life of your crochet work.
- Using the Light and Easy Granny Square Pattern (not included with these instructions), make at least 16 granny squares. If you’d like to make a larger throw, make any number of granny squares times the same number. So, 25 squares will make a five by five throw. 36 squares will make a six by six throw.
Sizing
One Size
Special Stitches
Half Double Crochet (hdc):
Yarn over, insert hook in row below and pull up a loop, yarn over (3 loops on hook) and pull through all loops on hook. One half double crochet stitch (hdc) completed.


Leave a Reply