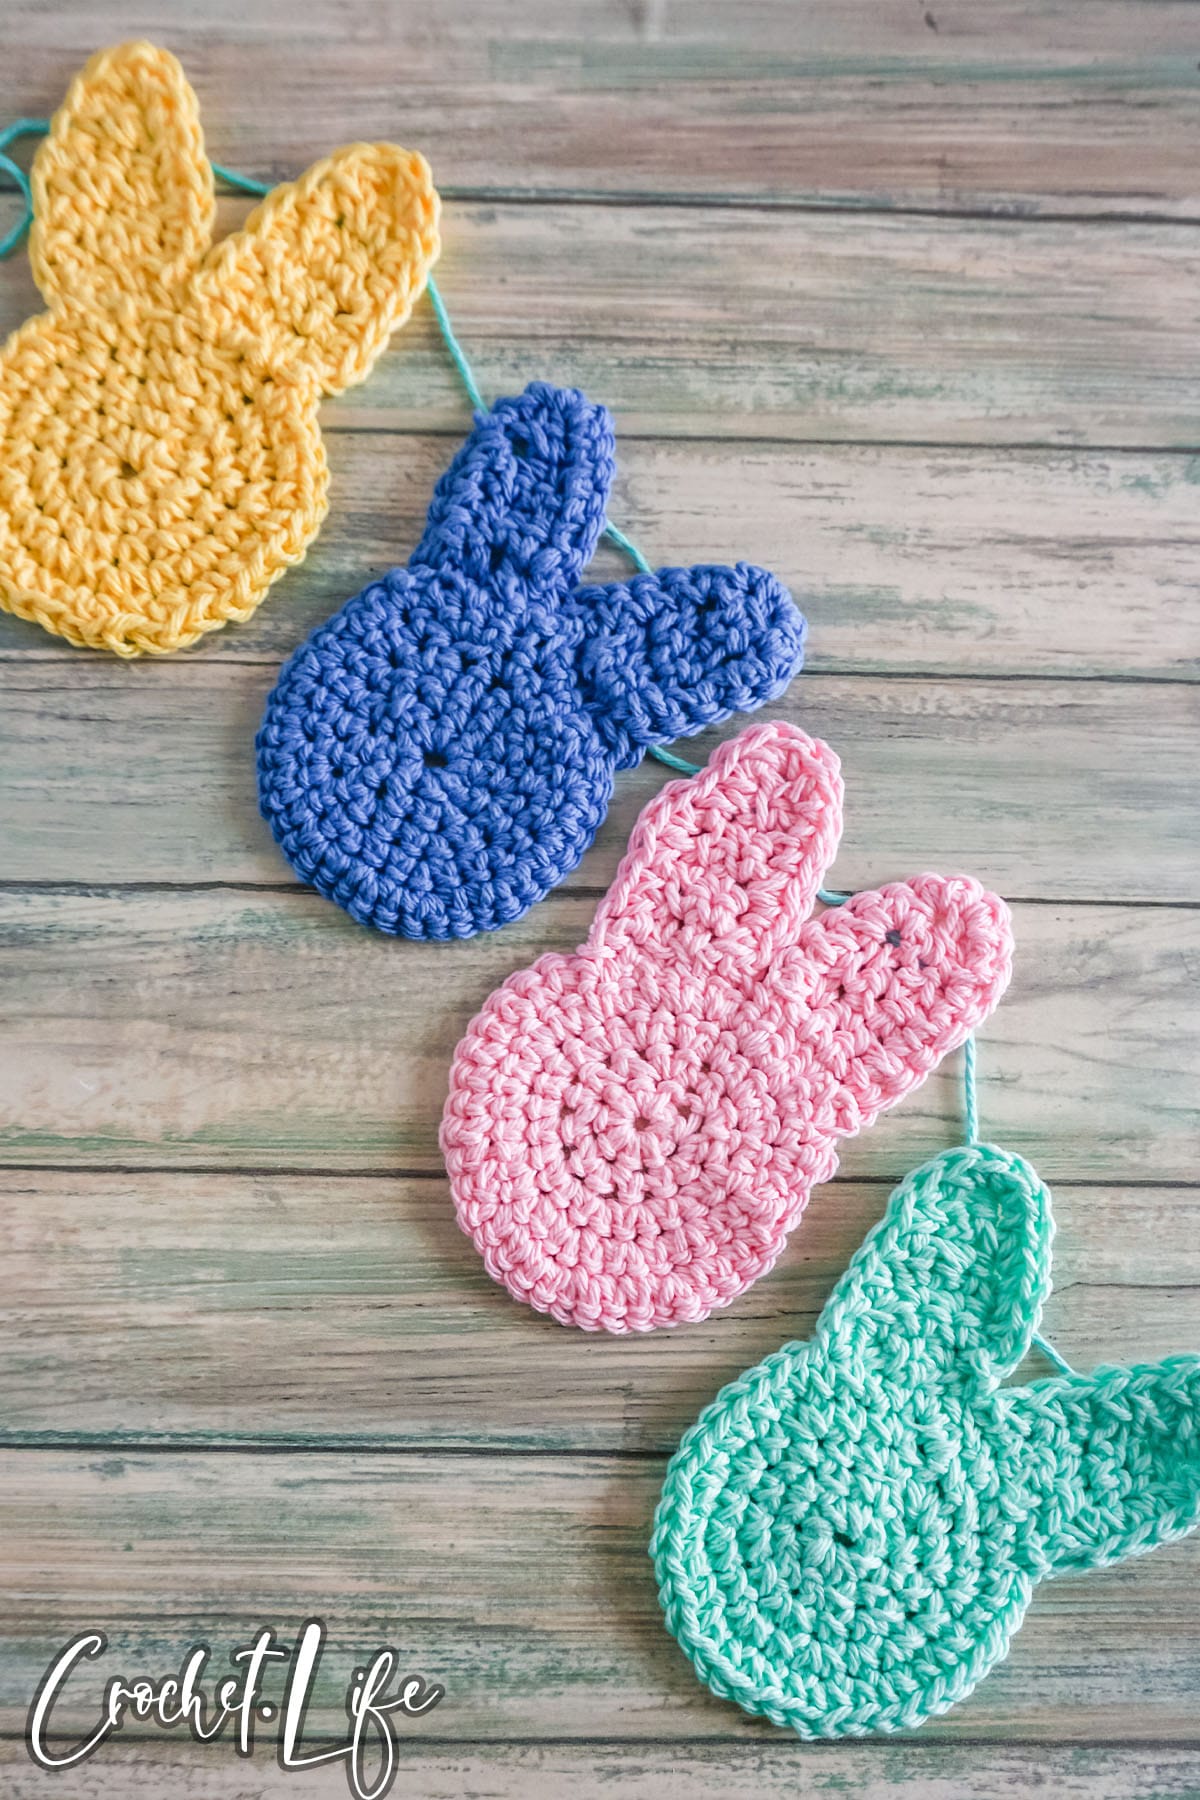
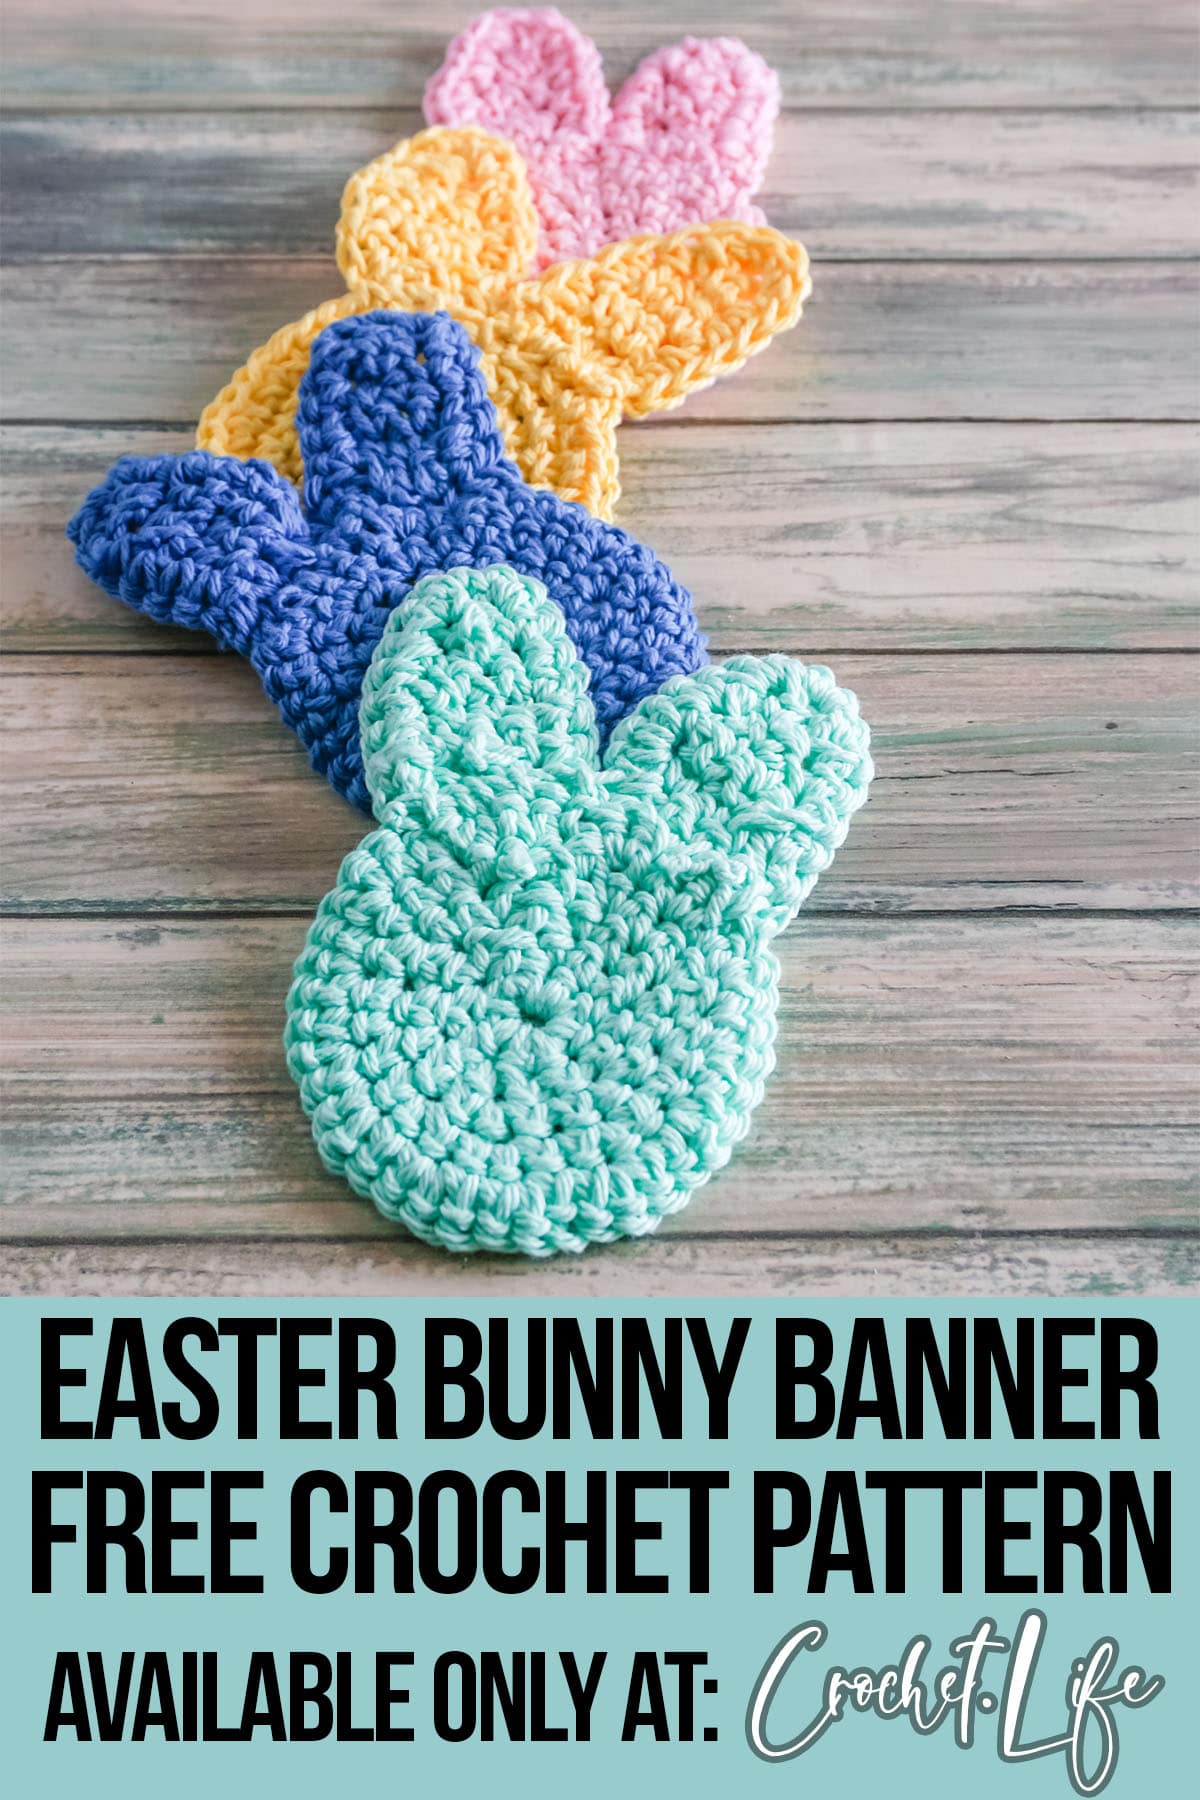
For a fun little addition to our Easter decor, I whipped up this cute spring bunny banner crochet pattern. Any color and any number, these bunnies are fun and easy.
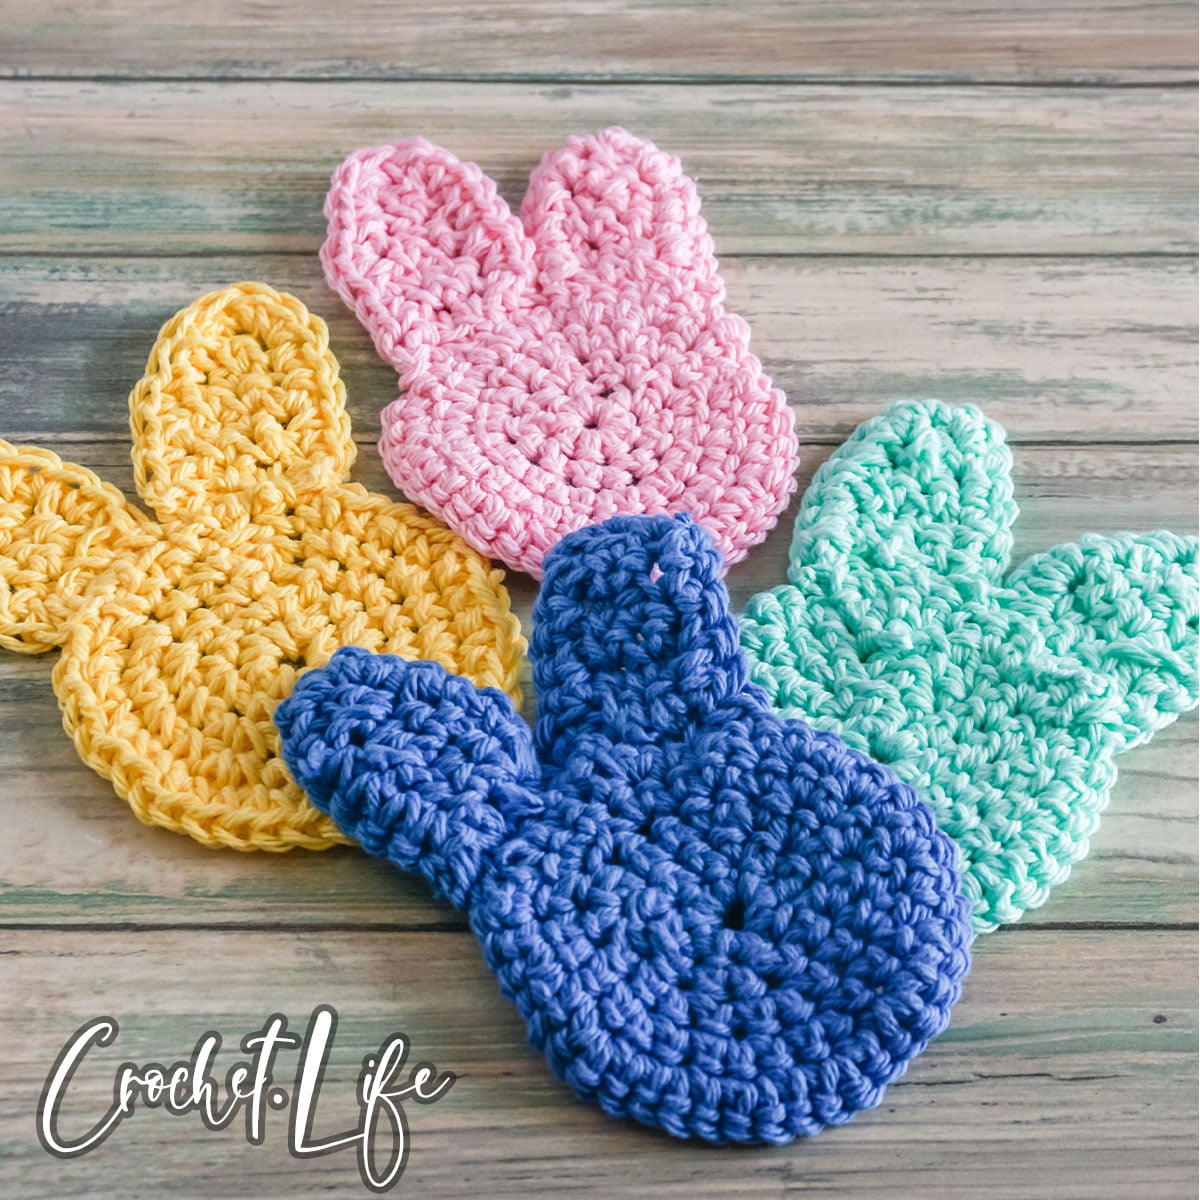
Table of Contents
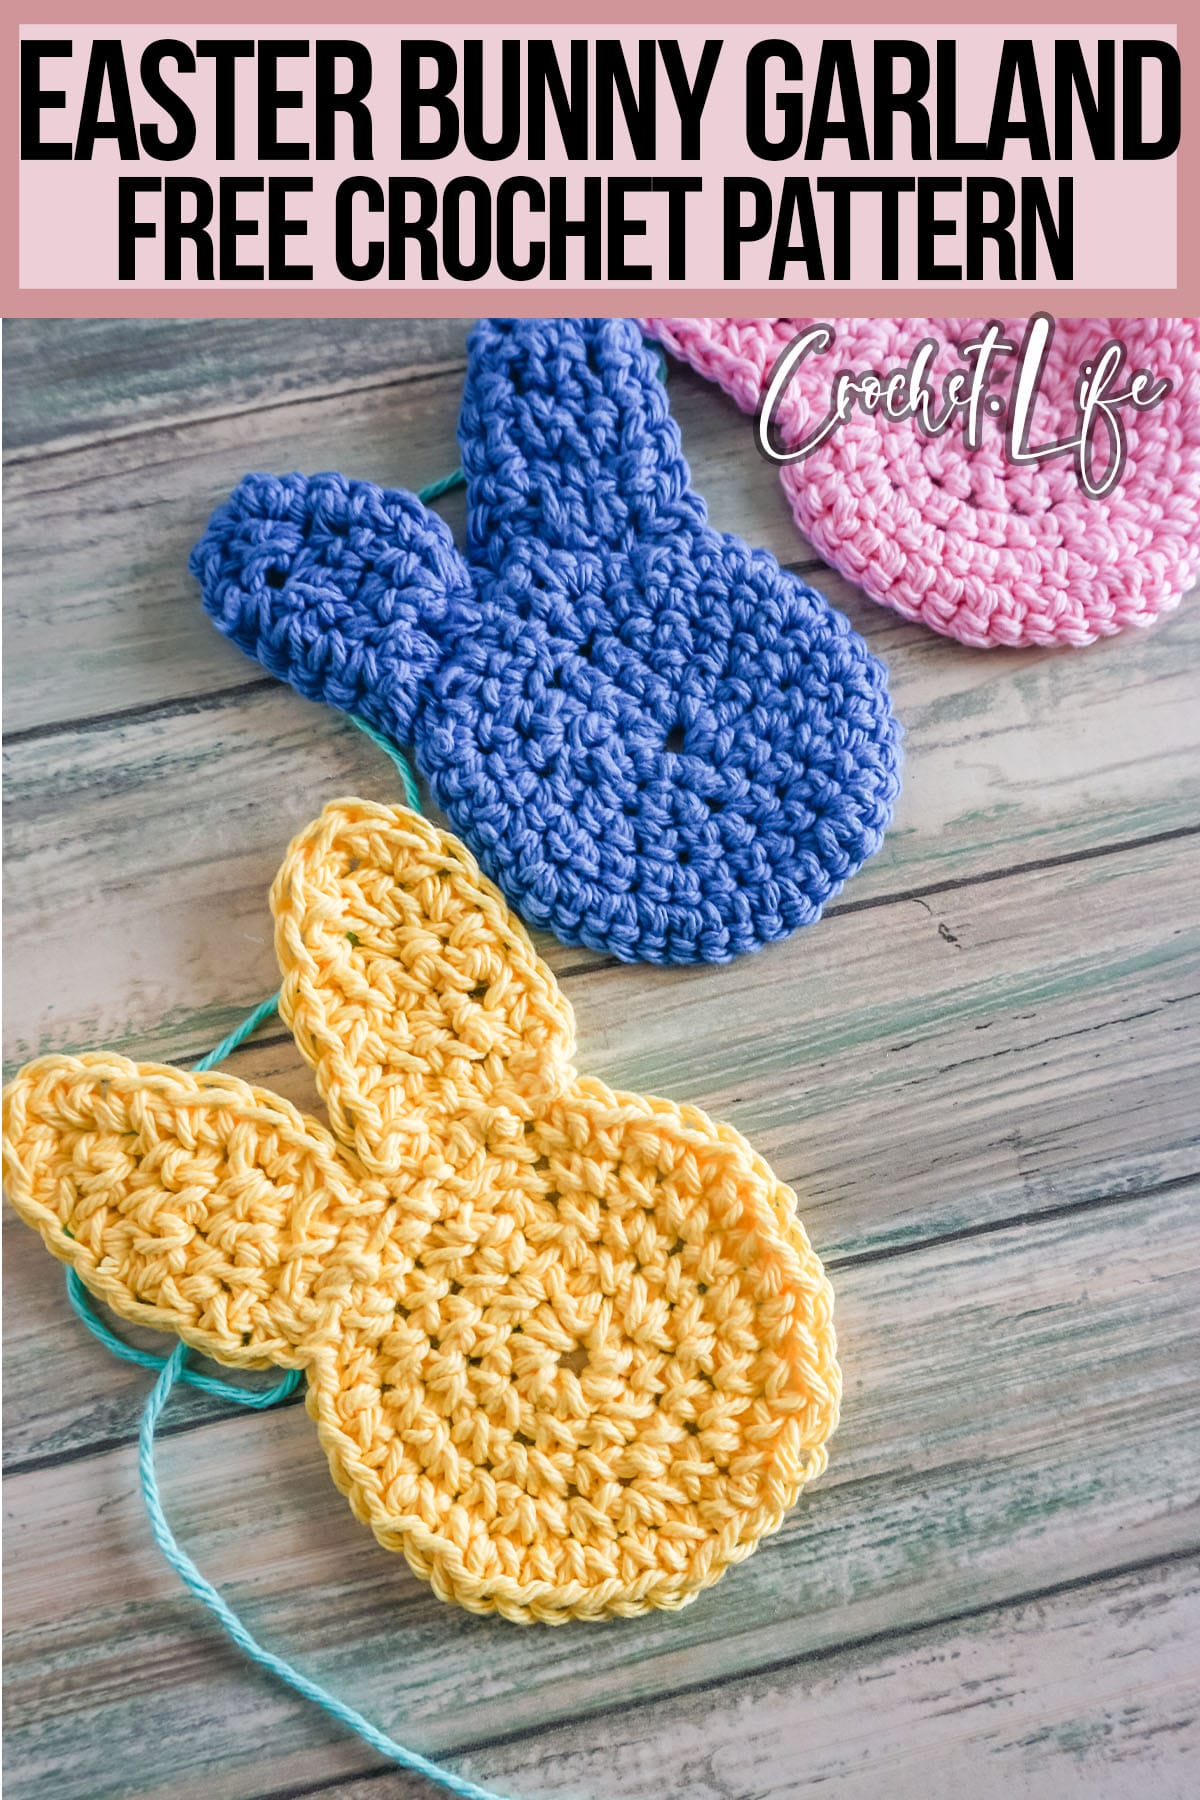
Spring Bunny Banner Crochet Pattern – Free
While I’ve made crocheted eggs before, I realized I’ve never made a bunny before. So I figured there was no time like the present. Especially since Easter is just around the corner.
It’s a super simple beginner crochet pattern that is perfect for anyone who’s learned how to do some of the most basic of stitches. So, pick out your yarn, grab your hook and let’s get going!
What Yarn Should You Use for a Garland for Easter?
For this easy Easter garland, I wanted a variety of bright colors and inexpensive yarn. I selected Sugar ‘n Cream yarn in a couple of colorways. But this project can be worked with any worsted weight yarn or similar.
What Size Is This Easter Garland?
As written, this pattern is one-size. Each resulting bunny is 5-inches tall by 3-inches wide. Width of the garland is entirely based on the number of bunnies you include and how far apart you space them on your embroidery thread.
How Much Yarn Will I Need to Make a Bunny Garland?
I used about 30 yards of a 2.5oz skein of Sugar n’ Cream 100% worsted weight yarn in each of colorways for the pictured set of Easter bunnies. This is about 1/4 of a brand new skein per bunny in the garland.
I do generally crochet in a medium-tension, so this is what I would consider an average amount of yarn usage for this project.
How Do You Crochet a Bunny Banner?
The head part of this easy bunny shape crochet pattern is worked in the round, starting with a foundation chain. If you prefer to make a magic circle, you can find instructions to make that, you can see my trinket bowl crochet pattern.
The ears are worked as two separate pieces, then attached to the main piece.
More Crochet Patterns
If you are interested in more great patterns, check out some of our other collections and patterns below. This list will give you tons of ideas for your next crochet project after you finish making this fun crochet pattern.
- Easy Pocket Shawl Crochet Pattern
- Winter View Cowl
- Stunning Textured Cowl with 4 Toggle Options
- Easy Adult-Sized Crochet Mittens
Spring Bunny Banner Crochet Pattern – Free
Below you will find the notes and directions for making this fun Easter banner crochet pattern.
Size Assembled:
- 3-inches wide, 5-inches tall or 7.62cm diameter, 12.7cm depth
Materials
- 30 yards in each color of 100% cotton, worsted weight (size 4) yarn (Sugar n’ Cream in Blueberry, Yellow, Rose Pink, and Beach Glass colorways pictured)
- Crochet hook: Size H/8 (5 mm)
Gauge:
- 7 SC wide by 7 SC rows = 2 in x 2 in (5.08cm x 5.08cm)
Skill Level: Easy
Pattern Notes
- The yarn used for these items contains natural fiber and requires special laundering. Please read yarn labels and follow directions to maintain the life of your crochet work.
Sizing
One Size
Special Stitches
None.
Directions
Head:
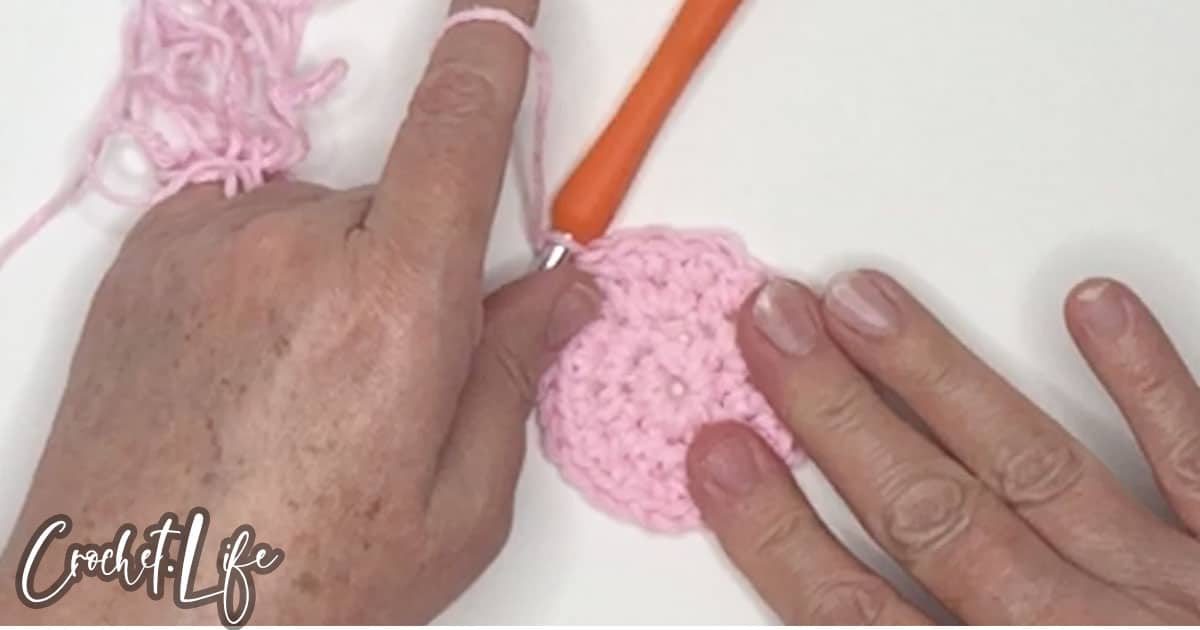
Ch 4, do NOT turn. Being careful to not twist the foundation chain, sl st to the beginning of the chain.
Round 1: Ch 1, 7 SC in the foundation ring (8 total stitches), sl st to join, do NOT turn.
Round 2: Ch1 *2 SC in next st, 1 SC in next st.* Repeat from * around (12 total stitches), sl st to join, do NOT turn.
Round 3: Ch1 *2 SC in next st, 1 SC in next st.* Repeat from * around (20 total stitches), sl st to join, do NOT turn.
Round 4: Ch1 *2 SC in next st, 1 SC in next st.* Repeat from * around (30 total stitches), sl st to join, do NOT turn.
Round 5: Ch1 *2 SC in next st, 1 SC in next st.* Repeat from * around (45 total stitches), sl st to join.
Fasten off. Weave in ends.
Ears (make 2):
Ch 5, turn.
Row 1: SC in 2nd loop from hook, SC in ea st across (4 total sts), turn.
Rows 2-4: Ch 1, SC in ea st across (4 total sts), turn.
Row 5: Ch 1, SC in next st, skip 1 st, SC in last st (3 total sts), turn.
Row 6: Ch 1, SC in ea st across (3 total sts), turn.
Row 7: Ch1, skip one st, SC in last st (2 total sts).
Fasten off. Weave in ends.
Border:
Cast on in one corner of the bottom edge of the ear (where the ear will attach to the head). SC around in ea st and row.
Fasten off. Weave in ends.
Finishing:
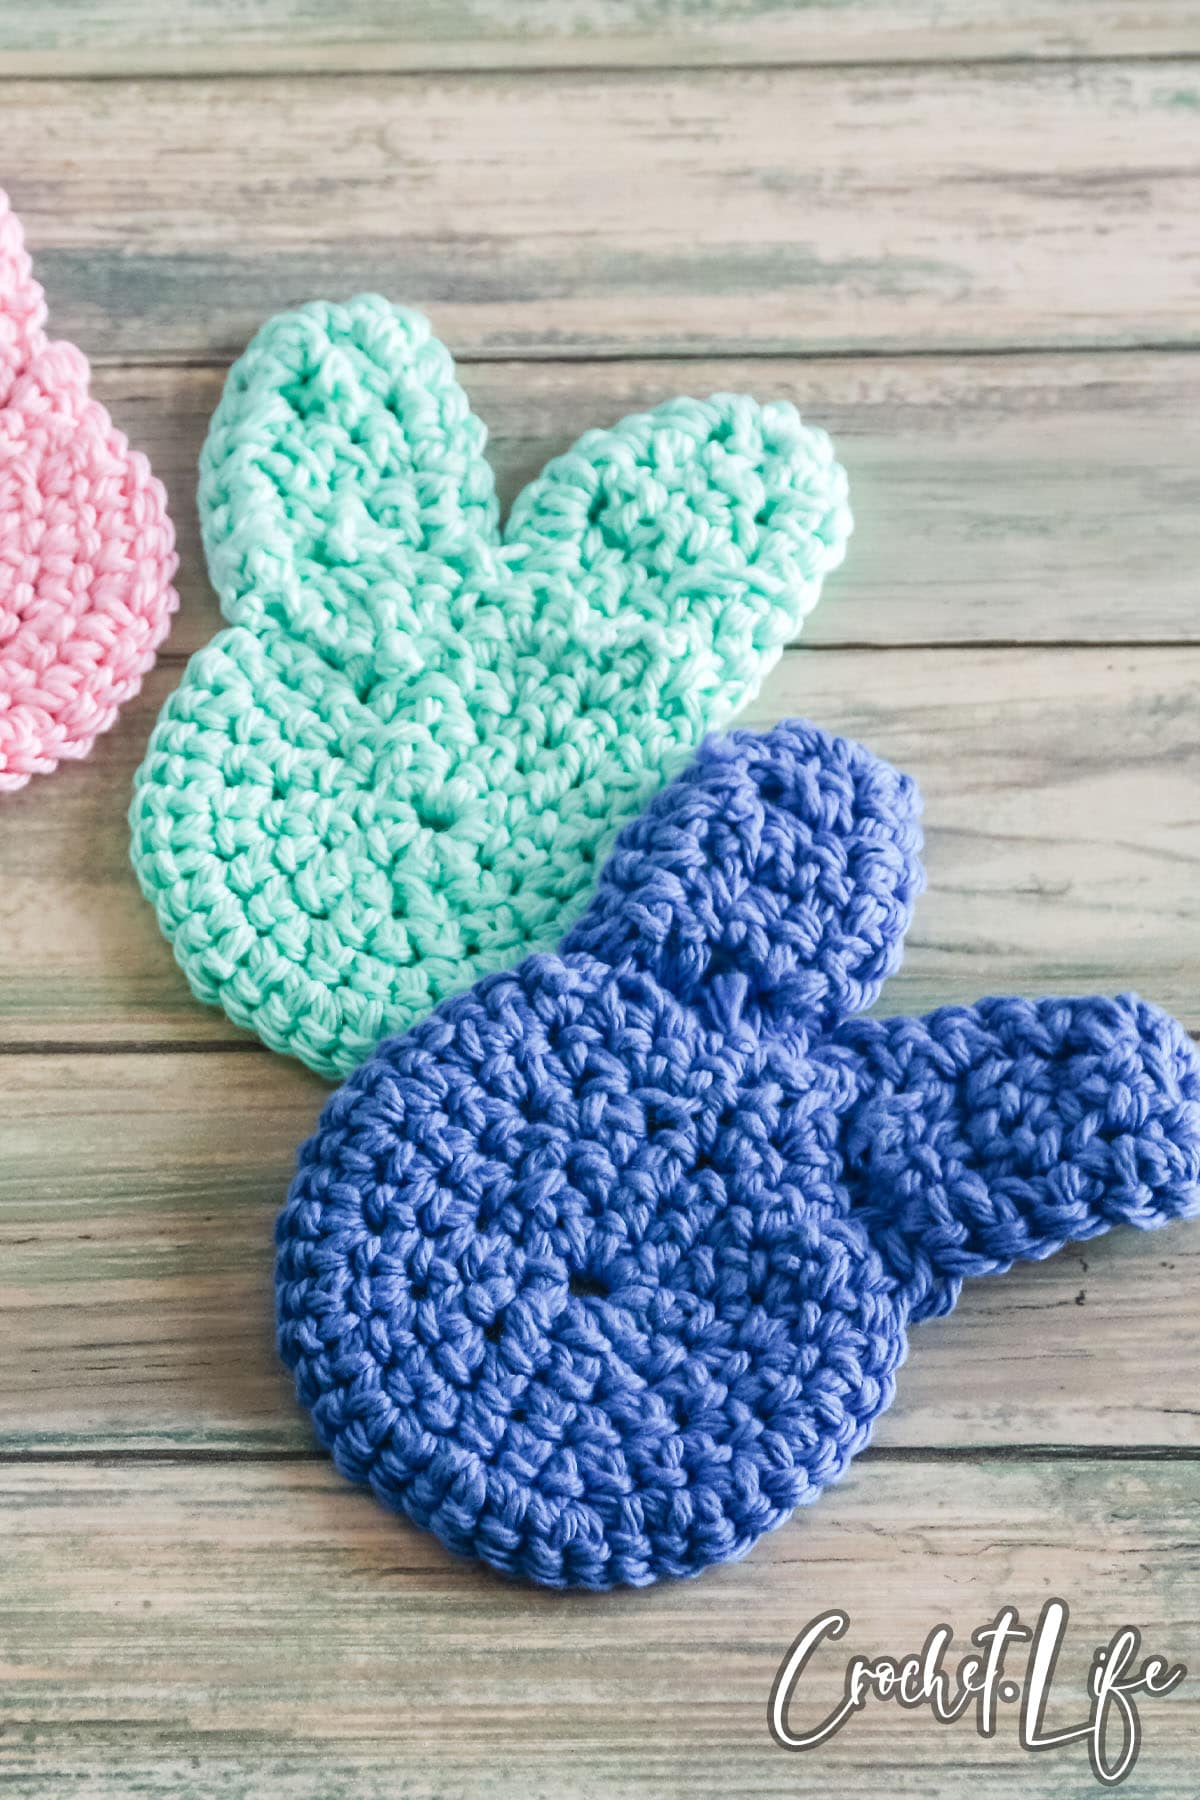
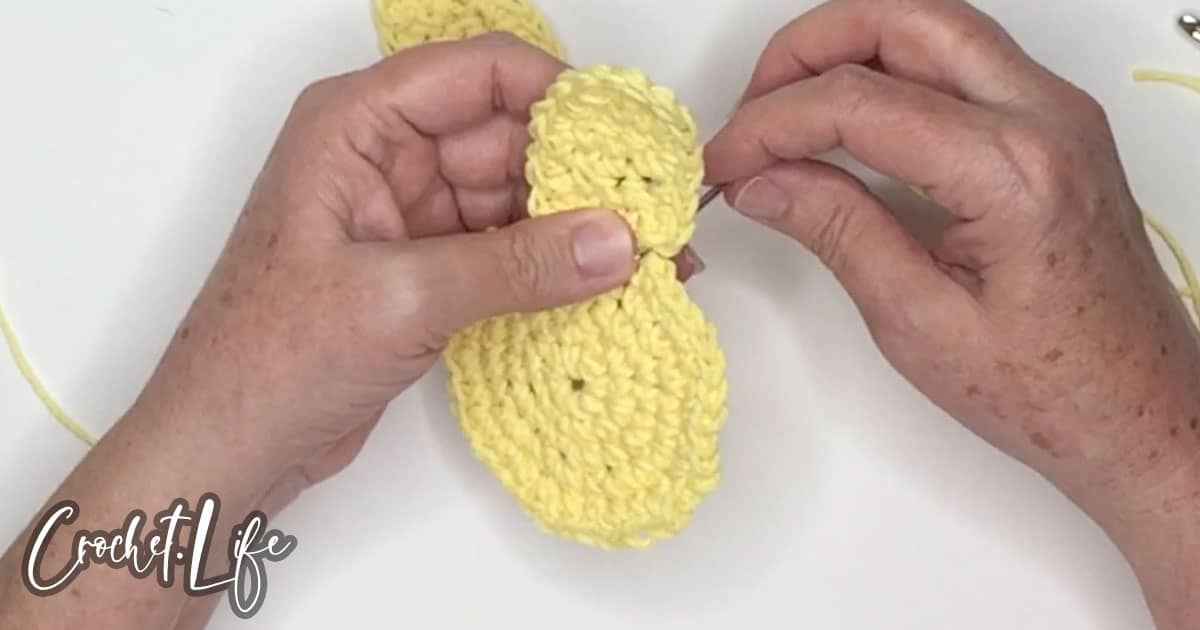
Attach the ears to the head using a yarn needle and a whip stitch. You could alternatively crochet the ears to the head using a sl st across the base of both ears. I personally think the whip stitch makes a prettier seam.
Repeat to make as many bunnies as desired.
To make a garland of your bunnies, thread a darning needle with embroidery thread and work through one side of each bunny at the join of the ears and head so you have all the bunnies facing the same direction. Then hang!
Bunny Banner Crochet Pattern
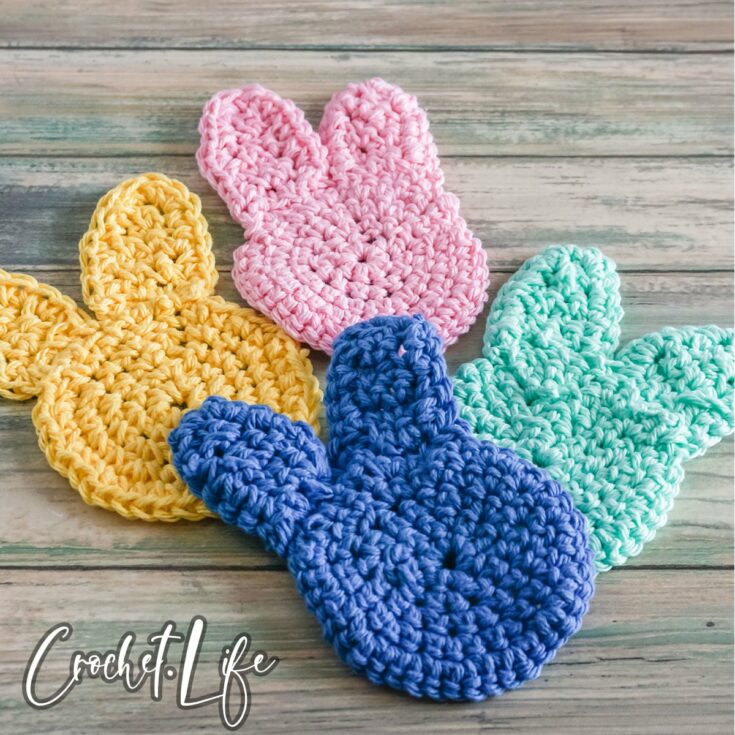
So easy and fun, this free Easter bunny banner crochet pattern is a fantastic way to bring little bunnies into your spring decor.
Materials
- 30 yards in each color of 100% cotton, worsted weight (size 4) yarn (Sugar n’ Cream in Blueberry, Yellow, Rose Pink, and Beach Glass colorways pictured)
Tools
- Crochet hook: Size H/8 (5 mm)
Instructions
Head:
- Ch 4, do NOT turn. Being careful to not twist the foundation chain, sl st to the beginning of the chain.
- Round 1: Ch 1, 7 SC in the foundation ring (8 total stitches), sl st to join, do NOT turn.
- Round 2: Ch1 *2 SC in next st, 1 SC in next st.* Repeat from * around (12 total stitches), sl st to join, do NOT turn.
- Round 3: Ch1 *2 SC in next st, 1 SC in next st.* Repeat from * around (20 total stitches), sl st to join, do NOT turn.
- Round 4: Ch1 *2 SC in next st, 1 SC in next st.* Repeat from * around (30 total stitches), sl st to join, do NOT turn.
- Round 5: Ch1 *2 SC in next st, 1 SC in next st.* Repeat from * around (45 total stitches), sl st to join.
- Fasten off. Weave in ends.
Ears (make 2):
- Ch 5, turn.
- Row 1: SC in 2nd loop from hook, SC in ea st across (4 total sts), turn.
- Rows 2-4: Ch 1, SC in ea st across (4 total sts), turn.
- Row 5: Ch 1, SC in next st, skip 1 st, SC in last st (3 total sts), turn.
- Row 6: Ch 1, SC in ea st across (3 total sts), turn.
- Row 7: Ch1, skip one st, SC in last st (2 total sts).
- Fasten off. Weave in ends.
Border:
- Cast on in one corner of the bottom edge of the ear (where the ear will attach to the head). SC around in ea st and row.
- Fasten off. Weave in ends.
Finishing:
- Attach the ears to the head using a yarn needle and a whip stitch. You could alternatively crochet the ears to the head using a sl st across the base of both ears. I personally think the whip stitch makes a prettier seam.
- Repeat to make as many bunnies as desired.
- To make a garland of your bunnies, thread a darning needle with embroidery thread and work through one side of each bunny at the join of the ears and head so you have all the bunnies facing the same direction. Then hang!
Notes
Size Assembled:
- 3-inches wide, 5-inches tall or 7.62cm diameter, 12.7cm depth
Gauge:
- 7 SC wide by 7 SC rows = 2 in x 2 in (5.08cm x 5.08cm)
Skill Level: Easy
Pattern Notes
- The yarn used for these items contains natural fiber and requires special laundering. Please read yarn labels and follow directions to maintain the life of your crochet work.
Sizing
One Size
Special Stitches
None.


Leave a Reply