Do you love the look of a scarf, but don’t like how it leaves your arms exposed to the cold? Wanna wear a vest, but still have some coverage on those wrists? Have no fear, because we have the perfect solution for you! You can crochet a scarf with sleeves that will keep your arms warm all winter long. We’ll also teach you how to wear it so that you can stay stylish and warm all season long.
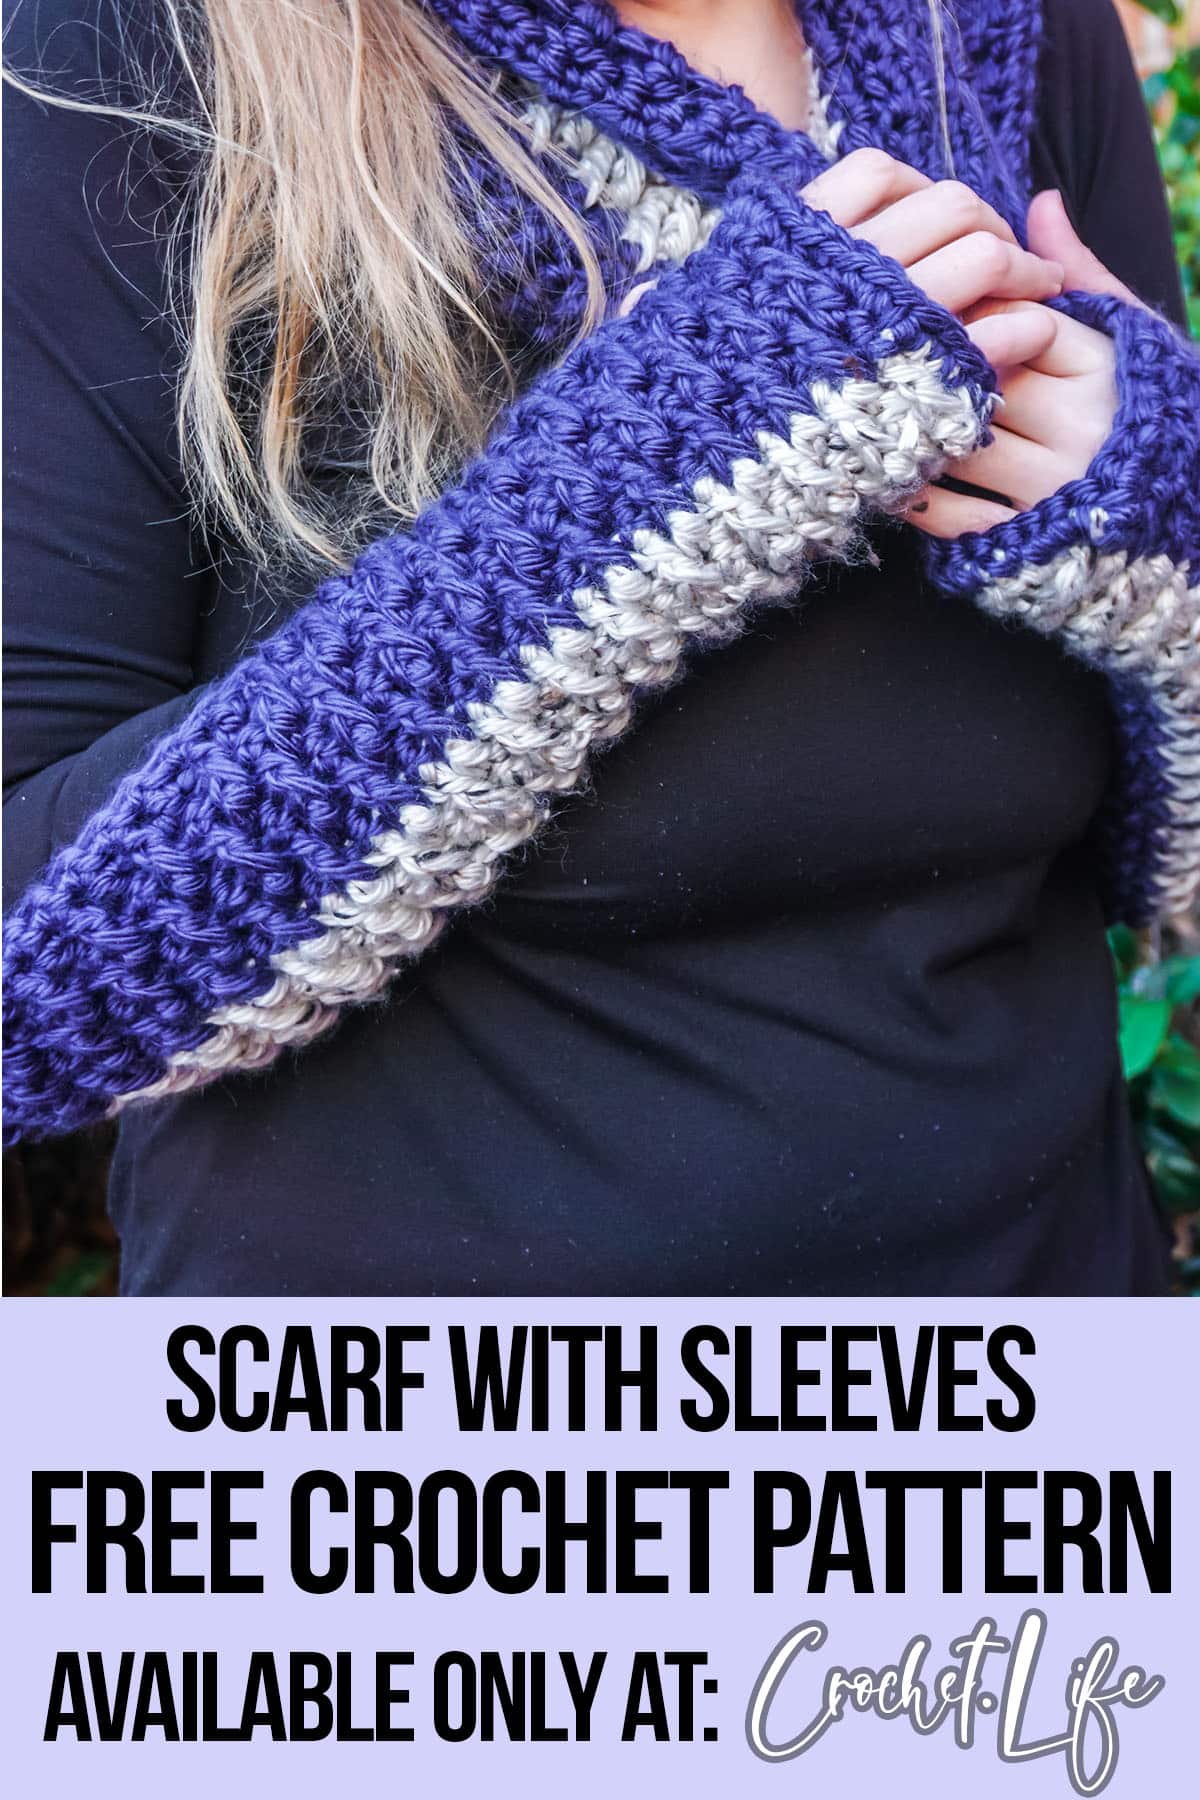
Table of Contents
An Easy Scarf with Sleeves Crochet Pattern for Winter
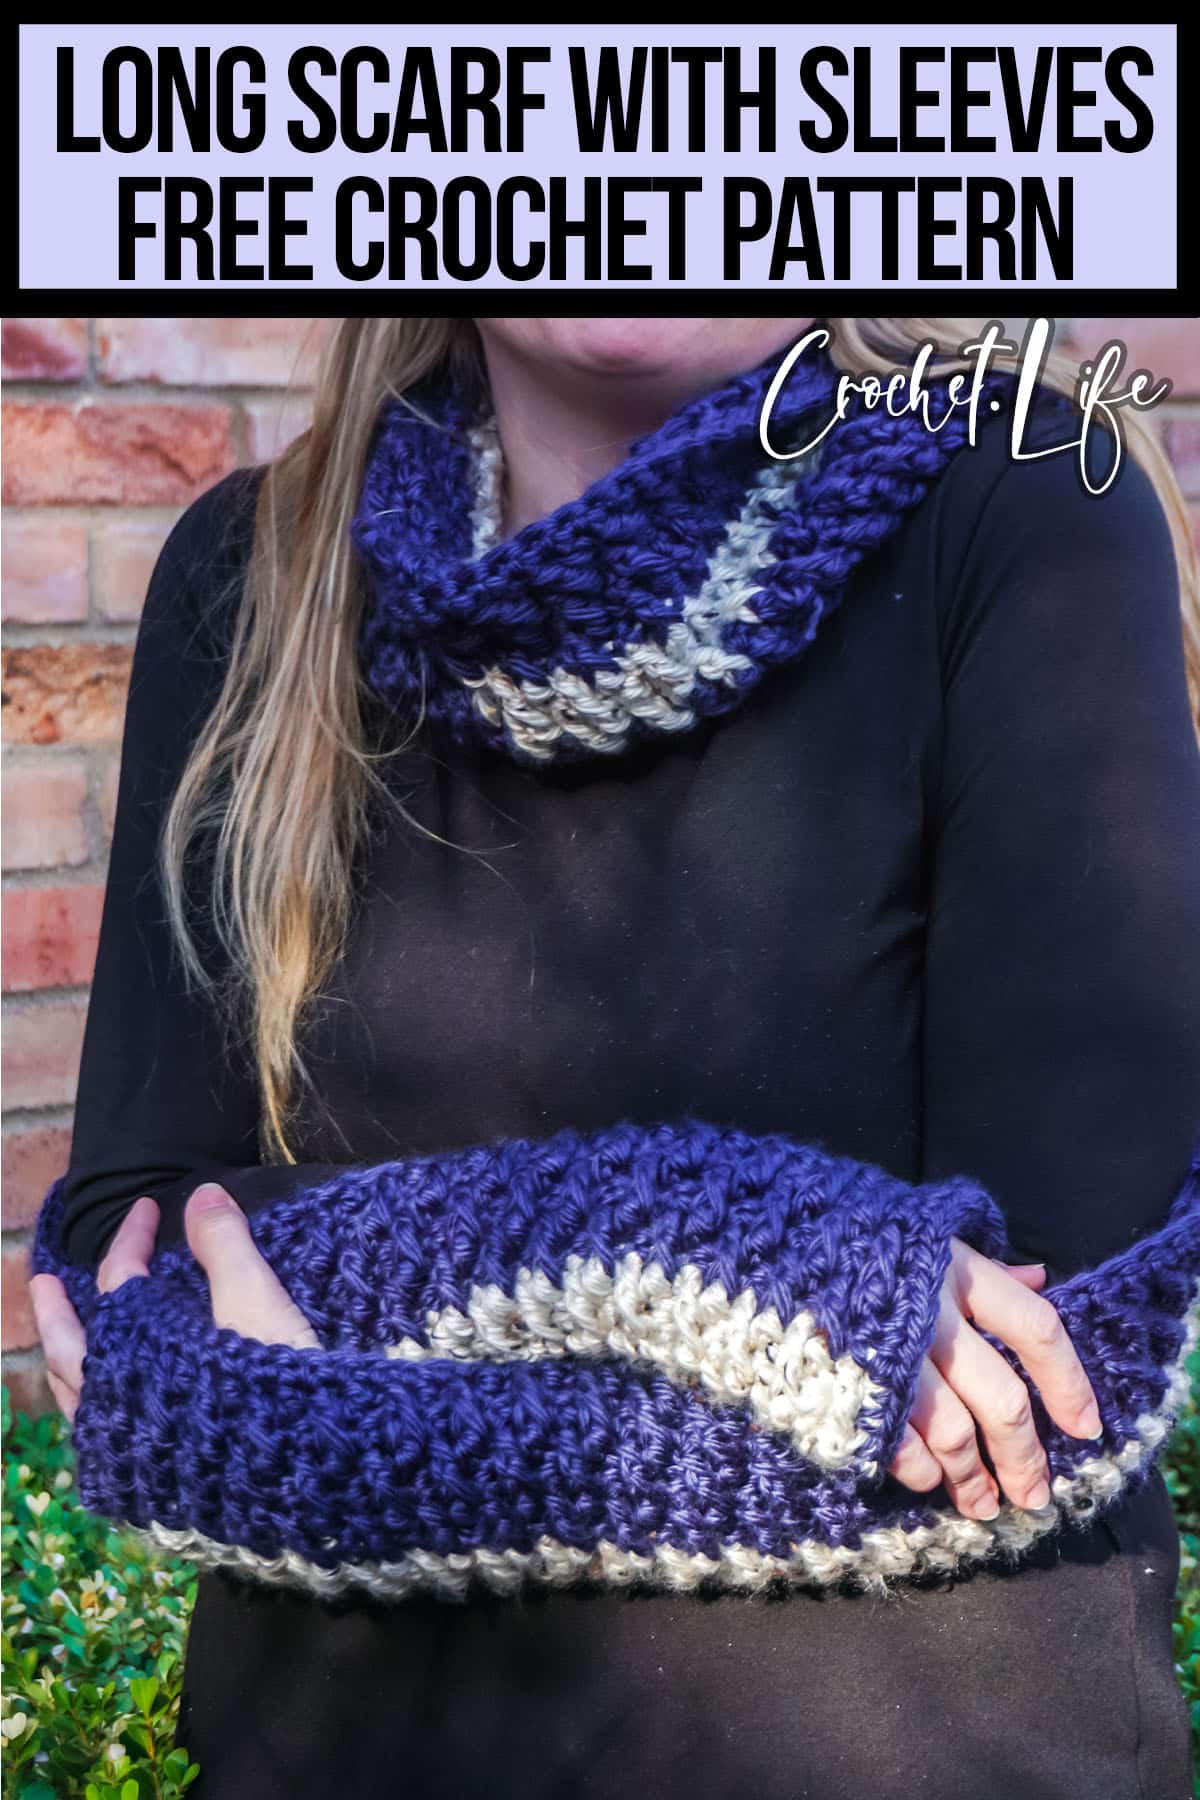
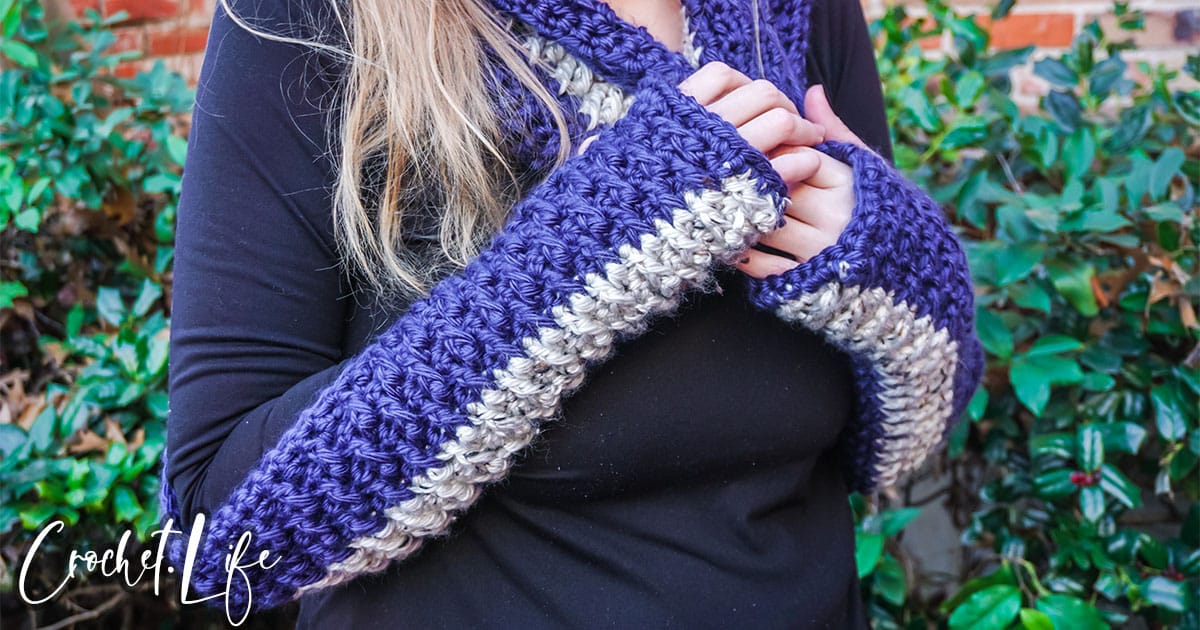
First, let’s address what a scarf with sleeves is. A scarf with sleeves is exactly what it sounds like. It’s an extra long scarf that is designed to keep your arms covered and warm, like a sweater sleeve. The sleeves are typically crocheted with the same stitch pattern as the rest of the scarf, but they can be made with different stitches as well.
This particular pattern is worked with the Alpine Stitch (one of my favorite new stitches). It’s a tricky one to figure out the first time, but once you have it, it’s EPIC.
How to Crochet the Alpine Stitch
Since I’ve made a big deal of it, let’s talk about what the Alpine Stitch is and how to crochet it.
The Alpine Stitch is a variation of the double crochet stitch (simple, right?!) and it creates a wonderfully unique stitch pattern.
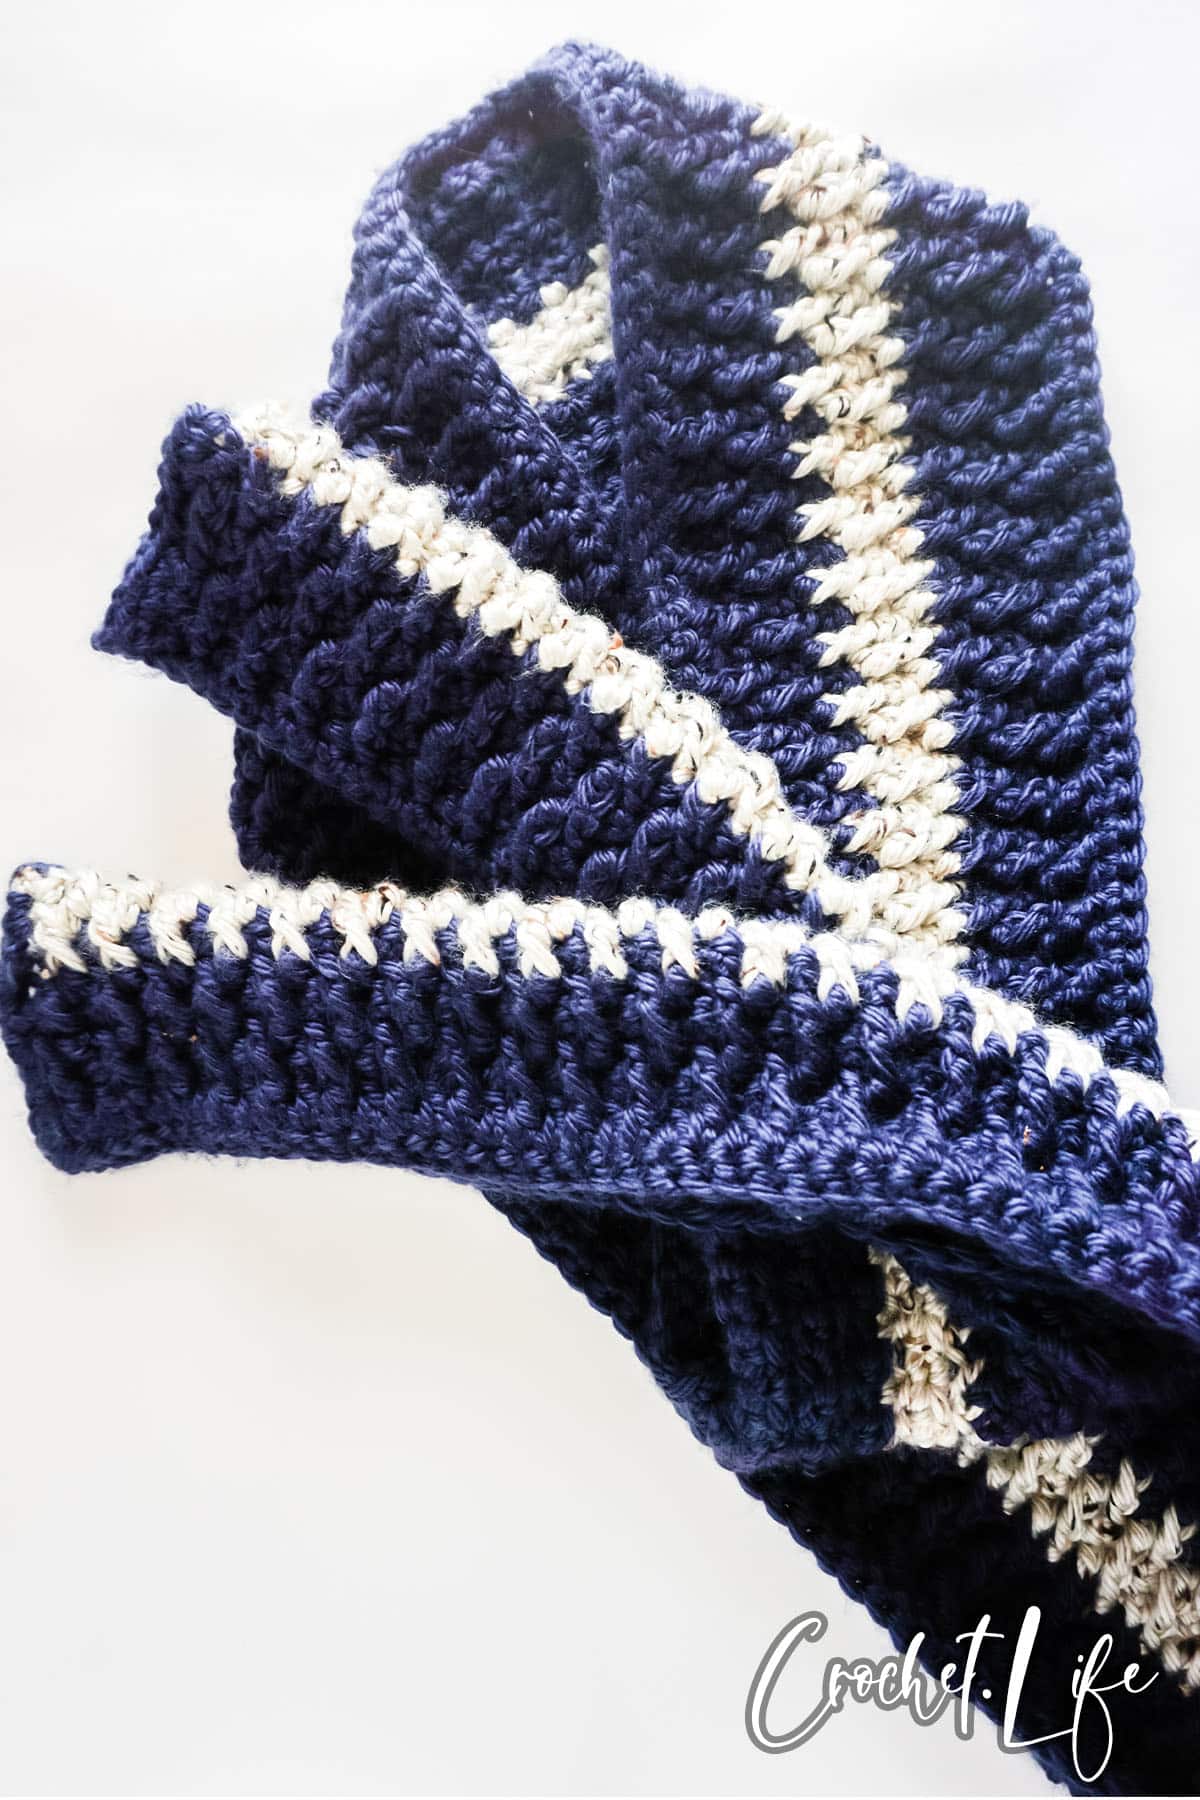
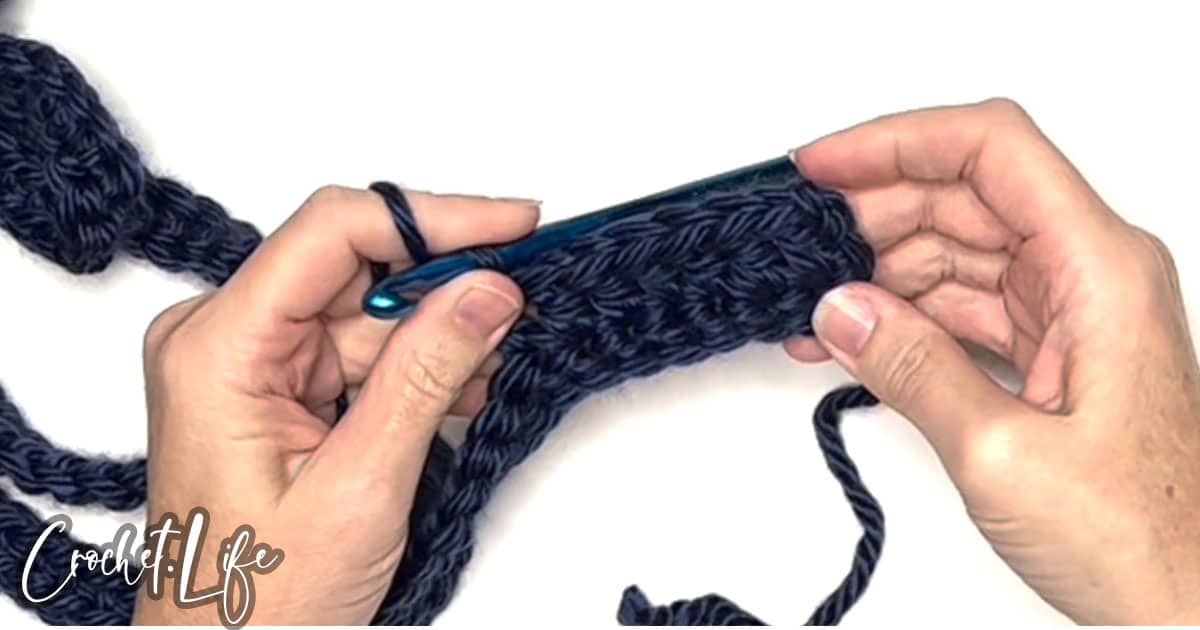
Basically, the alpine stitch is a combination of double crochet, front post double crochet, and single crochet that creates an alternating diamond-like texture.
It is worked in two elements to add more texture and contrast to achieve that texture. To make the alpine stitch, one starts with a row of double crochet followed by a row of single crochets then alternating rows of the other stitches until desired length or pattern has been achieved. The trick lies in offsetting each second row from its first so as to create the dramatic diamond shape effect.
If you’d like to see some other projects using the Alpine Stitch, check mine out here:
How to Wear a Scarf with Sleeves
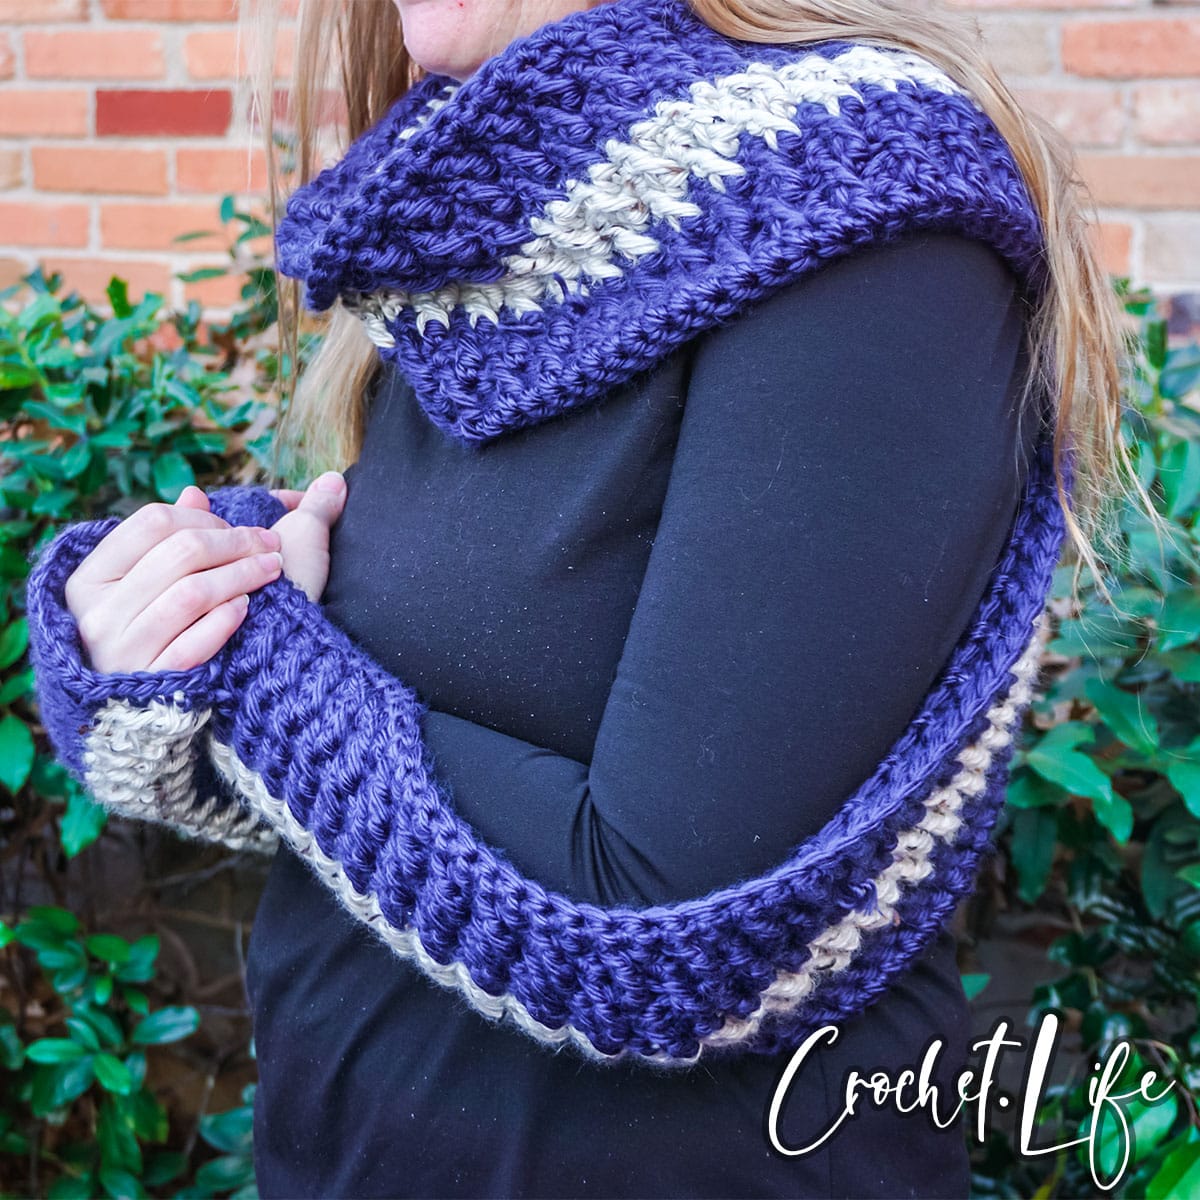
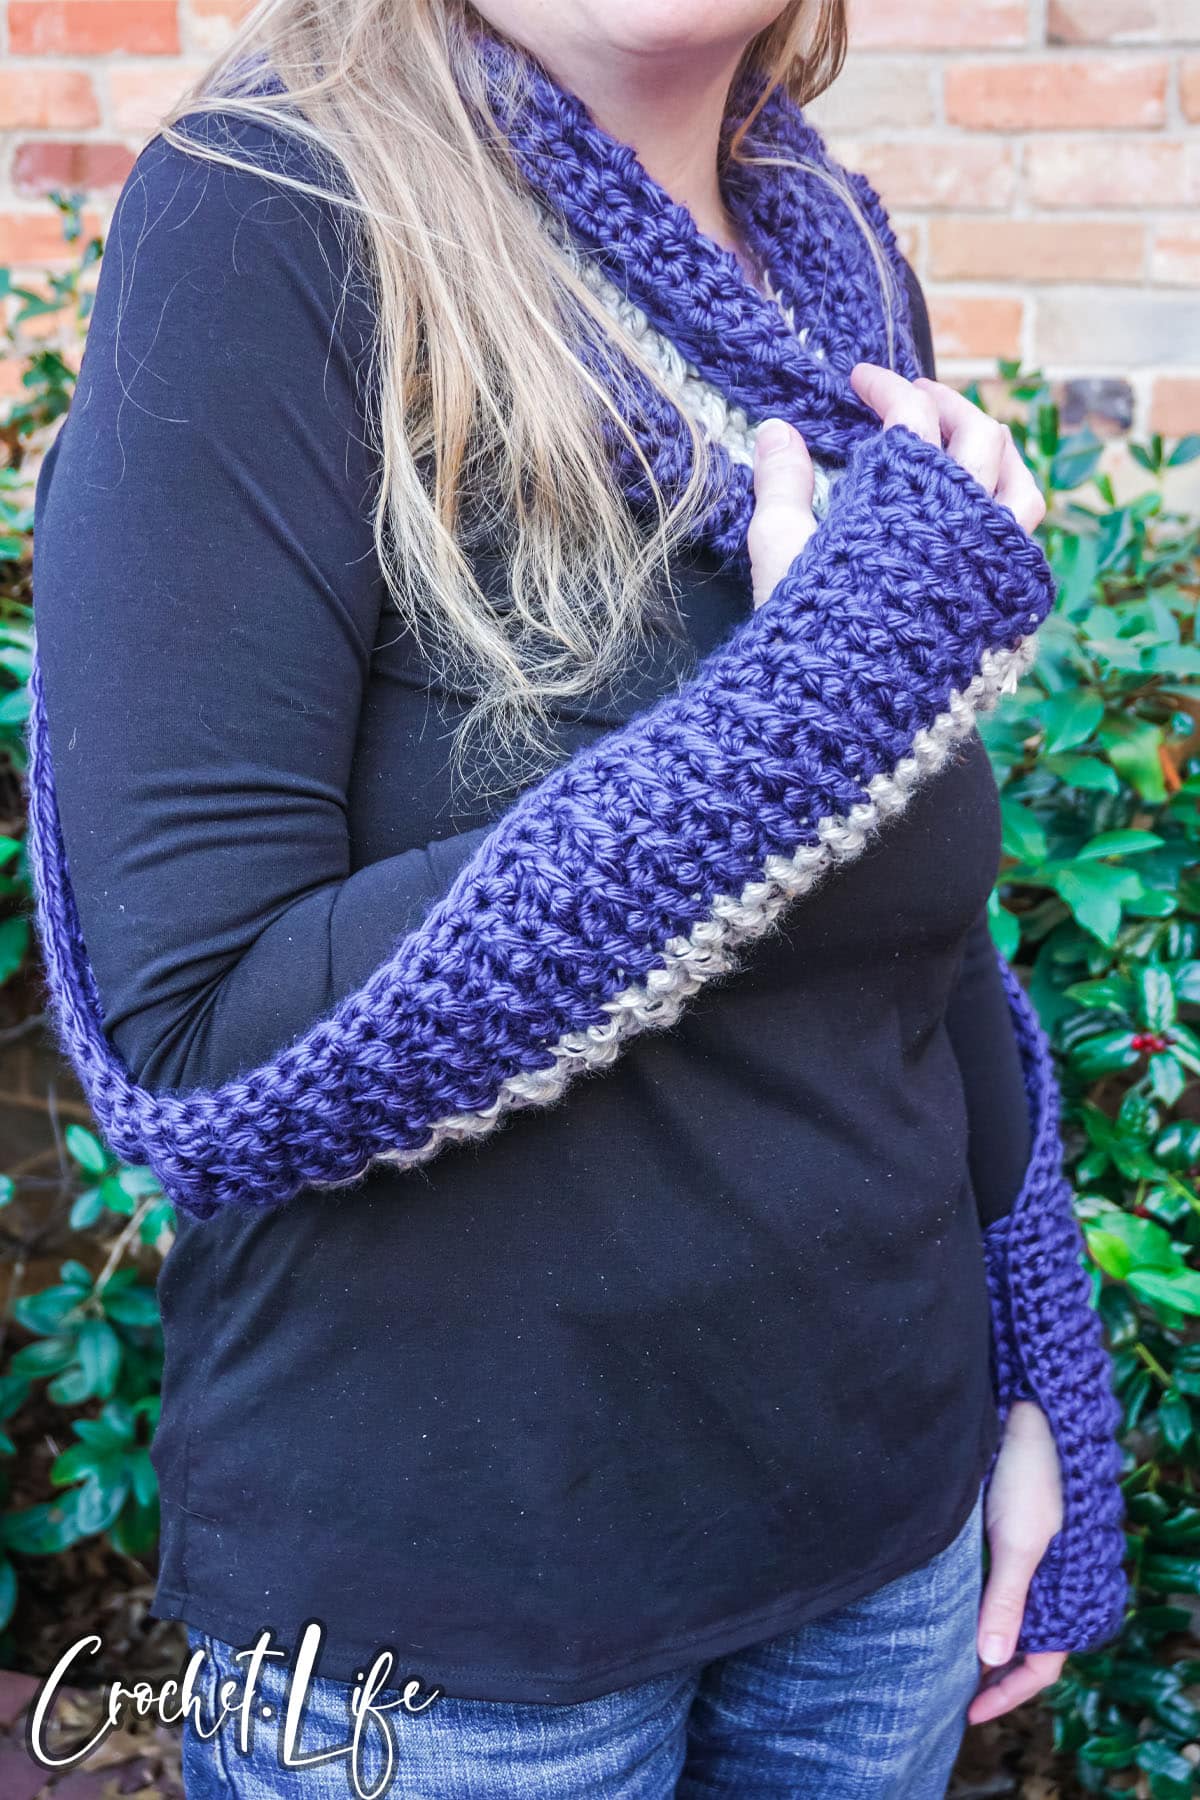
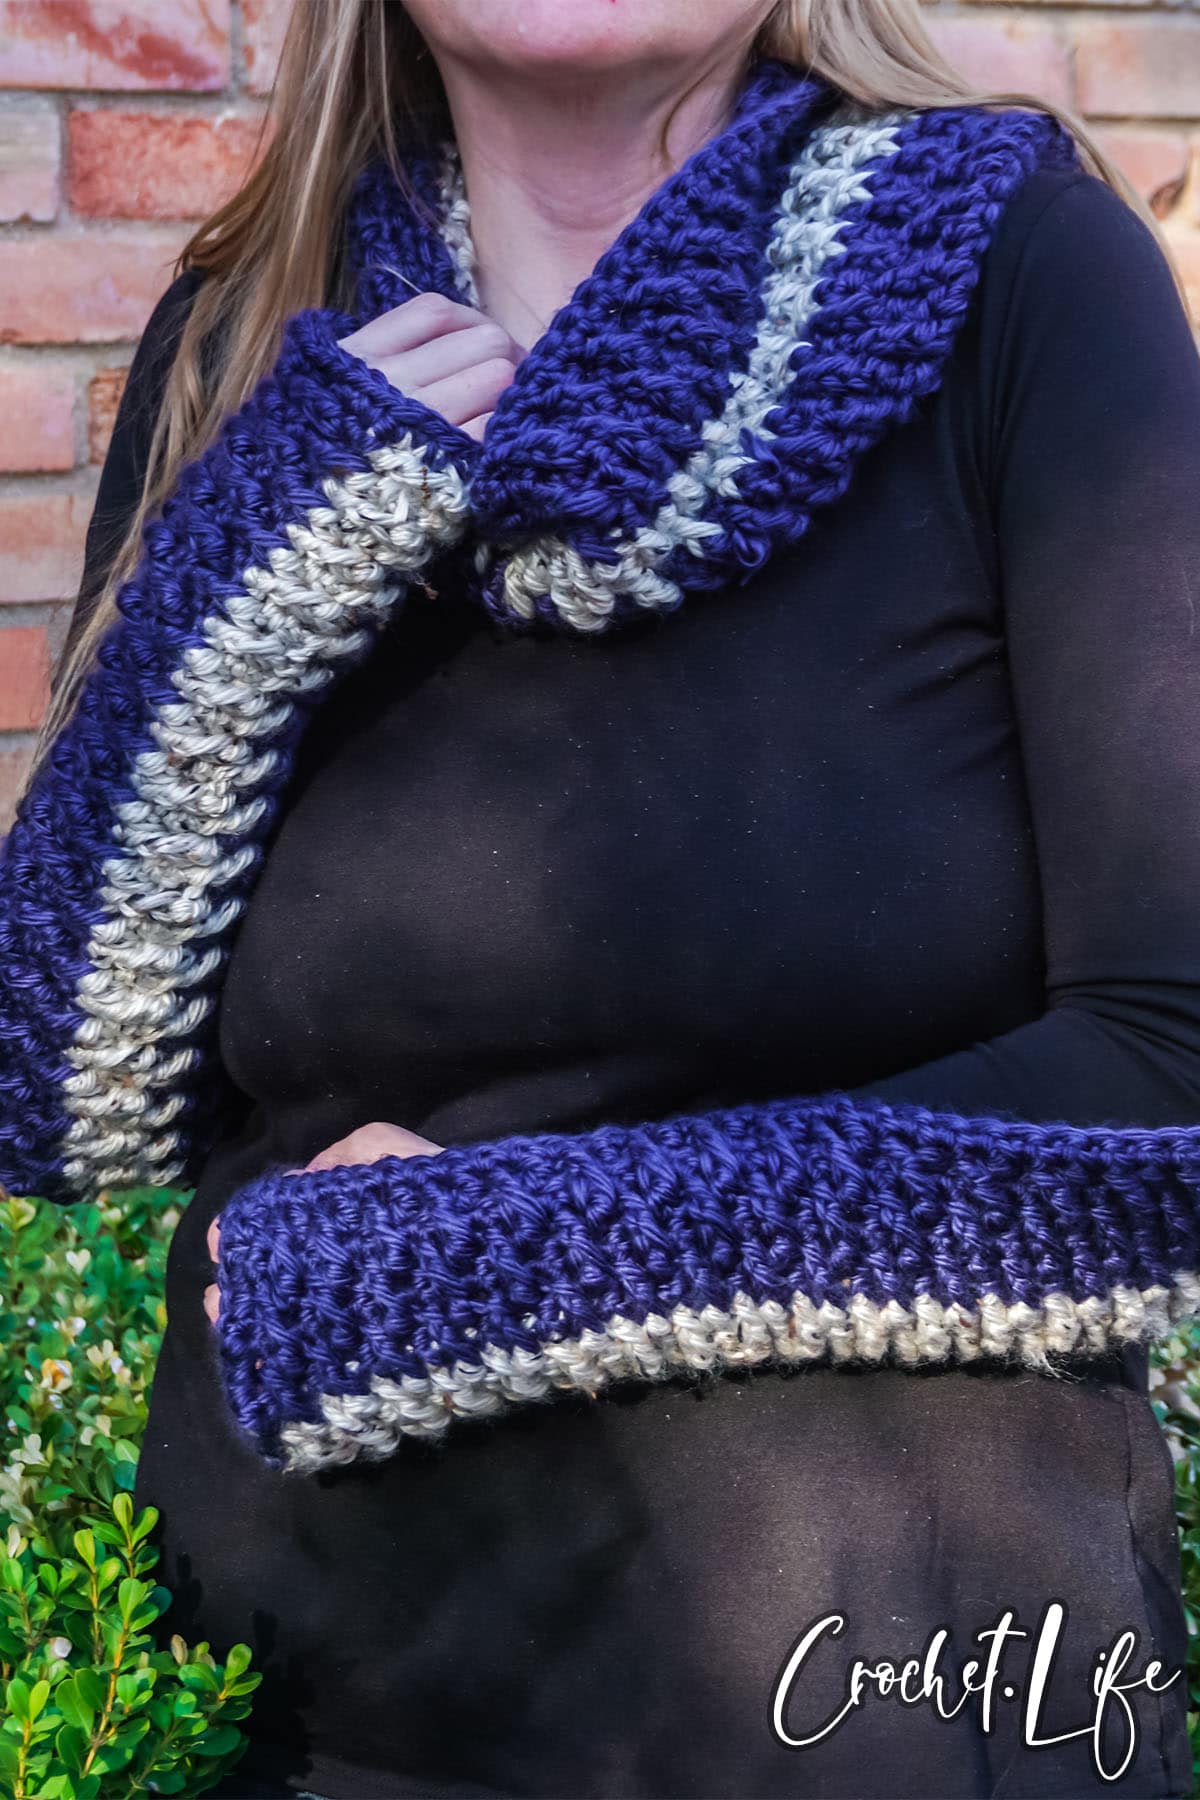
There are a few ways to wear this scarf, but the easiest way is by simply wrapping it around your neck with the sleeves draped down your arms, then slide your hands into the sleeves. You can keep the sleeves straight or scrunch them up for an added bit of style.
If you want a more secure fit, you can also wrap one end of the scarf around your neck and secure with a few stitches or a button, if this is your preferred method of wearing it.
Personally, my favorite way to wear it is to wrap it like an “X” across the front of my body and tuck both ends of the sleeve into the wrapped portion of the scarf, securing them in place.
Some other beautiful ways to wear a scarf with sleeves are:
- Wrap the scarf around your neck with the sleeves draped down your arms loosely.
- Scrunch up the sleeves for an added bit of style.
- Secure one end of the scarf around your neck and secure with a few stitches.
- Wear it as a hooded wrap by bringing both ends to the front and wrapping them around your shoulders or chest like a cape.
- Loop it through itself once so that one end is over each shoulder and tie in front for an afternoon brunch look.
- Wear it like a poncho by tying both ends together at the top, then draping across your body from shoulder to opposite hip.
What Yarn Should You Use for a Scarf with Sleeves?
For this particular project, I chose this particular yarn brand and weight because I knew this scarf crochet pattern would work-up fast with this thick yarn. And it’s super cozy, which is what I was looking for.
Regarding yarn sizing, this project can be worked with any super bulky weight yarn or similar.
What Size Is This Scarf with Sleeves?
As written, this pattern is one-size. The resulting purse body is 12-inches wide by 9 inches deep, not including the handles. This is a sizable scarf, but could be sized up or down by adding or reducing the initial chain length very easily.
How Much Yarn Will I Need to Make a Scarf with Sleeves?
I used Lion Brand Hometown yarn, size 6 (super bulky) in two colorways. I used 2 whole skeins in Color A (San Diego Navy) and 3/4 of a skein in Color B (Dallas Grey), about 450 yards. I do generally crochet in a medium-tension, so this is what I would consider an average amount of yarn usage for this project.
How Do You Crochet a Scarf with Sleeves?
This easy purse crochet pattern is worked flat, then the sleeve sections are joined before finishing. I did this specifically to make the sleeves simple, but also in an attempt to make sure that the stripe lined up neatly.
I joined the two sides of the sleeves together with a mattress stitch, in an attempt to put the focus on the star of the show: the alpine stitch.
More Crochet Patterns
If you are interested in more great patterns, check out some of our other collections and patterns below. This list will give you tons of ideas for your next crochet project after you finish making this fun crochet headband pattern.
- Easy Pocket Shawl Crochet Pattern
- Winter View Cowl
- Stunning Textured Cowl with 4 Toggle Options
- Easy Adult-Sized Crochet Mittens
An Easy Scarf with Sleeves Crochet Pattern for Winter
Below you will find the notes and directions for making this easy sleeved scarf crochet pattern.
Size Assembled:
- 103-inches long, 9-inches wide or 261.6 cm length, 22.9 cm width
Materials
- Color A: 60 yards 100% acrylic, super bulky weight (size 6) yarn (Lion Brand Hometown in San Diego Navy colorway pictured)
- Color B: 70 yards 100% acrylic, super bulky weight (size 6) yarn (Lion Brand Hometown in Dallas Grey colorway pictured)
- Dark Blue Embroidery Thread
- Crochet hook: Size N/13 (9 mm)
- Darning Needle
Gauge:
- In single crochet, 6.6 stitches and 8 rows = 4 in x 4 in (10 cm)
Skill Level: Easy
Pattern Notes
- The yarn used for these items contains natural fiber and requires special laundering. Please read yarn labels and follow directions to maintain the life of your crochet work.
- One of the things that helped me the most when I was making this is “if there’s a DC, FPDC in it – if there’s a FPDC, then DC in it”. Keep that in mind when making this scarf, or just using the Alpine Stitch in any other pattern.
Sizing
One Size
Special Stitches
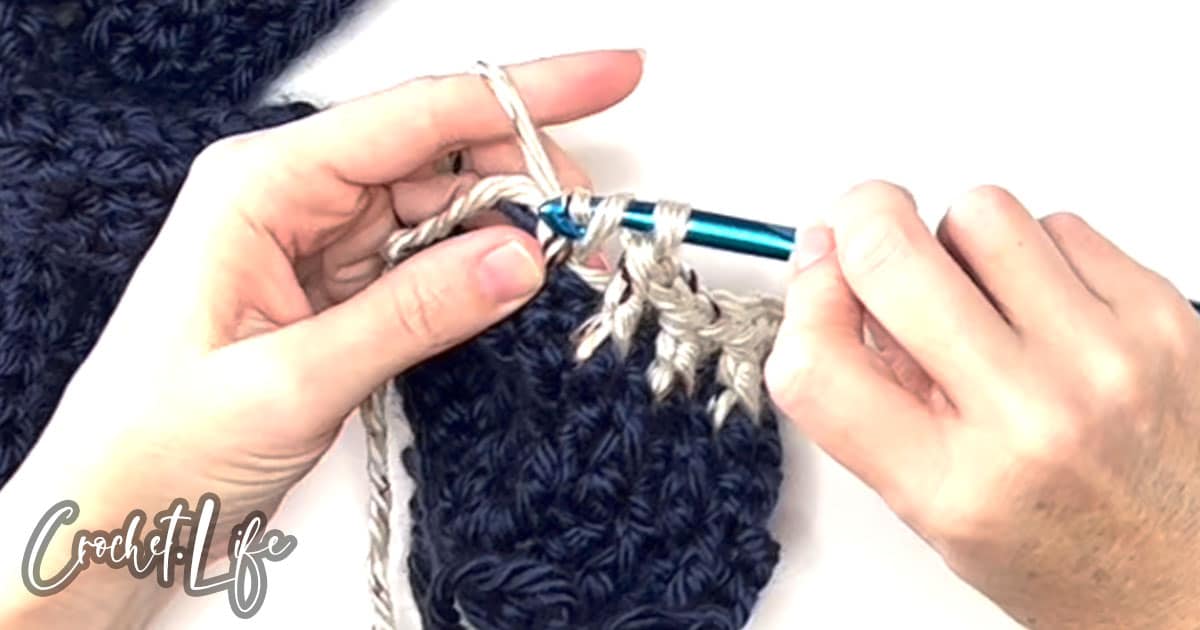
Front Post Double Crochet Stitch: (FPDC)
Yarn over, insert hook from front to back to front around the post of the next double crochet stitch in the second row below (skipping the single crochet row), yarn over, pull up a loop, yarn over, pull thru 2 loops on the hook, yarn over, pull through the remaining two loops on the hook. One front post double crochet stitch (FPDC) completed.
Directions
With Color A:
Chain 215. (Optional: mark Ch 39 and Ch 174, just to keep you from working too far when assembling the sleeves)
Row 1: SC in first st from hook, SC in remaining Ch stitches. (Total 213 SC). Turn.
Row 2: Ch 1, DC in ea SC across. (Total 213 DC). Turn.
Row 3: Ch 2, SC in ea DC across. (Total 213 DC). Turn.
Row 4: Ch 2, *FPDC, sk next SC, DC in next SC.* Repeat from * across to second from last stitch. DC in last stitch (Total 213 stitches). Turn.
Row 5: Ch 1, SC in ea DC and FPDC (Total 213 SC). Turn.
Row 6: Ch 2, DC in next SC (above FPDC in below row), *FPDC, sk next SC, DC in next SC*. Repeat from * across to second from last stitch. DC in last stitch. (Total 213 stitches). Turn.
Row 7: Ch 1, SC in ea DC and FPDC (Total 213 SC). Turn. Fasten off. Change color.
With Color B:
Row 8: Ch 2, *FPDC, sk next SC, DC in next SC.* Repeat from * across to second from last stitch. DC in last stitch (Total 213 stitches). Turn.
Row 9: Ch 1, SC in ea DC and FPDC (Total 213 SC). Turn.
Row 10: Ch 2, DC in next SC (above FPDC in below row), *FPDC, sk next SC, DC in next SC*. Repeat from * across to second from last stitch. DC in last stitch. (Total 213 stitches). Turn. Fasten off. Change color.
With Color A:
Row 11: Ch 1, SC in ea DC and FPDC (Total 213 SC). Turn.
Rows 12 – 14: Repeat rows 4 through 7. Fasten off.
Assembly:
Fold one end of the scarf in half long-way. Align the first Ch stitch with the last SC. Hold the end together with a stitch marker or a safety pin and, using your arm as a guide, estimate how far down you want your scarf to sit on your arm. I wanted a thumb hole, so I marked 6 stitches from the end, skipped two stitches, then marked at 25 stitches from the end. With your desired locations marked, using a stitch marker or a safety pin, remove your arm from the scarf.
With embroidery thread and darning needle, work back and forth in a mattress stitch (like lacing shoes) to join the two sides of the scarf as aligned, working each side evenly. Tie off embroidery thread with a strong knot on each end.
Try on this sleeve to ensure the fit. If you like this fit, repeat for the other side of the scarf.
Finishing:
Single crochet around the edges of both sleeves.
Fasten off. Weave in ends.
Scarf with Sleeves Crochet Pattern
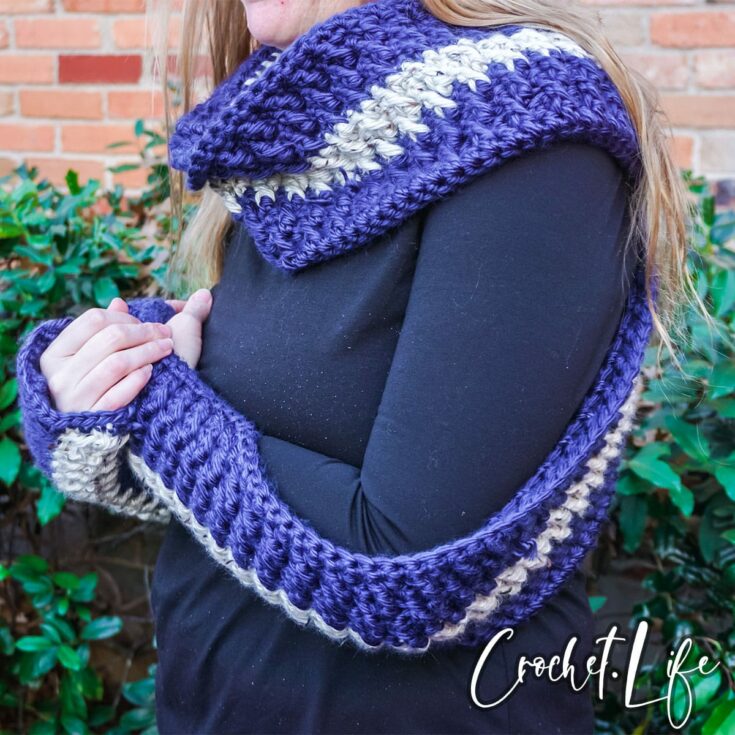
You can crochet a scarf with sleeves that will keep your arms warm. This Scarf with Sleeves Crochet Pattern is all sorts of snuggly!
Materials
- Color A: 60 yards 100% acrylic, super bulky weight (size 6) yarn (Lion Brand Hometown in San Diego Navy colorway pictured)
- Color B: 70 yards 100% acrylic, super bulky weight (size 6) yarn (Lion Brand Hometown in Dallas Grey colorway pictured)
- Dark Blue Embroidery Thread
Tools
- Crochet hook: Size N/13 (9 mm)
- Darning Needle
Instructions
- With Color A: Chain 215. (Optional: mark Ch 39 and Ch 174, just to keep you from working too far when assembling the sleeves)
- Row 1: SC in first st from hook, SC in remaining Ch stitches. (Total 213 SC). Turn.
- Row 2: Ch 1, DC in ea SC across. (Total 213 DC). Turn.
- Row 3: Ch 2, SC in ea DC across. (Total 213 DC). Turn.
- Row 4: Ch 2, *FPDC, sk next SC, DC in next SC.* Repeat from * across to second from last stitch. DC in last stitch (Total 213 stitches). Turn.
- Row 5: Ch 1, SC in ea DC and FPDC (Total 213 SC). Turn.
- Row 6: Ch 2, DC in next SC (above FPDC in below row), *FPDC, sk next SC, DC in next SC*. Repeat from * across to second from last stitch. DC in last stitch. (Total 213 stitches). Turn.
- Row 7: Ch 1, SC in ea DC and FPDC (Total 213 SC). Turn. Fasten off. Change color.
- With Color B: Row 8: Ch 2, *FPDC, sk next SC, DC in next SC.* Repeat from * across to second from last stitch. DC in last stitch (Total 213 stitches). Turn.
- Row 9: Ch 1, SC in ea DC and FPDC (Total 213 SC). Turn.
- Row 10: Ch 2, DC in next SC (above FPDC in below row), *FPDC, sk next SC, DC in next SC*. Repeat from * across to second from last stitch. DC in last stitch. (Total 213 stitches). Turn. Fasten off. Change color.
- With Color A: Row 11: Ch 1, SC in ea DC and FPDC (Total 213 SC). Turn.
- Rows 12 – 14: Repeat rows 4 through 7. Fasten off.
Assembly:
- Fold one end of the scarf in half long-way. Align the first Ch stitch with the last SC. Hold the end together with a stitch marker or a safety pin and, using your arm as a guide, estimate how far down you want your scarf to sit on your arm. I wanted a thumb hole, so I marked 6 stitches from the end, skipped two stitches, then marked at 25 stitches from the end. With your desired locations marked, using a stitch marker or a safety pin, remove your arm from the scarf.
- With embroidery thread and darning needle, work back and forth in a mattress stitch (like lacing shoes) to join the two sides of the scarf as aligned, working each side evenly. Tie off embroidery thread with a strong knot on each end.
- Try on this sleeve to ensure the fit. If you like this fit, repeat for the other side of the scarf.
Finishing:
- Single crochet around the edges of both sleeves.
- Fasten off. Weave in ends.
Notes
Size Assembled:
- 103-inches long, 9-inches wide or 261.6 cm length, 22.9 cm width
Gauge:
Skill Level: Easy
Pattern Notes
- The yarn used for these items contains natural fiber and requires special laundering. Please read yarn labels and follow directions to maintain the life of your crochet work.
- One of the things that helped me the most when I was making this is “if there’s a DC, FPDC in it – if there’s a FPDC, then DC in it”. Keep that in mind when making this scarf, or just using the Alpine Stitch in any other pattern.
Sizing
One Size
Special Stitches
Front Post Double Crochet Stitch: (FPDC)
Yarn over, insert hook from front to back to front around the post of the next double crochet stitch in the second row below (skipping the single crochet row), yarn over, pull up a loop, yarn over, pull thru 2 loops on the hook, yarn over, pull through the remaining two loops on the hook. One front post double crochet stitch (FPDC) completed.
Recommended Products
As an Amazon Associate and member of other affiliate programs, I earn from qualifying purchases.

Sanobar's Blogs says
A am so fond of crochet. I make crochet bags.🙂
By the way, could you follow me back?