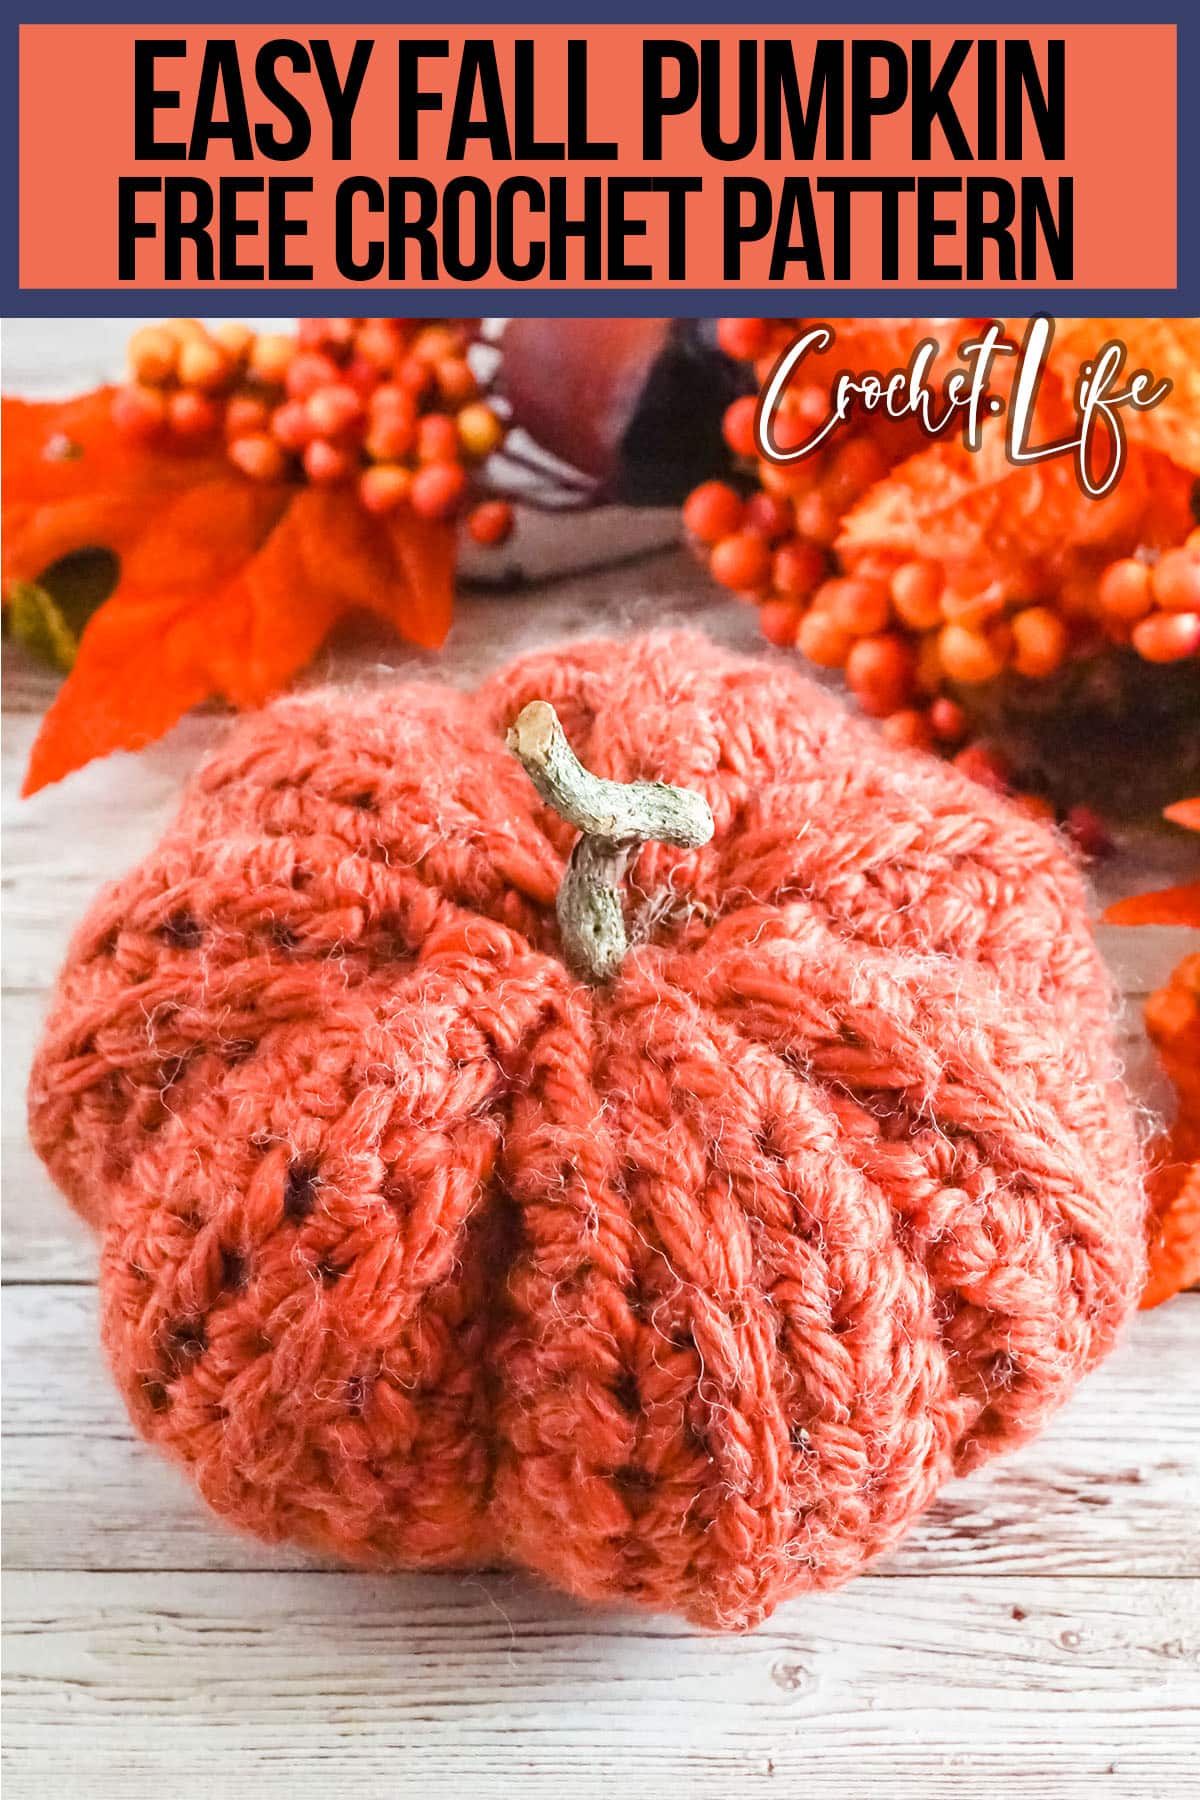
Looking for a fun crochet project to keep you busy this fall? Look no further than this easy fall pumpkin free crochet pattern! This crochet pumpkin pattern is perfect for beginners, and can be completed in just a few minutes. The finished product makes a great decoration for your home or office – and will work for the entire fall season.
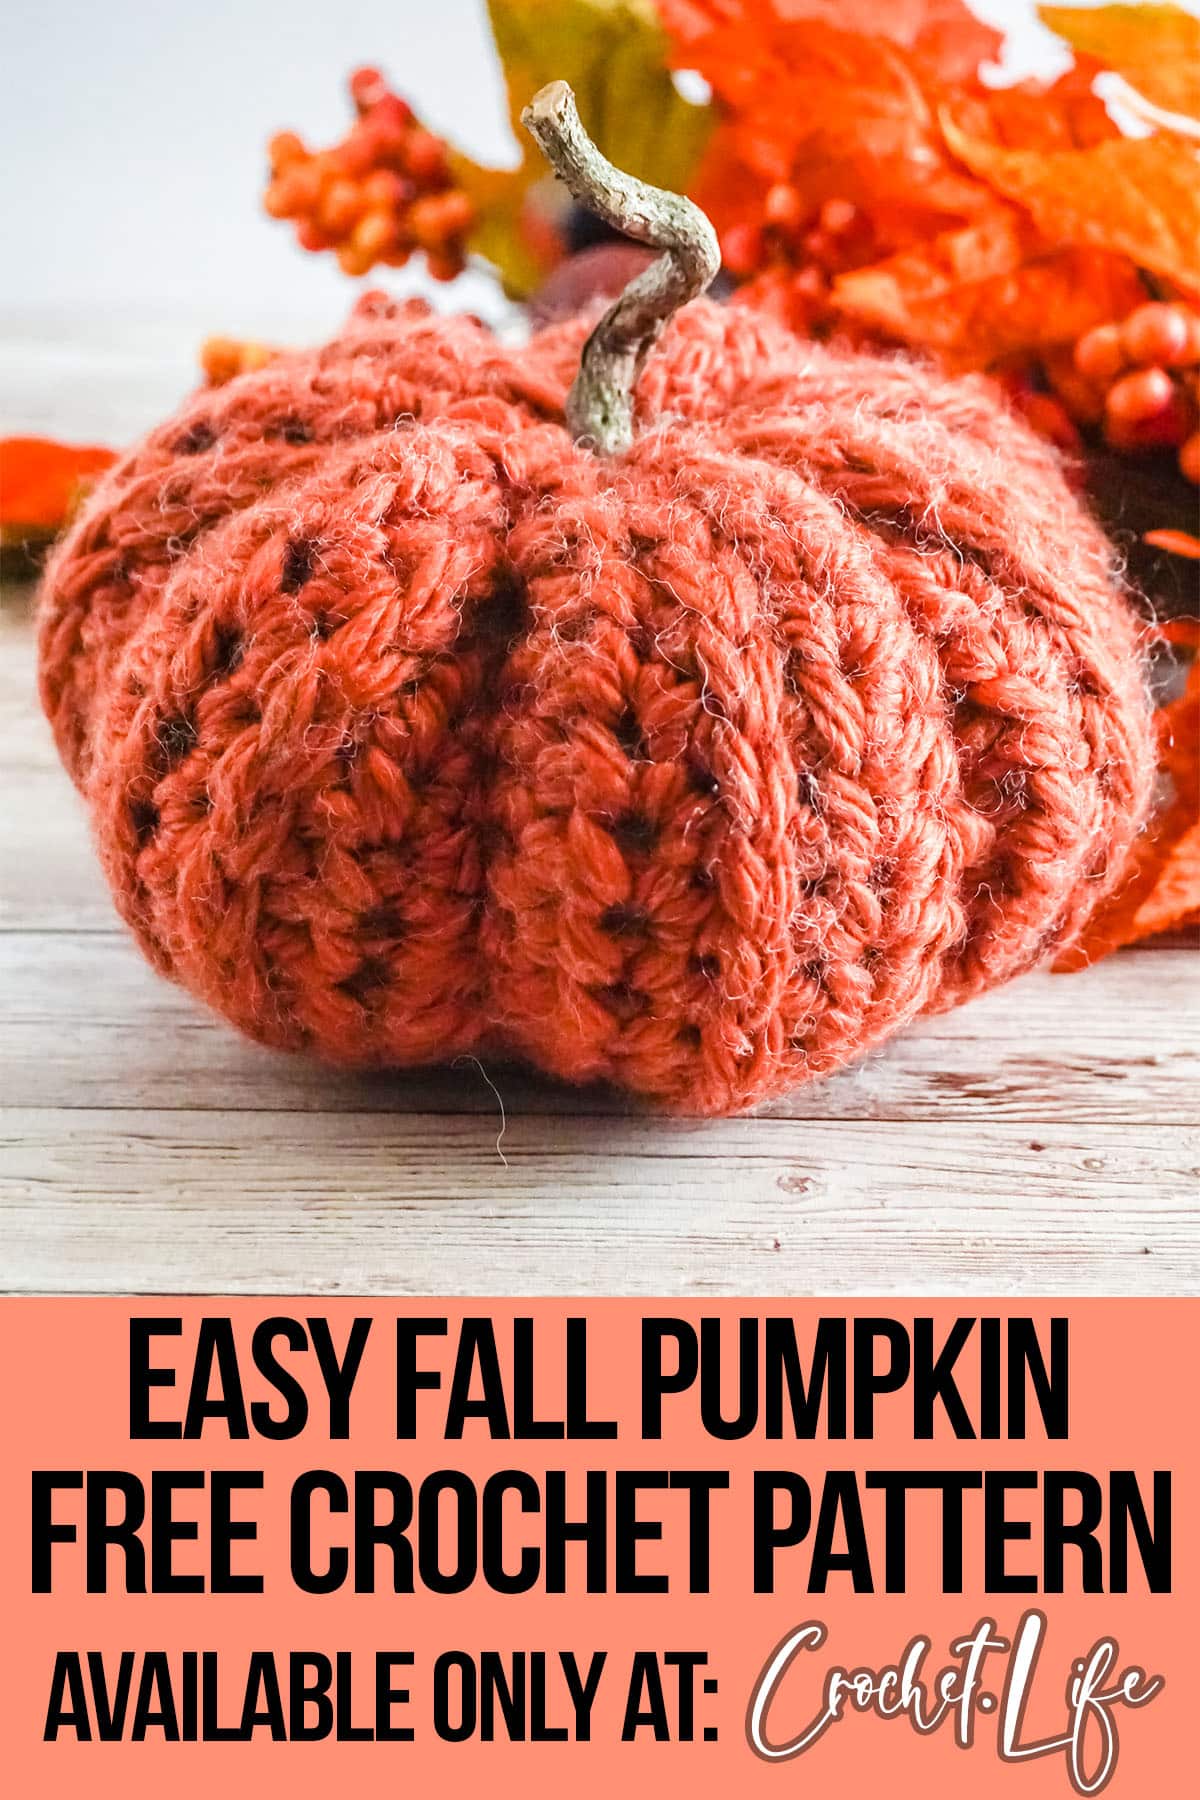
Table of Contents
Easy Fall Pumpkin Free Crochet Pattern
One of the best things about fall is all of the fun seasonal crafts you can make! And what says fall more than a pumpkin? This easy crochet pumpkin pattern is perfect for beginners, and can be completed super fast.
Worked as a rectangle, you can use the same pattern and repeating rows to make different sized pumpkins super easily. Because once you make the first one, the pattern will just work for you.
Can you imagine a whole little army of pumpkins?! So cute!
What Yarn Should You Use for a Pumpkin?
For this easy crochet pumpkin, I wanted it to work up quickly and hold up well to being stuffed full. So I decided to use a super bulky yarn in a nice dark orange color to go with my other fall decor. That way can just fit it in without it being an obvious piece of homemade decor – although most of what I have is homemade, so…there’s that. LOL!
More specifically, I used Loops & Threads Eco-Luxe, super bulky (6) yarn in Burnt Orange colorway.
For this particular project, I chose the Eco-Luxe yarn because its made from recycled water bottles. Seriously. Plus, it feels nice on the hands when working it. And, though it wasn’t my focus, I knew this pumpkin crochet pattern would work-up fast using this thick yarn.
Regarding yarn sizing, this project can be worked with any super bulky weight yarn or similar.
What Size Is This Crocheted Pumpkin?
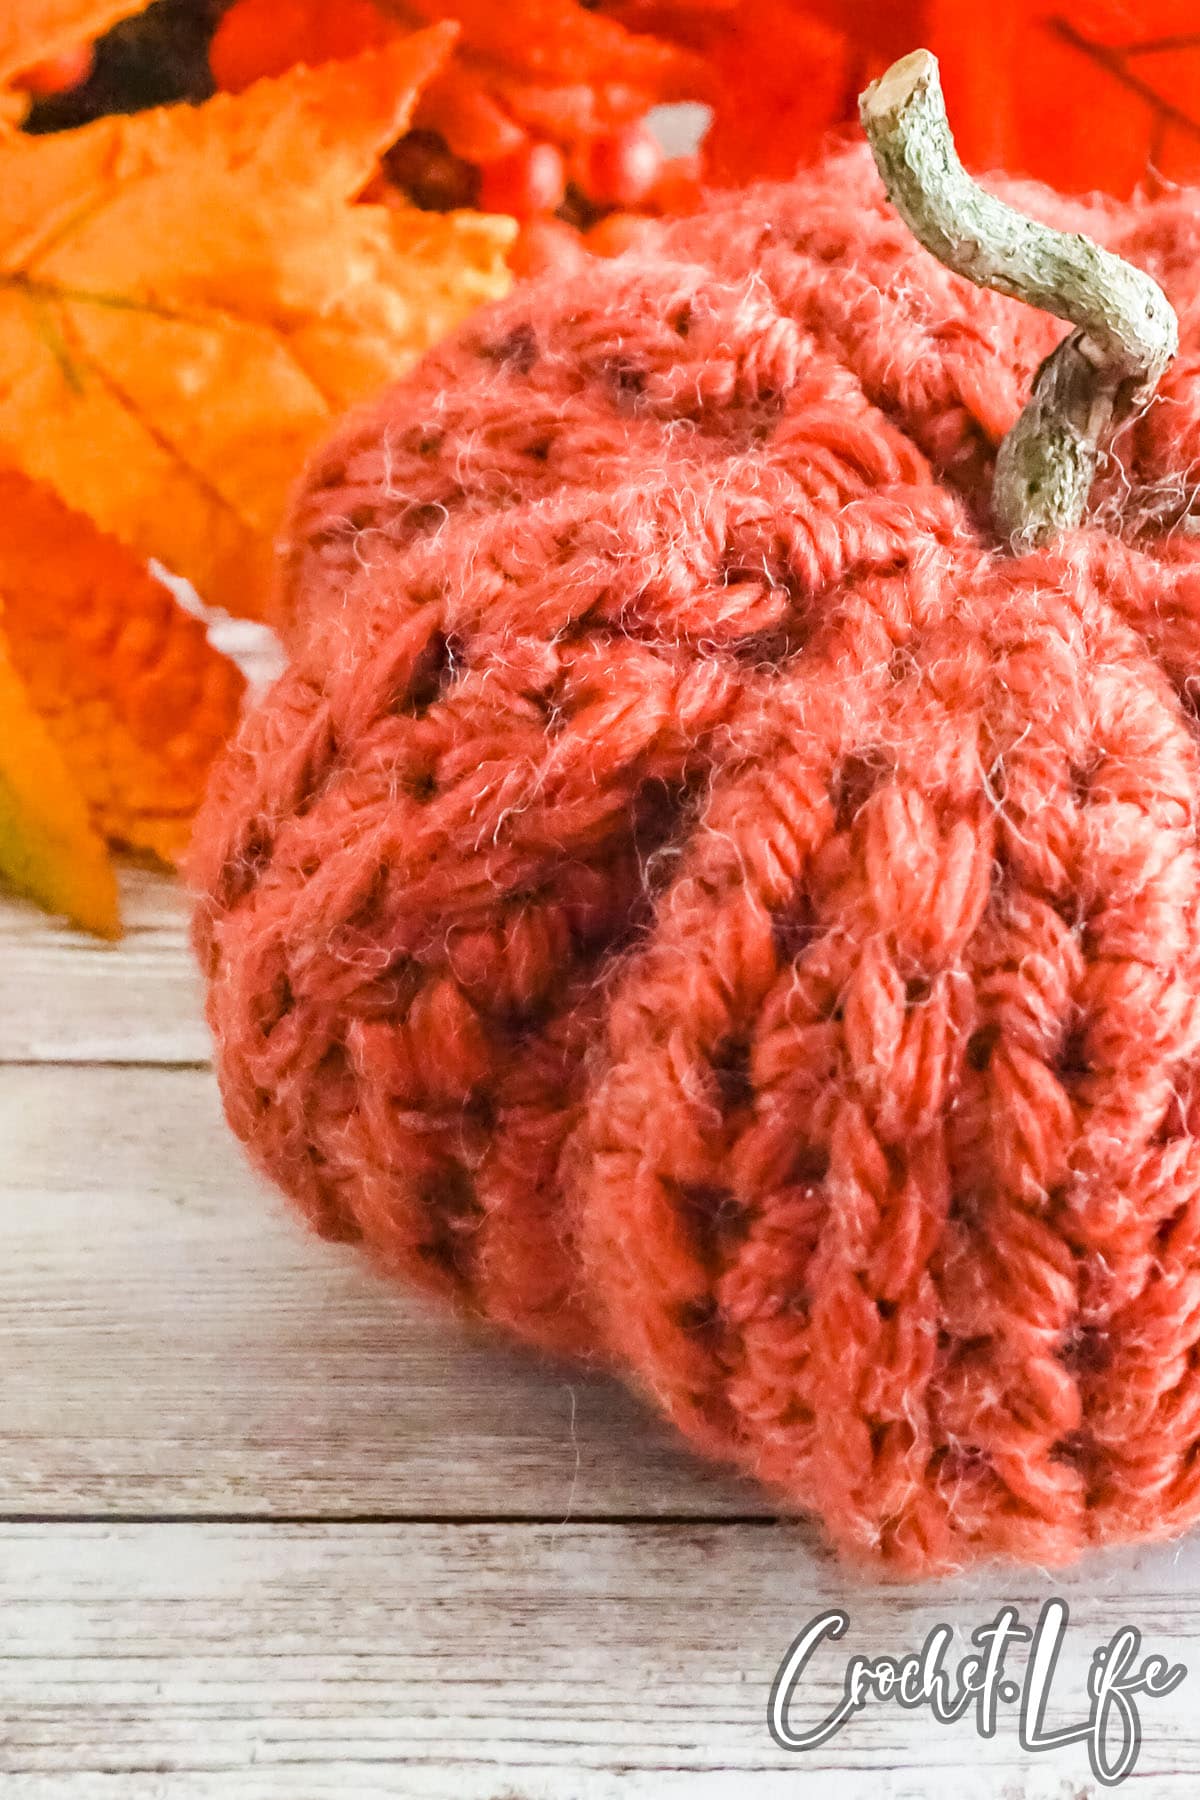
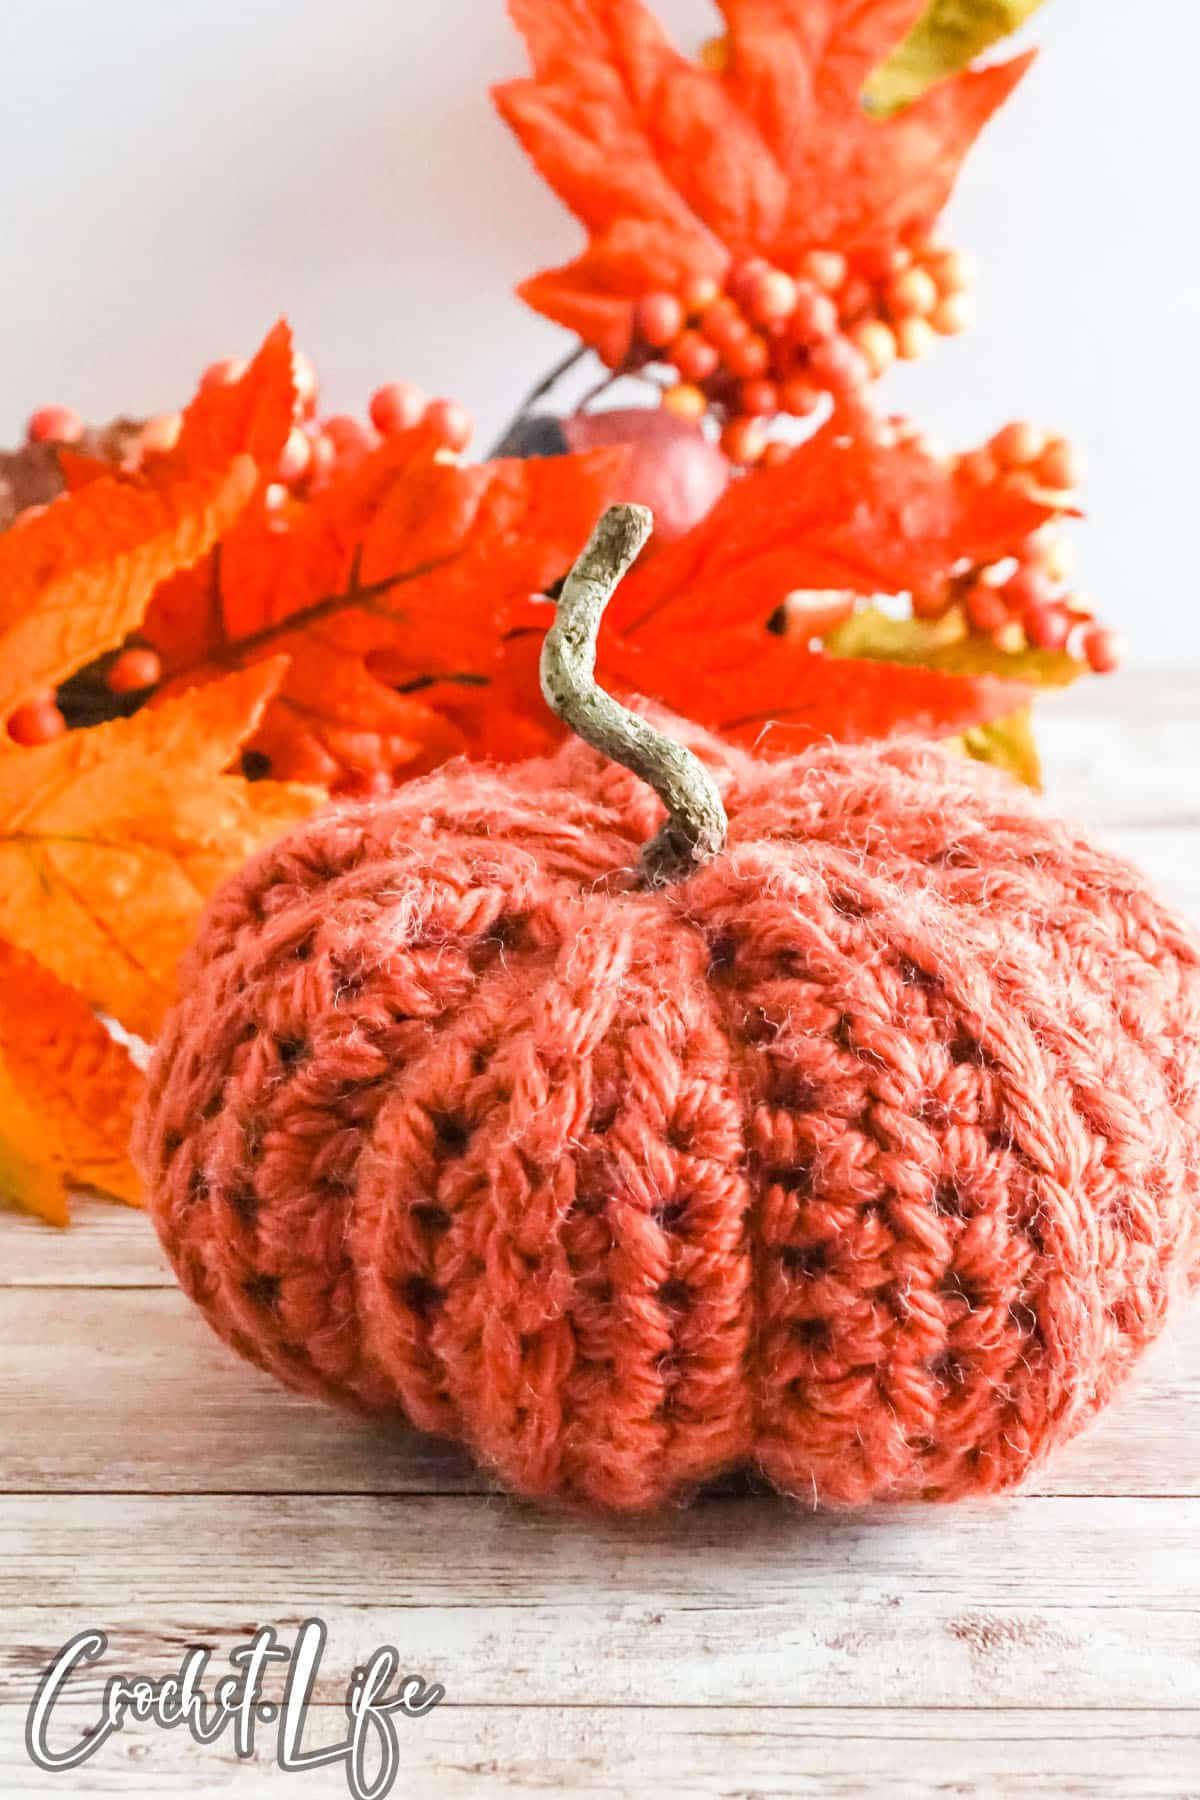
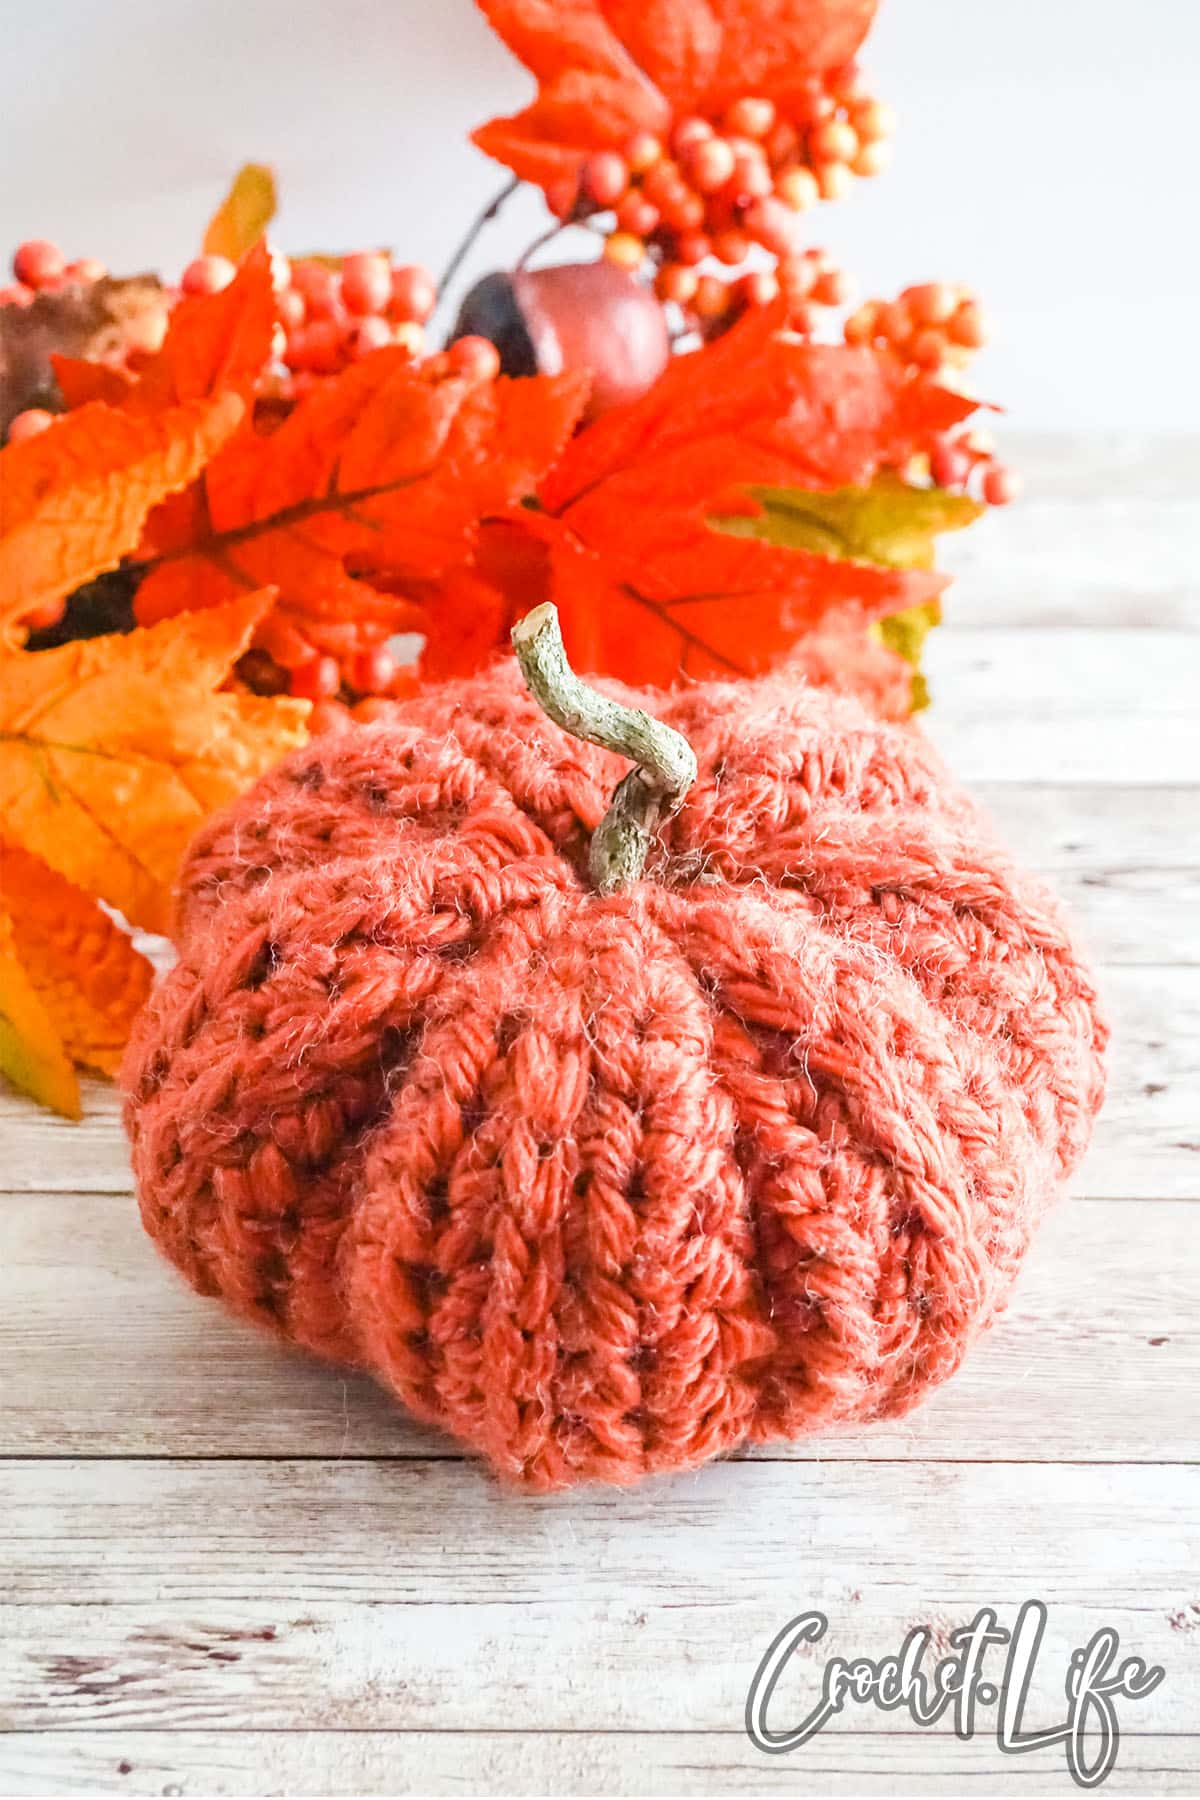
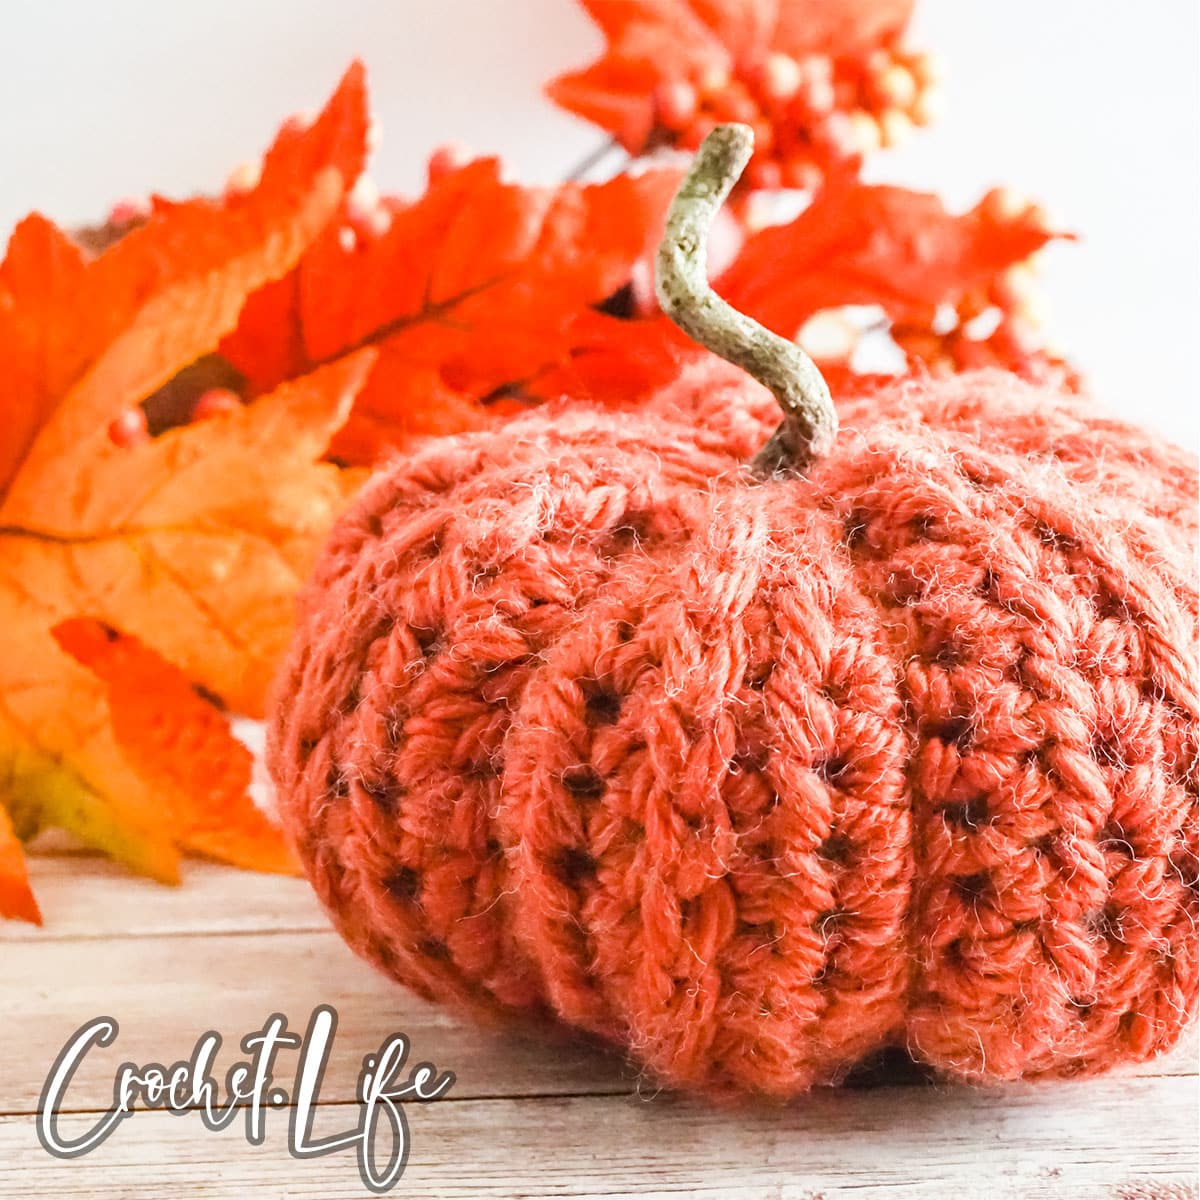
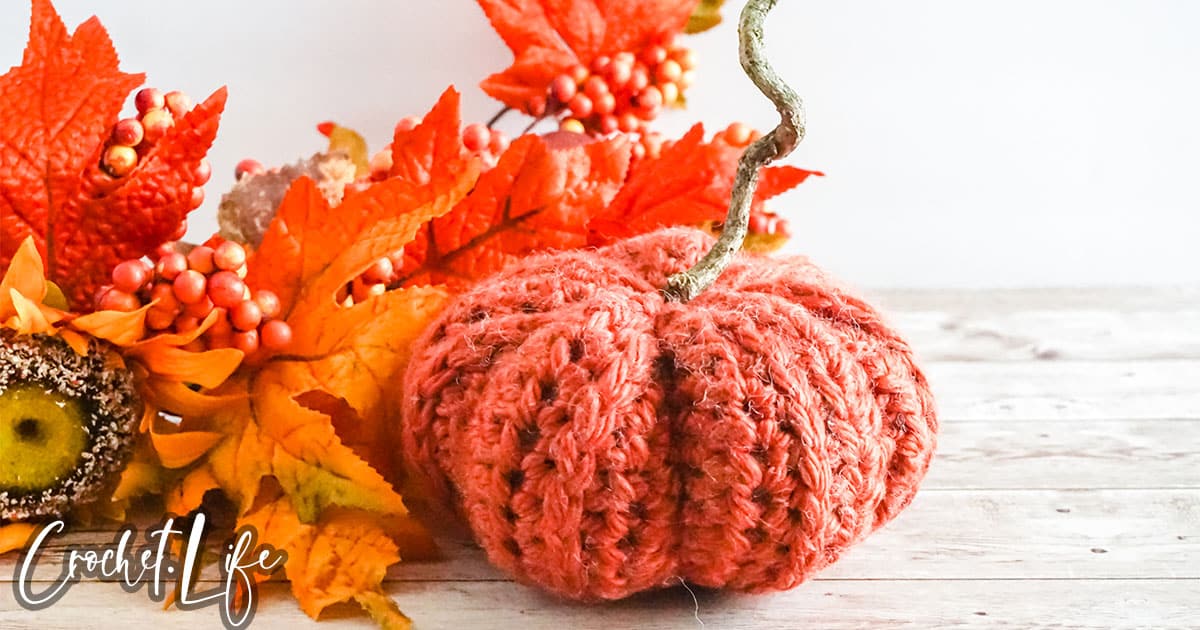
As written, this pattern is one-size. The resulting crocheted pumpkin is 6-inches diameter with a 3-inch height. This is reasonably sized for a small pumpkin (it’s larger in person than the measurements would make you think).
If you wanted to make it smaller, I would recommend starting by reducing the pattern by the repeated set of rows. This will reduce the size of the pumpkin around, without losing the ability to have a nice, flat bottom and top.
If you want to make the pumpkin larger, I would recommend starting by increasing the pattern by the repeated set of rows. This will increase the diameter of the pumpkin, allowing you to stuff it with more stuffing and still get a nice shape – but it will not increase the height of the pumpkin, so do this with that knowledge.
How Much Yarn Will I Need to Make a Pumpkin?
I used about 1/3 of a 5.29 oz skein of 65% recycled polyester, 25% acrylic, 10% wool super bulky weight yarn (size 6) in Loops & Threads Eco-Luxe in Burnt Orange colorway for the pictured pumpkin. I do generally crochet in a medium-tension, so this is what I would consider an average amount of yarn usage for this project.
How Do You Crochet a Pumpkin?
This particular pumpkin crochet pattern is written to be worked in a rectangle. Then the rectangle is joined on the short ends using a mattress stitch to seamlessly bring together the pattern. And then one side of the pumpkin is closed before adding stuffing.
Once stuffing is placed, the second side is closed. With the second side closed, a stem can be added by finding a stick in the yard that’s particularly pretty. Alternatively, you could buy a stick, but I don’t recommend that – it’s more fun when the stick comes from your own yard.
More Crochet Patterns
If you are interested in more great patterns, check out some of our other collections and patterns below. This list will give you tons of ideas for your next crochet project after you finish making this fun crochet pumpkin pattern.
- Easy Pocket Shawl Crochet Pattern
- Winter View Cowl
- Stunning Textured Cowl with 4 Toggle Options
- Easy Adult-Sized Crochet Mittens
Easy Pumpkin Free Crochet Pattern
Below you will find the notes and directions for making this fun fall pumpkin crochet pattern.
Size Assembled:
- 6-inch diameter, 3-inch height or 15.2cm diameter, 7.6cm height
Materials
- 28 yards 65% recycled polyester, 25% acrylic, 10% wool, super bulky weight (size 6) yarn (Loops & Threads Eco-Luxe in Burnt Orange colorway pictured)
- Crochet hook: Size N/13 (9 mm)
- Darning Needle
- Dark Orange Embroidery Thread
- Organic or polyester fiber stuffing to fill pumpkin
Gauge:
- In double crochet, 6 stitches and 1 rows = 2.5 in x 1.5 in (6.35×3.81 cm)
Skill Level: Easy
Pattern Notes
- The yarn used for these items contains natural fiber and requires special laundering. Please read yarn labels and follow directions to maintain the life of your crochet work.
Sizing
One Size
Special Stitches
Half Double Crochet (HDC):
Yarn over, insert hook in row below and pull up a loop, yarn over (3 loops on hook) and pull through all loops on hook. One half double crochet stitch (HDC) completed.
Half Double Crochet (HDCBLO):
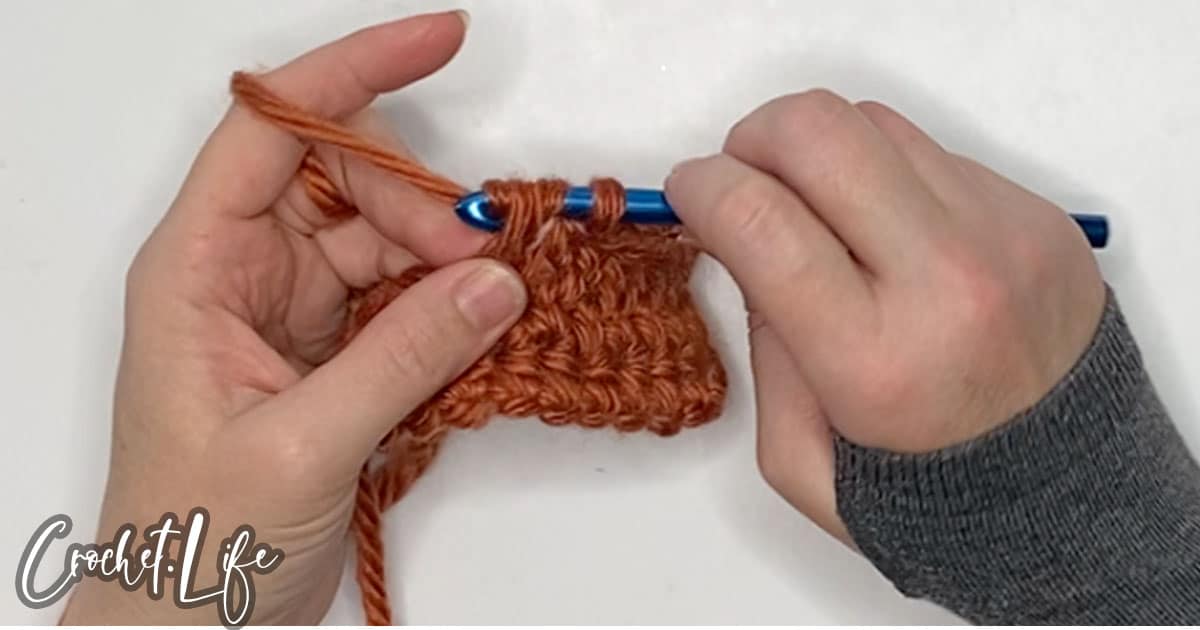
Yarn over, insert hook in the center of the stitch in the row below, exiting underneath the back loop, and pull up a loop, yarn over (3 loops on hook) and pull through all loops on hook. One half double crochet back loop only stitch (HDCBLO) completed.
Directions
Chain 15.
Row 1: HDC in second ch from hook, HDC in ea ch across, turn. (14 sts total)
Row 2: Ch 2 (counts as first HDC), HDC in ea HDC across, turn. (14 sts total)
Row 3: Ch 2 (counts as first HDC), HDCBLO in ea HDC across, turn. (14 sts total)
Row 4: Ch 2 (counts as first HDC), HDC in ea HDC across, turn. (14 sts total)
Row 5: Ch 2 (counts as first HDC), HDC in ea HDC across, turn. (14 sts total)
Row 6: Ch 2 (counts as first HDC), HDC in ea HDC across, turn. (14 sts total)
Row 7-30: Repeat Rows 3 – 6 six times. (14 sts total ea row) Do not fasten off.
Fold the rectangle of fabric in half with the two shorter sides aligned.
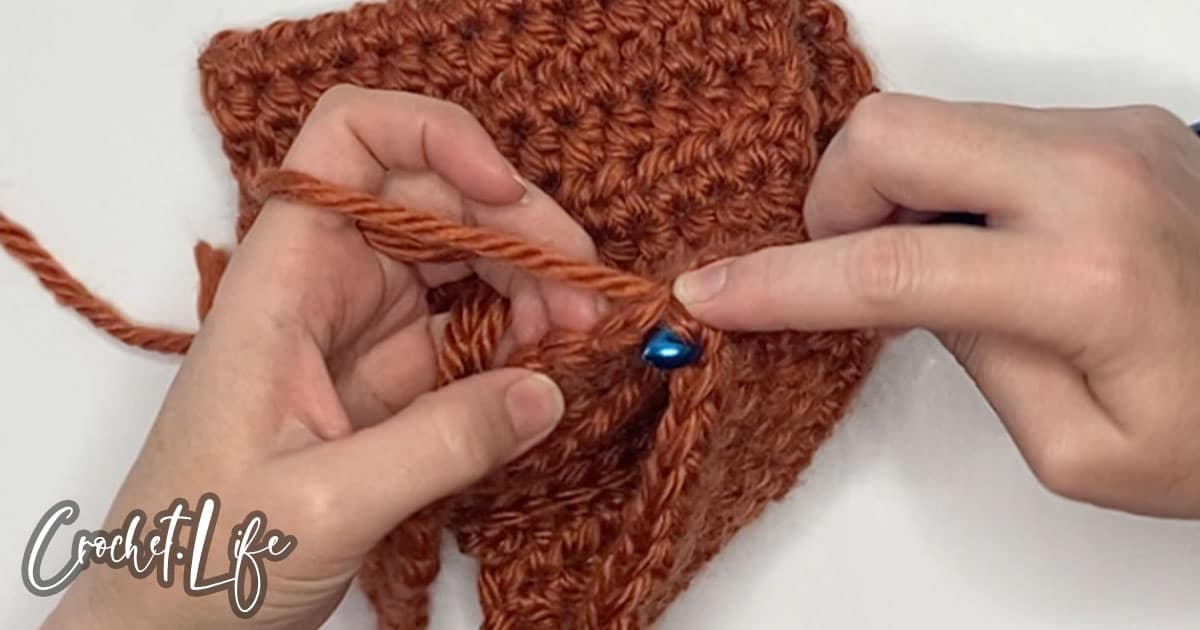
Working from the corner along the short side, slip stitch to join the two short sides of the piece.
Fasten off. Weave in ends.
Using the orange embroidery thread and darning needle, work a running stitch around one of the open ends of the fabric. Pull the running stitch tight in order to bunch the fabric on that side and close the hole. Tie off embroidery thread with a strong knot on each end. Trim the thread and weave in the end.
Stuff the open body of the pumpkin with the fiber stuffing, compressing it as much as possible without it spilling out and being unmanageable.
Using the orange embroidery thread and darning needle, work a running stitch around the remaining open end of the fabric. Pull the running stitch tight in order to bunch the fabric on that side and close the hole as best as possible (mine would not close completely due to the stuffing – but that’s ok because you need a hole about the same circumference as your stick, and what I could close my hole to was just about the same circumference – so keep that in mind). Tie off the embroidery thread with a strong knot on each end, but leave the needle and a length of thread attached.
Using the embroidery thread still affixed to the needle, work the needle and thread through the center of the pumpkin, then back out, wrapping the thread around the exterior of the pumpkin 7 times, creating 8 sections of pumpkin. Take care to place the thread in the center of where you want the sections to be, pulling the thread as tight as it will allow without breaking the thread. Tie off embroidery thread with a strong knot. I elected to utilize two knots, just in case. Trim the thread and weave in the end.
Fit a fun stick into the center of the top and enjoy!
Fall Pumpkin Crochet Pattern
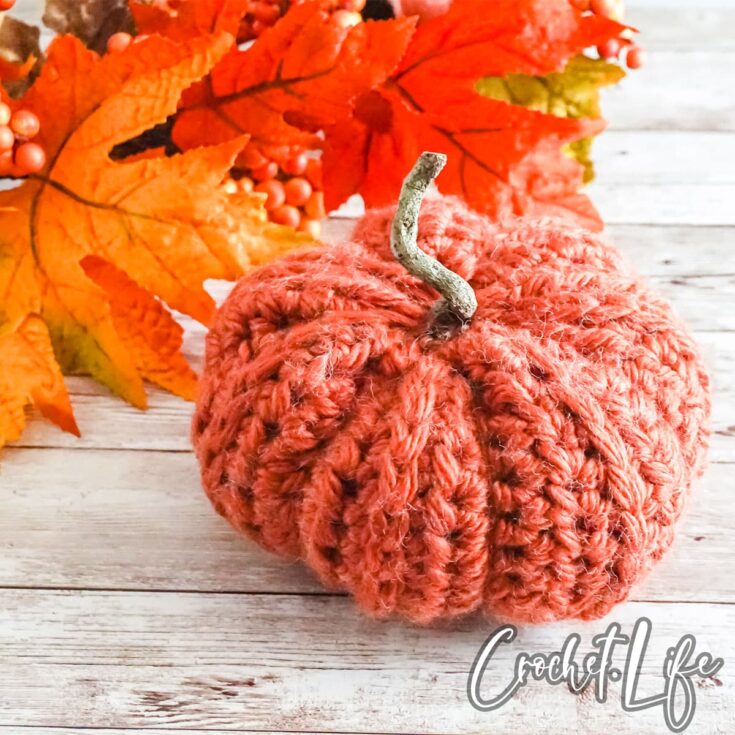
Super easy and fast to work-up, this fall pumpkin free crochet pattern is a great way to add a little pop of fall color to your home decor.
Materials
- 28 yards 65% recycled polyester, 25% acrylic, 10% wool, super bulky weight (size 6) yarn (Loops & Threads Eco-Luxe in Burnt Orange colorway pictured)
- Dark Orange Embroidery Thread
- Organic or polyester fiber stuffing to fill pumpkin
Tools
- Crochet hook: Size N/13 (9 mm)
- Darning Needle
Instructions
- Chain 15.
- Row 1: HDC in second ch from hook, HDC in ea ch across, turn. (14 sts total)
- Row 2: Ch 2 (counts as first HDC), HDC in ea HDC across, turn. (14 sts total)
- Row 3: Ch 2 (counts as first HDC), HDCBLO in ea HDC across, turn. (14 sts total)
- Row 4: Ch 2 (counts as first HDC), HDC in ea HDC across, turn. (14 sts total)
- Row 5: Ch 2 (counts as first HDC), HDC in ea HDC across, turn. (14 sts total)
- Row 6: Ch 2 (counts as first HDC), HDC in ea HDC across, turn. (14 sts total)
- Row 7-30: Repeat Rows 3 - 6 six times. (14 sts total ea row) Do not fasten off.
- Fold the rectangle of fabric in half with the two shorter sides aligned.
- Working from the corner along the short side, slip stitch to join the two short sides of the piece.
- Fasten off. Weave in ends.
- Using the orange embroidery thread and darning needle, work a running stitch around one of the open ends of the fabric. Pull the running stitch tight in order to bunch the fabric on that side and close the hole. Tie off embroidery thread with a strong knot on each end. Trim the thread and weave in the end.
- Stuff the open body of the pumpkin with the fiber stuffing, compressing it as much as possible without it spilling out and being unmanageable.
- Using the orange embroidery thread and darning needle, work a running stitch around the remaining open end of the fabric. Pull the running stitch tight in order to bunch the fabric on that side and close the hole as best as possible (mine would not close completely due to the stuffing - but that's ok because you need a hole about the same circumference as your stick, and what I could close my hole to was just about the same circumference - so keep that in mind). Tie off the embroidery thread with a strong knot on each end, but leave the needle and a length of thread attached.
- Using the embroidery thread still affixed to the needle, work the needle and thread through the center of the pumpkin, then back out, wrapping the thread around the exterior of the pumpkin 7 times, creating 8 sections of pumpkin. Take care to place the thread in the center of where you want the sections to be, pulling the thread as tight as it will allow without breaking the thread. Tie off embroidery thread with a strong knot. I elected to utilize two knots, just in case. Trim the thread and weave in the end.
- Fit a fun stick into the center of the top and enjoy!
Notes
Size Assembled:
- 6-inch diameter, 3-inch height or 15.2cm diameter, 7.6cm height
Gauge:
- In double crochet, 6 stitches and 1 rows = 2.5 in x 1.5 in (6.35×3.81 cm)
Skill Level: Easy
Pattern Notes
- The yarn used for these items contains natural fiber and requires special laundering. Please read yarn labels and follow directions to maintain the life of your crochet work.
Sizing
One Size
Special Stitches
Half Double Crochet (HDC):
Yarn over, insert hook in row below and pull up a loop, yarn over (3 loops on hook) and pull through all loops on hook. One half double crochet stitch (HDC) completed.
Half Double Crochet (HDCBLO):
Yarn over, insert hook in the center of the stitch in the row below, exiting underneath the back loop, and pull up a loop, yarn over (3 loops on hook) and pull through all loops on hook. One half double crochet back loop only stitch (HDCBLO) completed.
Recommended Products
As an Amazon Associate and member of other affiliate programs, I earn from qualifying purchases.


Leave a Reply