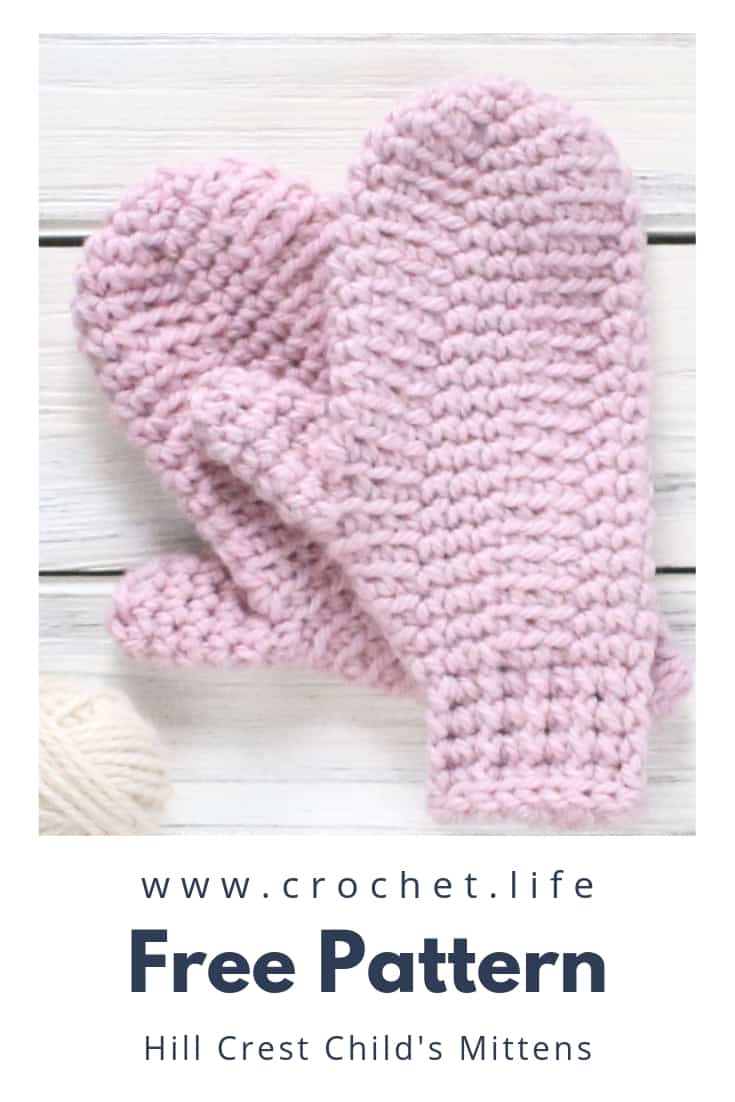
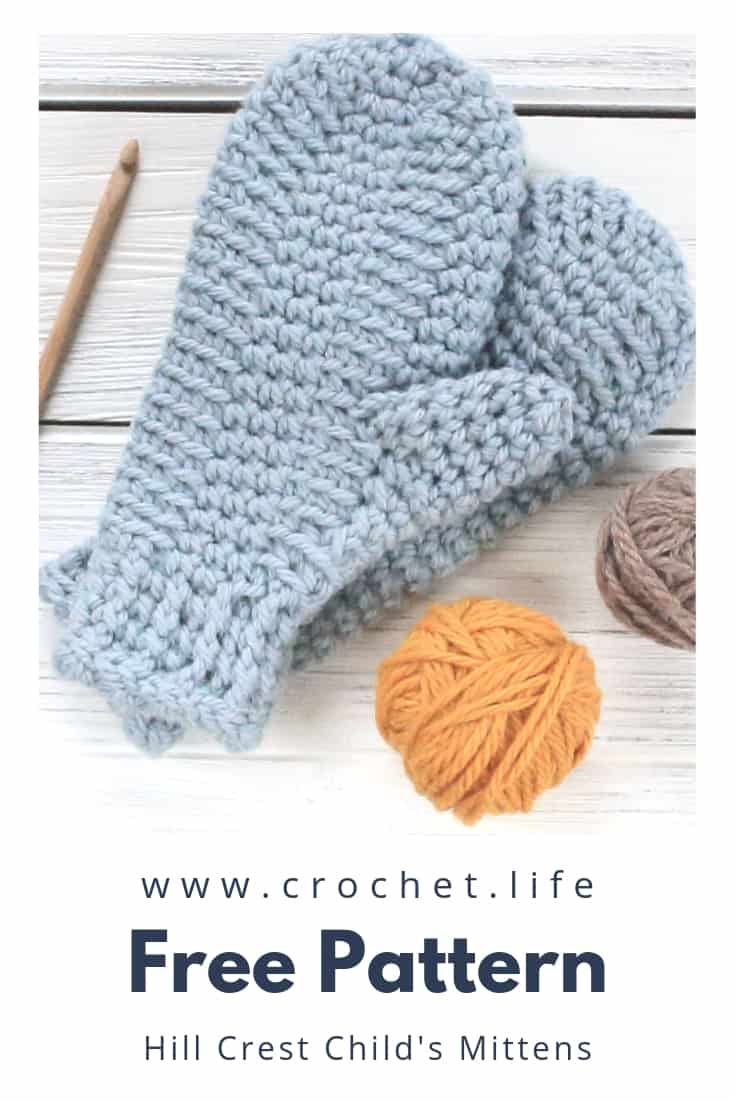
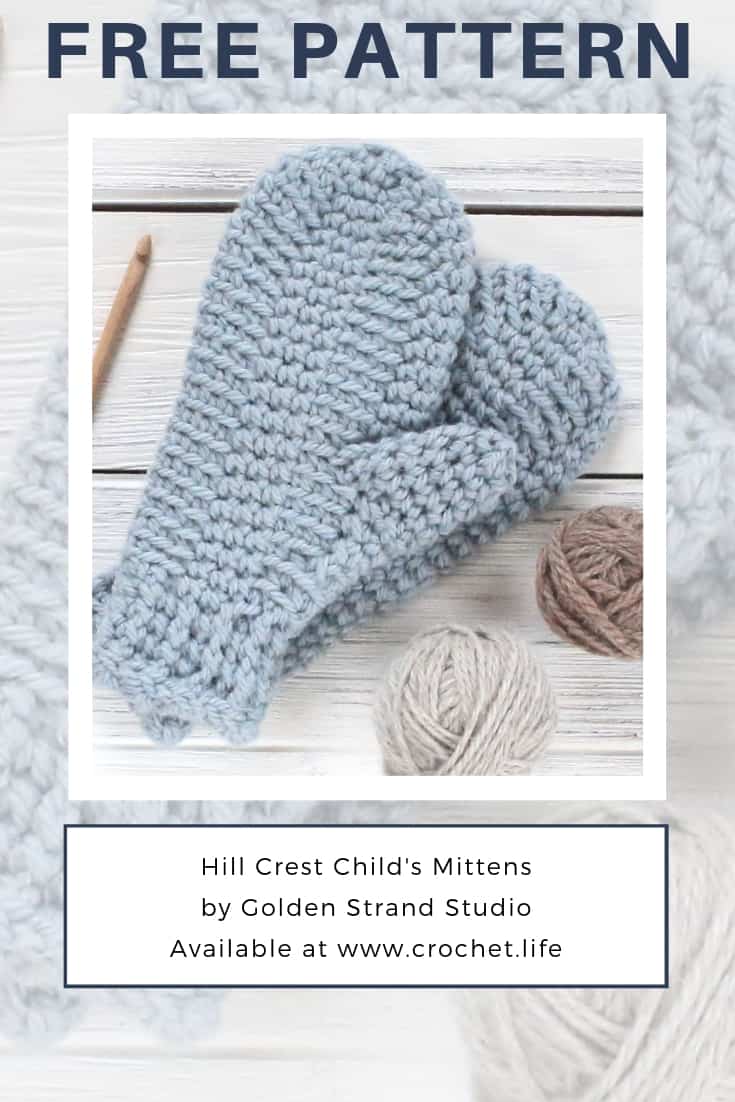
The Hill Crest crochet mitten pattern for children, size small to medium, is a perfect opportunity to practice making an itty-bitty thumb gusset. With just a few single crochet decreases you will create fully designed mittens in a child’s size.
If you want a little practice making thumbless mittens before you tackle a gusset, why not try the toddler version of the Hill Crest Mittens. Both patterns, toddler and child, feature beginner single crochet stitches. These stitches are worked alternately in both loops or back loops only for the body of the mitten.
Check out the matching Hill Crest Hat to make a cozy winter weather accessory set for everyone in your family.
The free pattern is provided below including the size, materials, and notes. An ad-free PDF version of the Hill Crest Mitten Pattern is also available for you to purchase, download, and print out.
Pattern information below!
Size:
Child: 7.5 inches long x 3.5 in wide (at fingers) (19 x 9 cm)
Materials:
♥ Per mitten, approximately 55 yards worsted or aran weight yarn. Drops Nepal wool and alpaca blend used for mittens pictured.
♥ Crochet hook: Size J/10 (6 mm) or size needed to obtain gauge
♥ Open ring stitch marker or small length of yarn (approximately 12 inches) to mark rounds
♥ Tapestry needle
Gauge:
In single crochet with size J hook,12 stitches and 15 rows = 4 inches
Skill Level: Easy/Intermediate
Hill Crest Child Mitten Pattern Notes
♥ Please take time to create a gauge sample before beginning work.
♥ These mittens are worked in a continuous spiral and will create a diagonal pattern. Do not join rounds unless indicated.
♥ The final round at the cuff is worked into the posts of the previous round and creates the appearance of rolling. This is an intended part of the design.
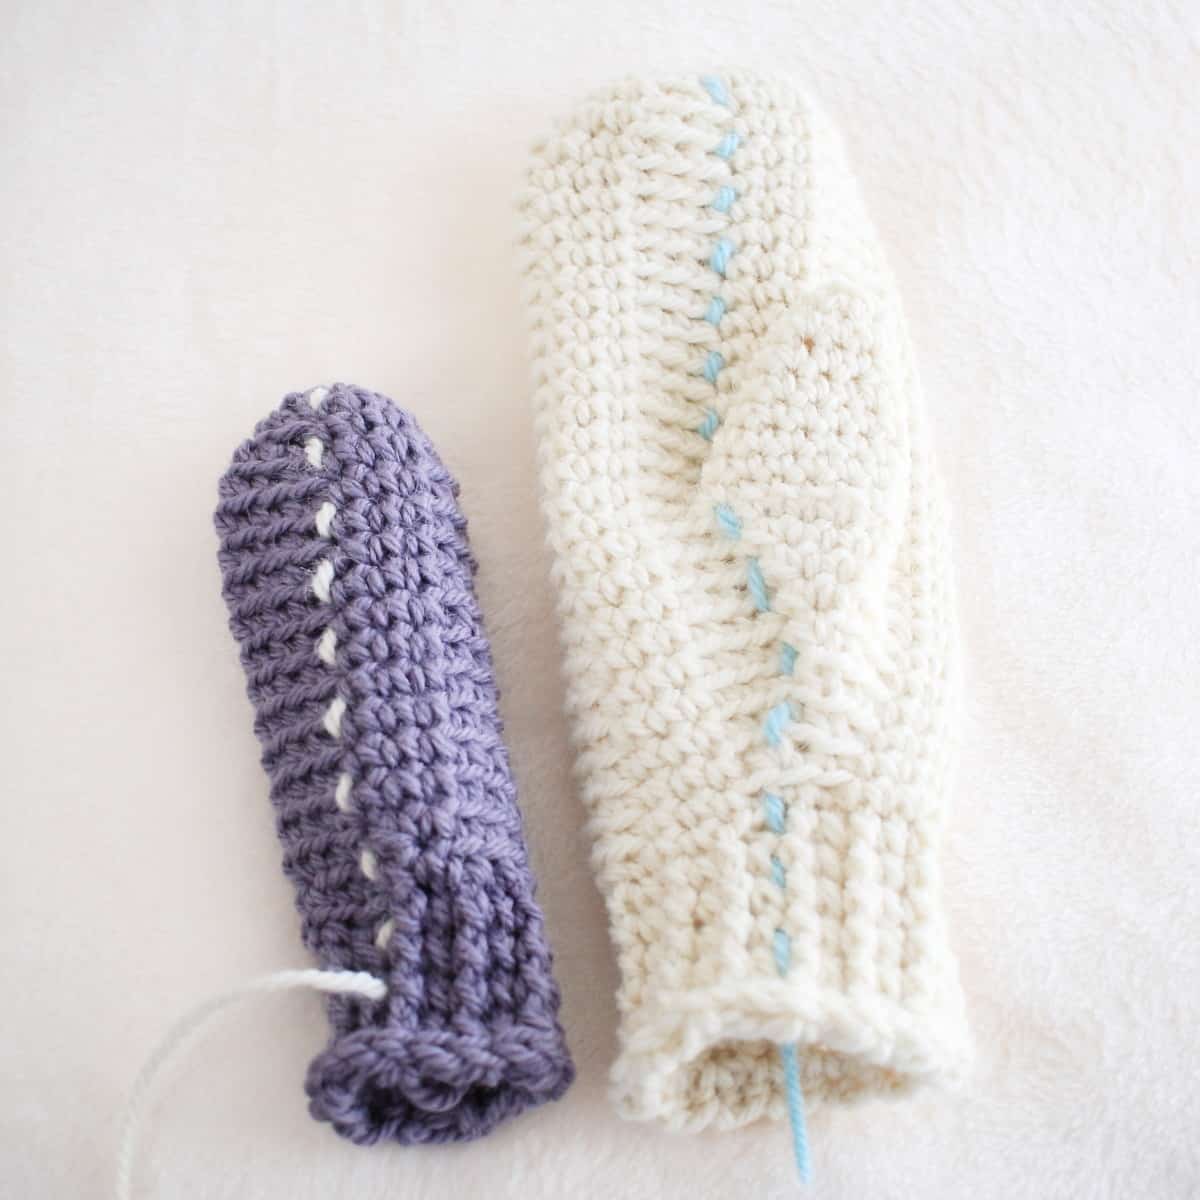
♥ A small length of contrasting yarn may be used in place of a stitch marker. Weave the yarn upwards as you work rounds in the piece. See photo below.
♥ The yarn used for these mittens contains natural fiber and requires special laundering. Please read yarn labels and follow directions to maintain the life of your crochet work.
Special Stitches
Single Crochet 2 Stitches Together:
Insert hook into stitch, yarn over and pull through stitch (2 stitches on hook), insert hook into next stitch of round, yarn over and pull through stitch (3 stitches on hook), yarn over and pull through all 3 stitches on hook.
Front Post Single Crochet:
Insert hook right to left behind the post from round below, yarn over and finish stitch as a single crochet.
Front Post Slip Stitch:
Insert hook right to left behind the post from round below, yarn over and finish stitch as a slip stitch.
Directions for the Hill Crest Child Mitten Pattern
(Make 2 as the pattern is the same for right and left.)
Chain 3, slip stitch to join.
Round 1:
Two single crochet into 1 loop of each stitch of starting chain. (6 stitches total)
Place stitch marker or begin to use a length of yarn to mark rounds. (See picture below) Move marker up or weave yarn up for each round forward.
Round 2:
Two single crochet into each stitch of round. (12)
Round 3:
*Two single crochet into first stitch of round, 1 single crochet and 1 back loop single crochet in second stitch of round, 2 back loop single crochet into third stitch of round, repeat from * for remainder of round. (24)
Round 4:
*Three single crochet, 3 back loop single crochet, repeat from * for remainder of round. (24)
Rounds 5 – 15:
Repeat Round 4 for number of rounds indicated. (24)
Round 16:
Chain 5, skip 3 stitches, *3 back loop single crochet, 3 single crochet, repeat from * for remainder of round. (26)
Round 17:
Single crochet 2 together, 1 single crochet, single crochet 2 together, *3 back loop single crochet, 3 single crochet, repeat from * for remainder of round finishing with back loop stitches. (24)
Round 18:
Single crochet 2 together, 1 single crochet, *3 back loop single crochet, 3 single crochet, repeat from * for remainder of round finishing with back loop stitches. (23)
Round 19:
Single crochet 2 together, *3 back loop single crochet, 3 single crochet, repeat from * until last 2 stitches of round, single crochet last 2 stitches together working only in back loops. (21)
Round 20:
Single crochet 2 together (work in back loop of second stitch), 2 back loop single crochet, *3 single crochet, 3 back loop single crochet, repeat from * until last 2 stitches of round, single crochet last 2 stitches together working only in back loops. (19)
Round 21:
Single crochet 2 together working only in back loops, 1 back loop single crochet, *3 single crochet, 3 back loop single crochet, repeat from * until last stitch of round, slip stitch into back loop of last stitch of round. (18)
Round 22:
Two back loop single crochet, *3 single crochet, 3 back loop single crochet, repeat from * until last 2 stitches of round, slip stitch into second to last stitch of round, slip stitch into back loop of last stitch of round. (18)
Rounds 23 – 24:
*Front post single crochet, single crochet, repeat from * for remainder of round. (18)
Rounds 25 – 26:
*Front post single crochet, single crochet, repeat from * for remainder of round until last 2 stitches of round, slip stitch around post of second to last stitch, slip stitch in last stitch of round. (18)
Round 27:
*Loosely slip stitch around post of first stitch of round, slip stitch in next stitch, repeat from * for remainder of round. (18)
Fasten off.
Weave in ends.
Thumb:
Attach yarn with slip stitch to thumb hole where thumb and finger meet, this does not count as stitch. (Thumb is worked in a continuous spiral.)
Round 1:
Ten single crochet. (10)
Round 2:
Single crochet around. (10)
Round 3:
Single crochet 2 together, 8 single crochet. (9)
Round 4:
Single crochet around. (9)
Round 5:
Single crochet 2 together, 7 single crochet. (8)
Round 6:
*Single crochet 2 together, repeat from * for remainder of round. (4)
Finishing:
Turn mitten to wrong side. Weave in ends.
Turn thumb to wrong side and weave yarn through top of thumb hole to fasten off.
Turn mitten back to right side.
Optional – Yarn used in place of stitch marker:
A small length of contrasting yarn may be used in place of a stitch marker. Weave the yarn upwards as you work rounds in the piece.


Leave a Reply