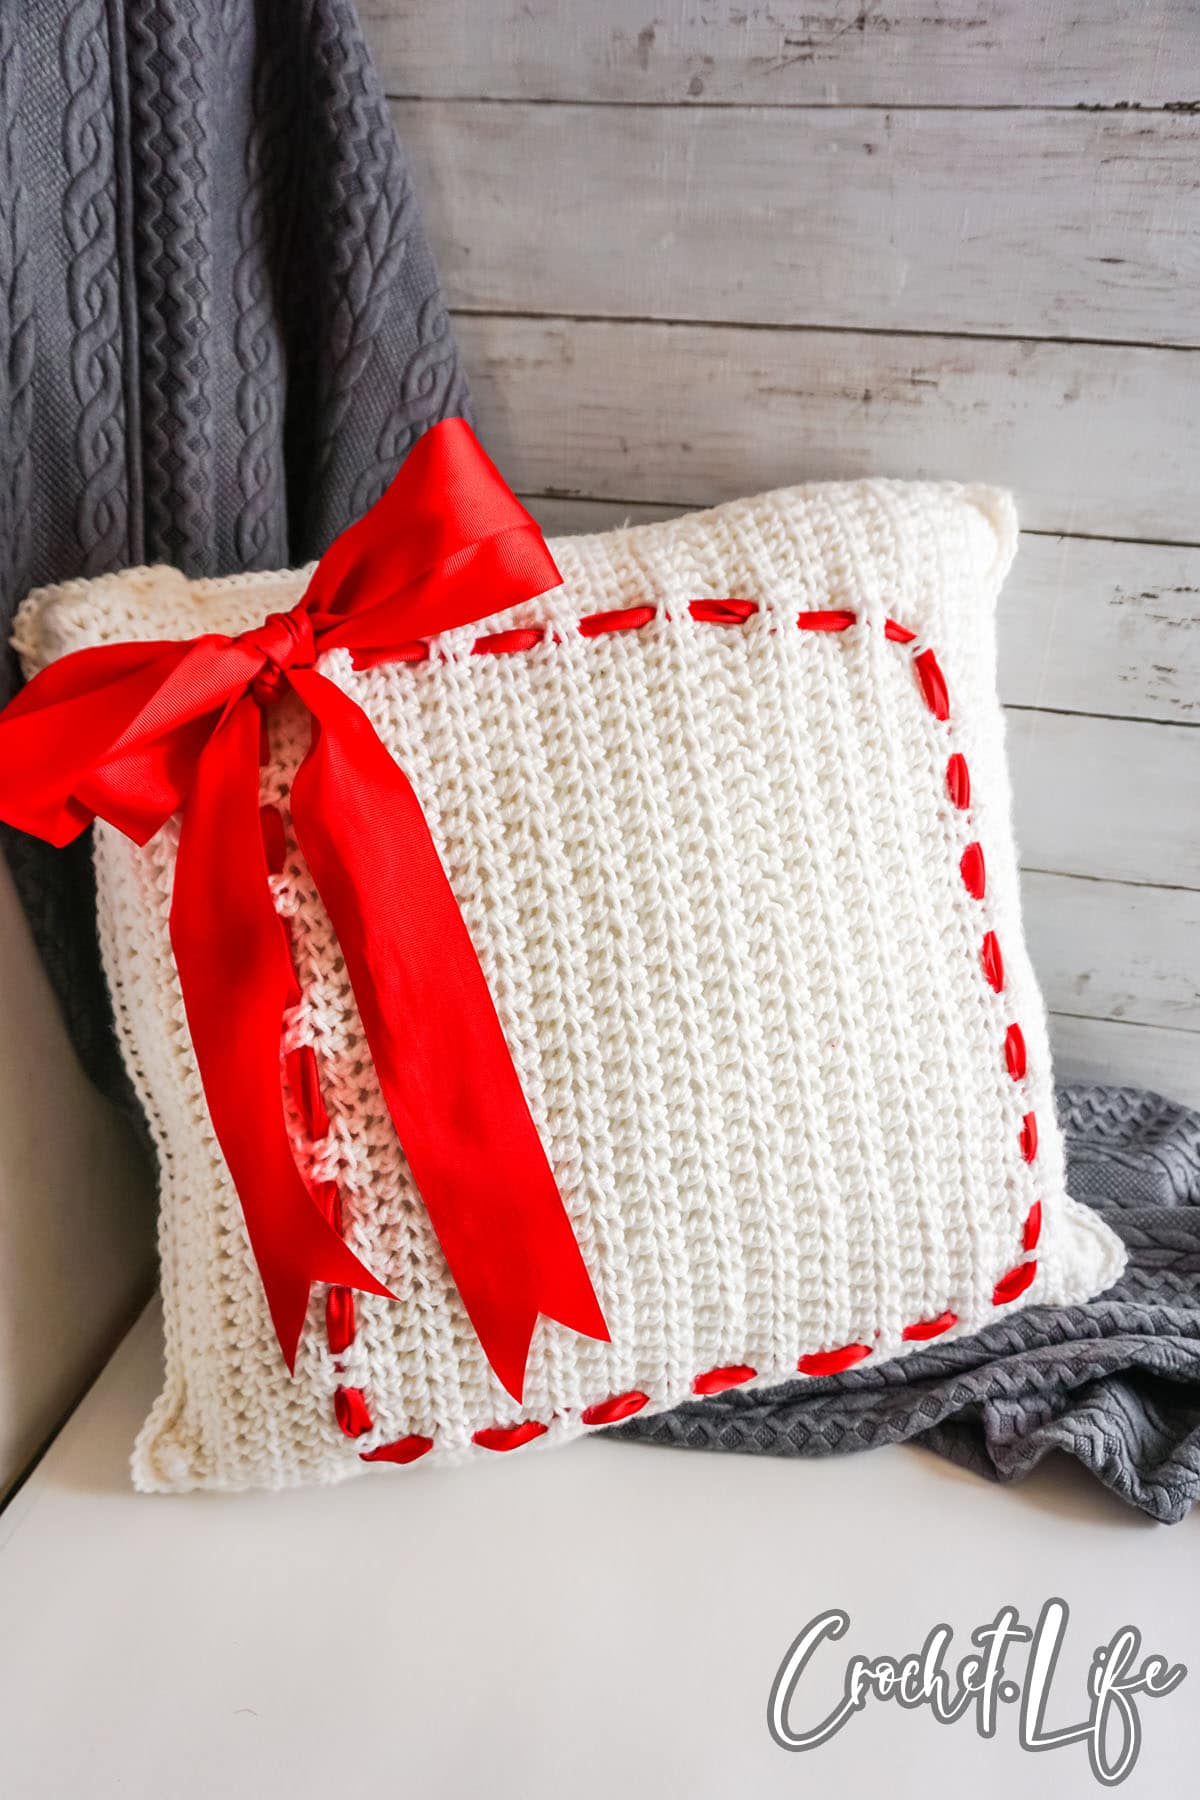
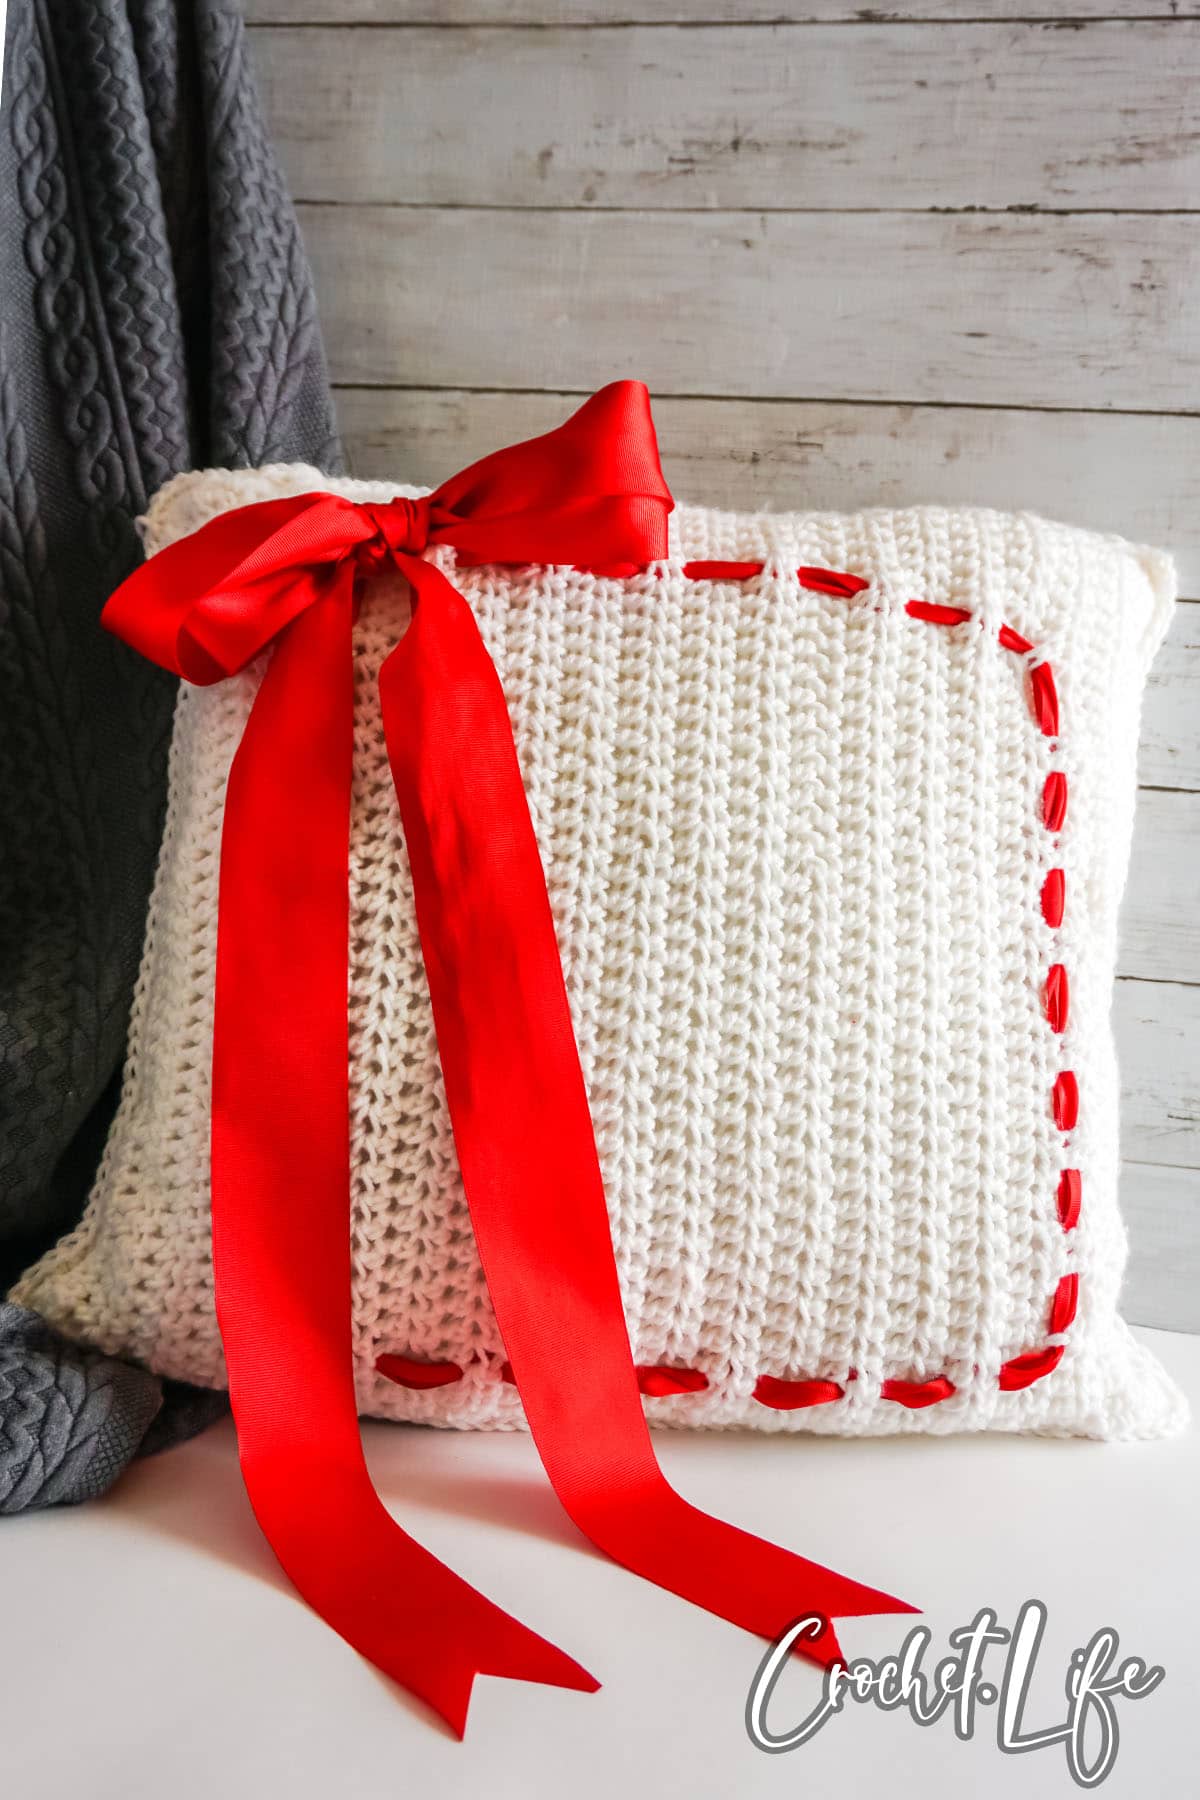
Using this easy elegant throw pillow crochet pattern, you can make a beautiful, simple pillow with just a handful of common stitches. Crocheting is a great pastime, especially when you have finished projects to show for it. And this finished project is definitely worth showing off!
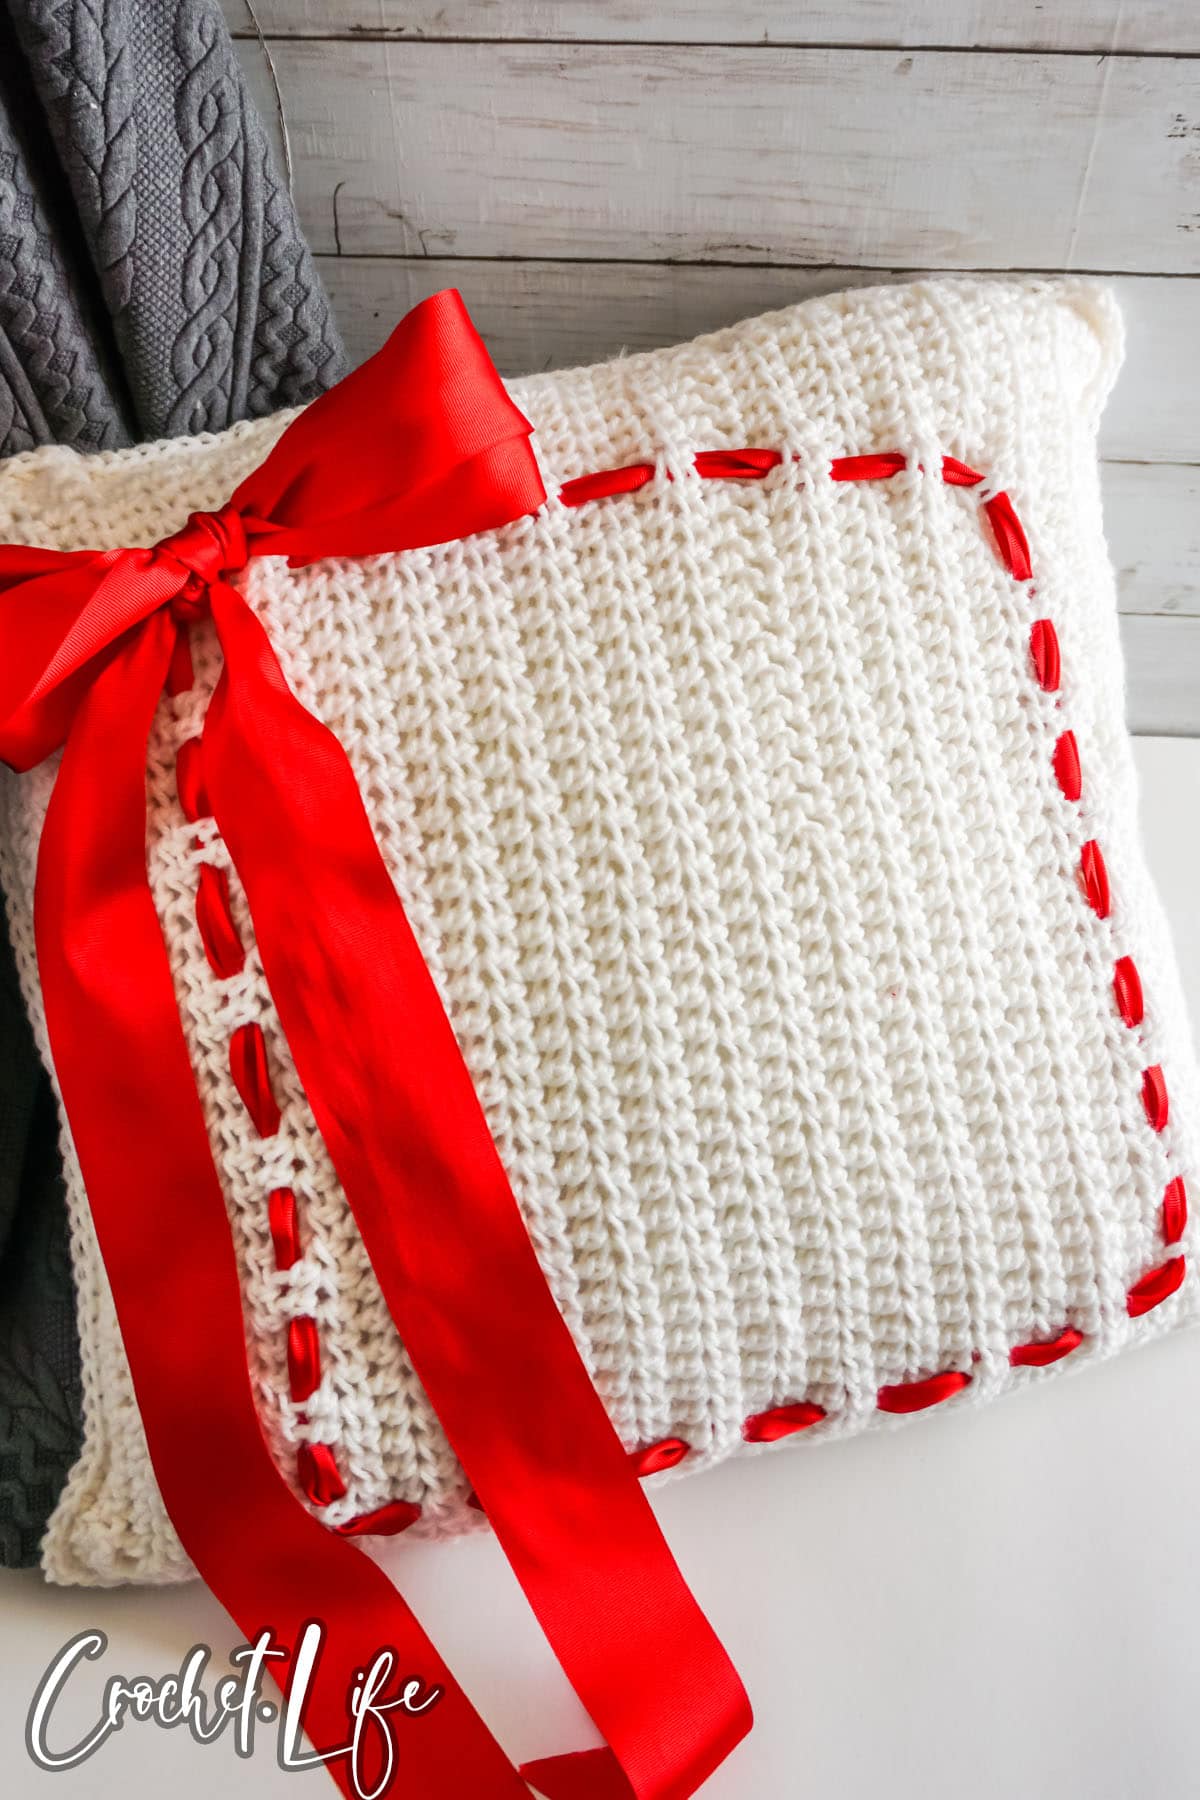
Table of Contents
Elegant Throw Pillow Crochet Pattern
The process of making your own custom, handmade throw pillow is so fun and I had no idea how beautiful it would turn out, too. Easy enough for beginners, this makes an excellent gift – or a beautiful addition to your sofa or bed!
Smaller than making a throw blanket, but substantial enough for a fun winter crochet project, this beautiful pillow is as unique as you are.
So, grab your yarn and let’s get hooking!
What Size Pillow is Best for a Crochet Pillow?
Although I would have liked to do a much smaller pillow, after looking at the pillows on my couch (that I’m working to replace), I realized that anything smaller than an 18-inch throw pillow would look too small on my high-back couches.
That being said, if you have a shorter-backed couch, a smaller pillow might fit your style much better. So, it’s really up to you, your couch and how it all comes together.
If you want to modify the size of the elegant throw pillow crochet pattern, keep in mind that the pattern was written for the 18-inch square pillow size and shape.
Is This Free Crochet Pattern for a Pillow or a Removable Pillow Cover?
As written, this pattern is written as a pillow cover, but it is not removable. I chose to make this pillow using a washable pillow as the insert, so that works well for me. This pattern is extremely versatile, though.
You can add buttons to the final side seam, to make a removable pillow cover using this pattern, or you can sew-on a zipper. Either will work fine.
Alternatively, you could also sew-in a liner and fill the pillow. However, I found that it was just so much easier to fit a pre-made pillow into the crocheted cover.
How Much Yarn Will I Need to Make a Crocheted Pillow?
I used about 290 yards of 100% acrylic worsted weight yarn (size 4). I do generally crochet in a medium-tension, so this is what I would consider an average amount of yarn usage for this project. For anyone who generally crochets with a loose tension, you may consider purchasing a second skein to ensure that there is excess to complete your project.
Additionally, the amount of yarn needed will depend upon the yarn itself, the size you are making, and any extra accent motifs added to the edging of the pillow.
More Crochet Patterns
If you are interested in more great patterns, check out some of our other collections and patterns below. This list will give you tons of ideas for your next crochet project after you finish making this fun boot warmer crochet pattern.
- Unicorn Cowl Crochet Pattern
- 50+ Stylish Infinity Scarf Patterns for Fall and Winter
- 30 Stunningly Easy Crochet Hat Patterns
- 40 Fashionable and Functional Fingerless Glove Crochet Patterns
Elegant Throw Pillow Free Crochet Pattern
Below you will find the notes and directions for making this easy crochet pillow pattern.
Size Assembled:
18″x18″ in height and width or 46×46 cm
Materials
- Yarn: 290 yd, worsted weight yarn (White Caron One Pound acrylic yarn, pictured)
- Crochet Hook: Size I/9 (5.25 mm)
- 3-inch Satin Ribbon (optional)
Gauge:
In half double crochet, 12 stitches and 13 rows = 4 in (10.2 cm)
Skill Level: Easy/Beginner
Pattern Notes
- Pause your work before joining the two panels of the pillow to ensure that your pillow will fit inside the pillow cover. The pillow should fit snugly without stretching the crochet panels.
- The yarn used for these items contains natural fiber and requires special laundering. Please read yarn labels and follow directions to maintain the life of your crochet work.
Sizing
As shown: 18-in square (45-46 cm)
Special Stitches
Half Double Crochet (HDC)
Yarn over, insert hook in row below and pull up a loop, yarn over (3 loops on hook) and pull through all loops on hook. One half double crochet stitch (HDC) completed.
IMG
Directions
Panel (make 2):
Chain 41, turn.
Row 1:
Ch2, HDC in 2nd ch from hook, HDC in each ch across (39 HDCs total), turn.
Rows 2-40:
Ch2, HDC in each HDC across, HDC in top of Ch 2, turn.
Row 41:
Ch1, *SC in each HDC across (39 SC total), 3 SC in top of HDC, SC in each row of HDCs (total 40 SC), 3 SC in las HDC row * repeat from *2 times, turn.
Row 42:
Ch1, *SC in each SC across (41 SC total), 3 SC in next SC, SC in each SC across (total 42 SC), 3 SC in next SC* repeat from * 2 times, SL in first SC to join.
Fasten off and weave in ends.
Fitting Pillow:
Pause your work to fit the pillow you are inserting in the pillow cover. At this stage, the pillow should fit comfortably between the two panels without stretching the crocheted panels. If the pillow does not comfortably fit, just add or subtract edging rows, as desired.
Finishing:
Place the two panels together, lining up the sides and the direction of the stitches.
Working through both panels, beginning at one corner, cast on. Ch 1, then SC through both of the two panels, joining them together. SC in each SC across (41 SC total), 3 SC in next SC, SC in each SC across (total 42 SC), 3 SC in next SC, SL in first SC to join.
Fasten off.
Weave in ends.
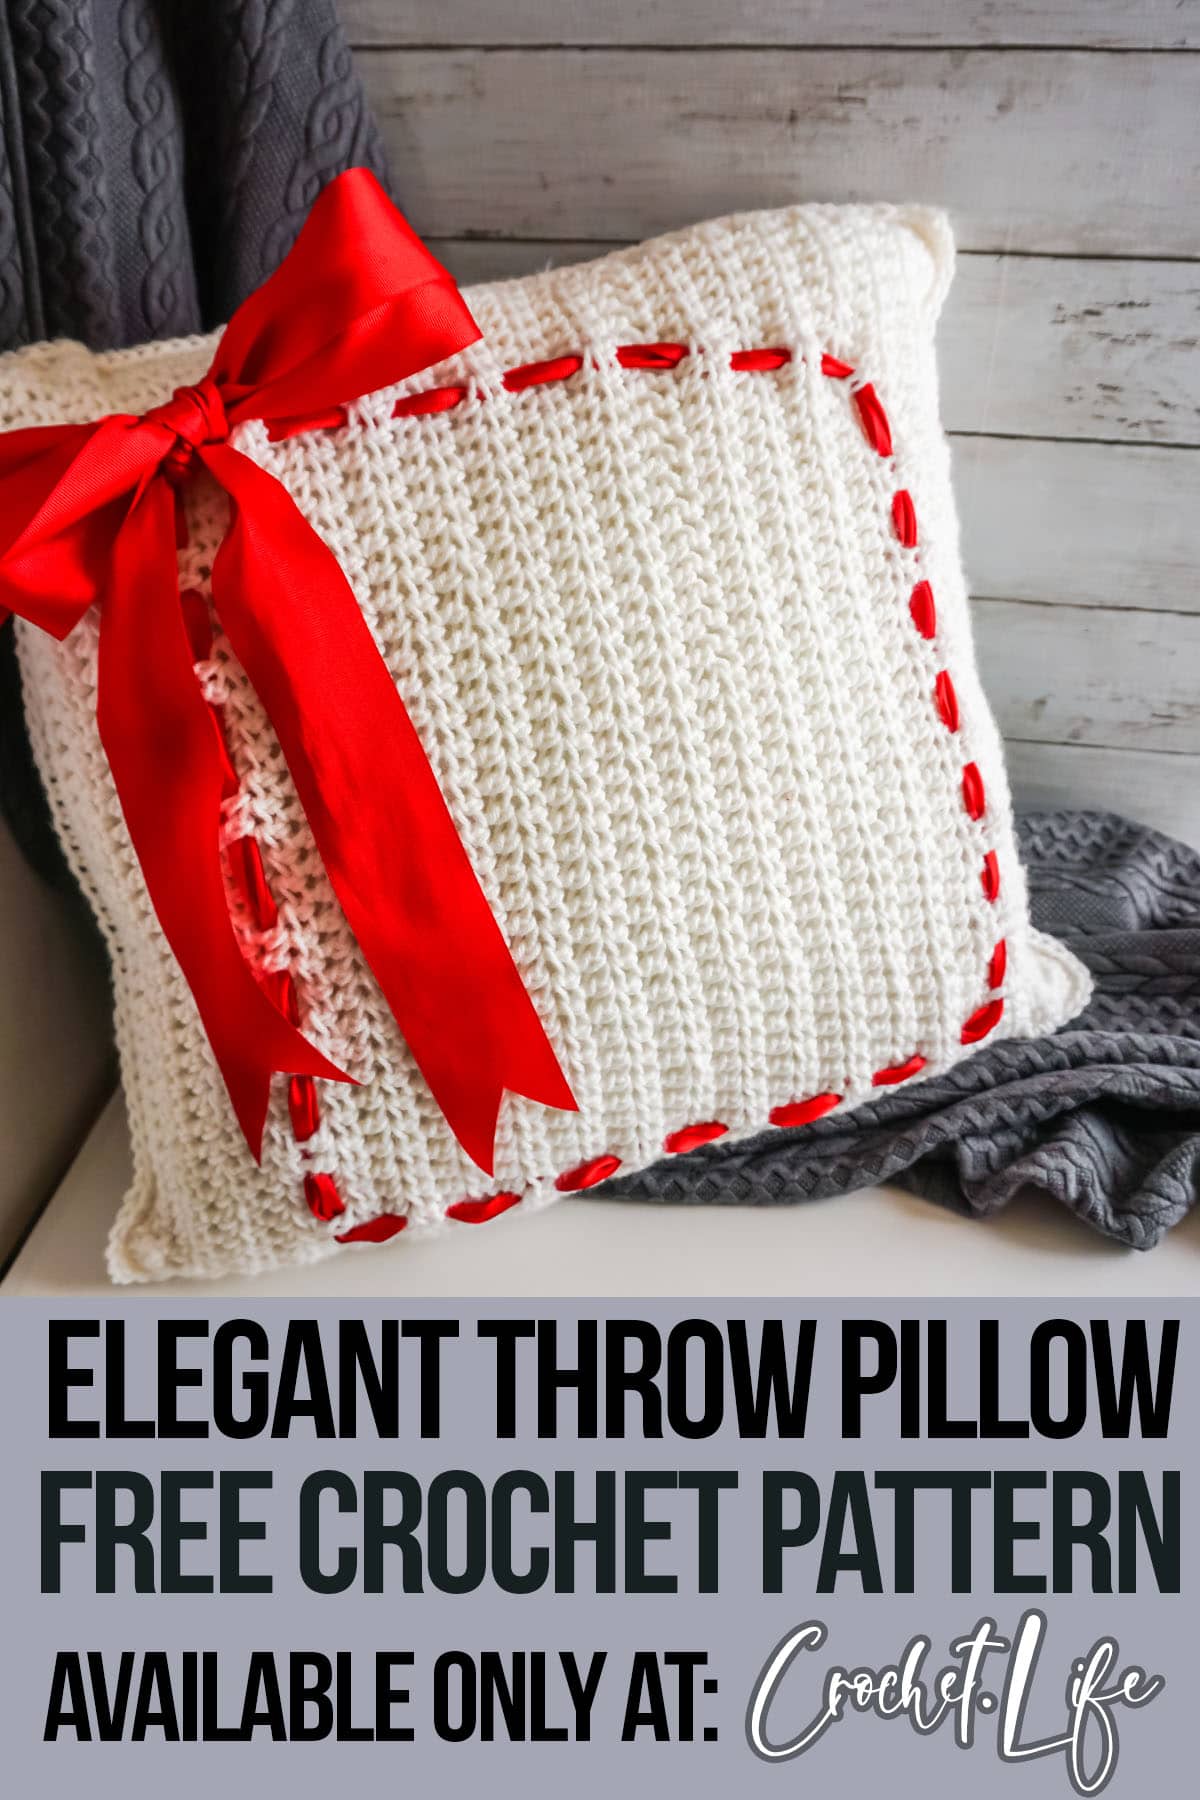
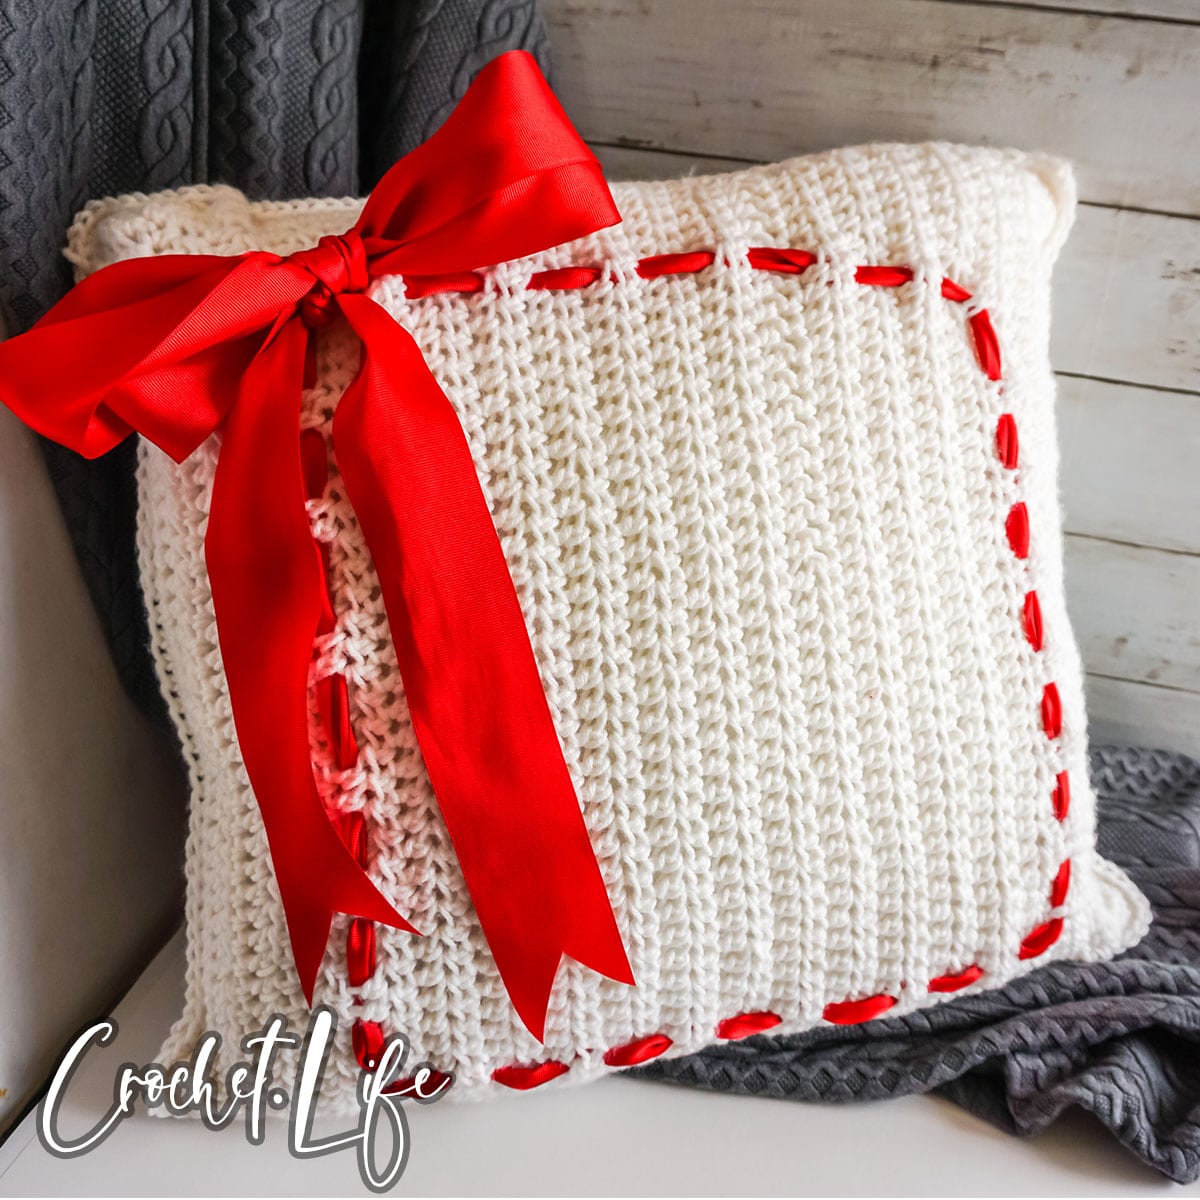
To add the red ribbon accent, weave a 3-inch wide satin ribbon through stitches about 3-inches from the edge of the pillow, then tie in a bow.
Elegant Throw Pillow Crochet Pattern
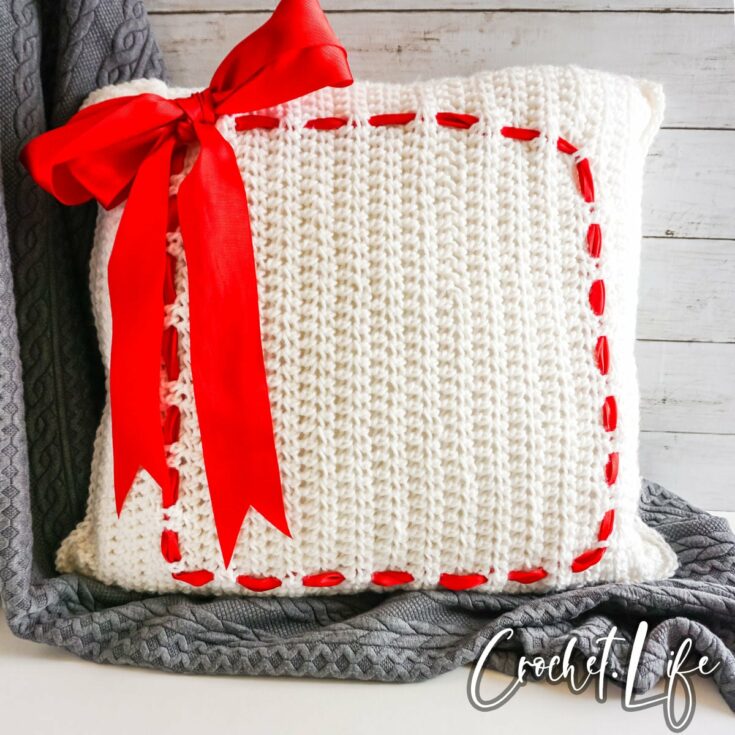
A simple and elegant throw pillow crochet pattern that is customizable and unique in every way!
Materials
- Yarn: 290 yd, worsted weight yarn (White Caron One Pound acrylic yarn, pictured)
- 3-inch Satin Ribbon (optional)
Tools
- Crochet Hook: Size I/9 (5.25 mm)
- Scissors
Instructions
Panel (make 2):
- Chain 41, turn.
Row 1:
- Ch2, HDC in 2nd ch from hook, HDC in each ch across (39 HDCs total), turn.
Rows 2-40:
- Ch2, HDC in each HDC across, HDC in top of Ch 2, turn.
- Row 41: Ch1, *SC in each HDC across (39 SC total), 3 SC in top of HDC, SC in each row of HDCs (total 40 SC), 3 SC in las HDC row * repeat from *2 times, turn.
- Row 42: Ch1, *SC in each SC across (41 SC total), 3 SC in next SC, SC in each SC across (total 42 SC), 3 SC in next SC* repeat from * 2 times, SL in first SC to join.
- Fasten off and weave in ends.
Fitting Pillow:
- Pause your work to fit the pillow you are inserting in the pillow cover. At this stage, the pillow should fit comfortably between the two panels without stretching the crocheted panels. If the pillow does not comfortably fit, just add or subtract edging rows, as desired.
Finishing:
- Place the two panels together, lining up the sides and the direction of the stitches.
- Working through both panels, beginning at one corner, cast on. Ch 1, then SC through both of the two panels, joining them together. SC in each SC across (41 SC total), 3 SC in next SC, SC in each SC across (total 42 SC), 3 SC in next SC, SL in first SC to join.
- Fasten off.
- Weave in ends.
- To add the red ribbon accent, weave a 3-inch wide satin ribbon through stitches about 3-inches from the edge of the pillow, then tie in a bow.
Notes
Gauge:
In half double crochet, 12 stitches and 13 rows = 4 in (10.2 cm)
Skill Level: Easy/Beginner
Pattern Notes
- Pause your work before joining the two panels of the pillow to ensure that your pillow will fit inside the pillow cover. The pillow should fit snugly without stretching the crochet panels.
- The yarn used for these items contains natural fiber and requires special laundering. Please read yarn labels and follow directions to maintain the life of your crochet work.
Sizing
As shown: 18-in square (45-46 cm)
Special Stitches
Half Double Crochet (HDC)
Yarn over, insert hook in row below and pull up a loop, yarn over (3 loops on hook) and pull through all loops on hook. One half double crochet stitch (HDC) completed.
Recommended Products
As an Amazon Associate and member of other affiliate programs, I earn from qualifying purchases.


Leave a Reply